DIY to the Rescue: A Step-by-Step Guide to Repairing Epoxy Flooring
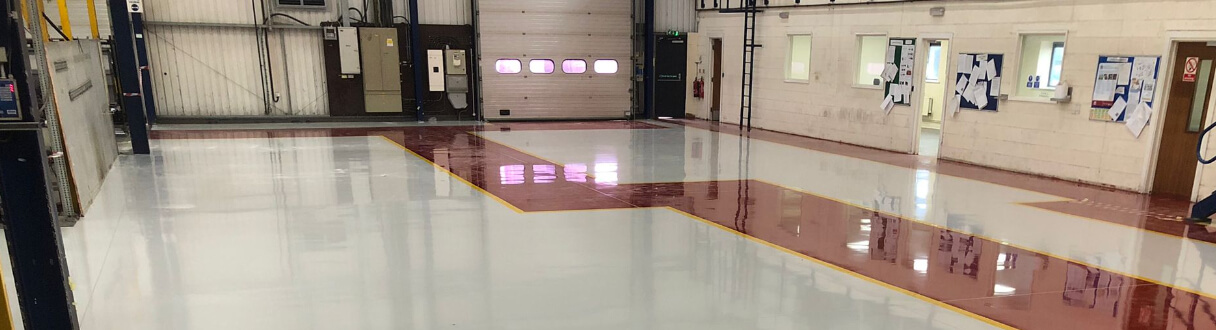
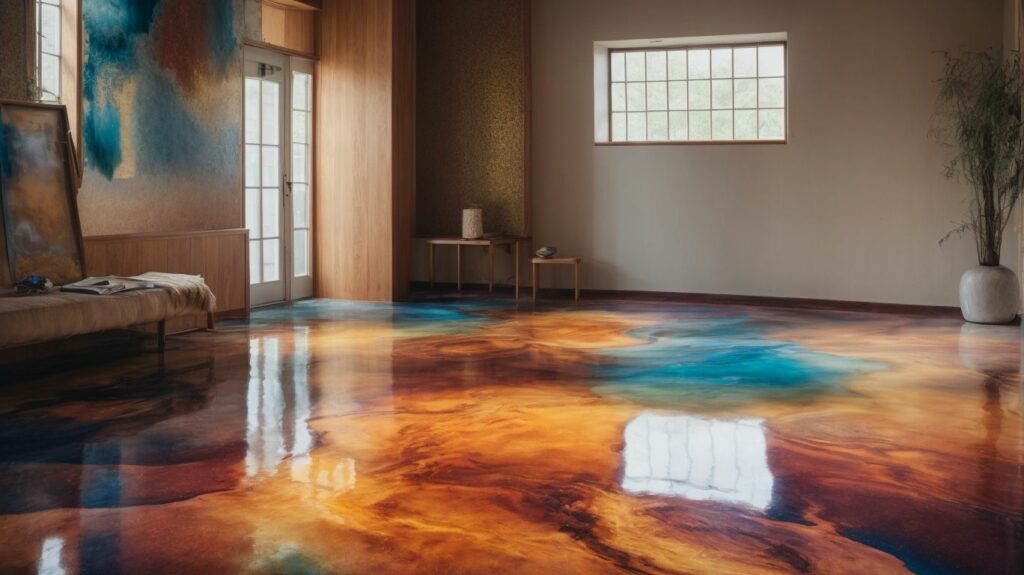
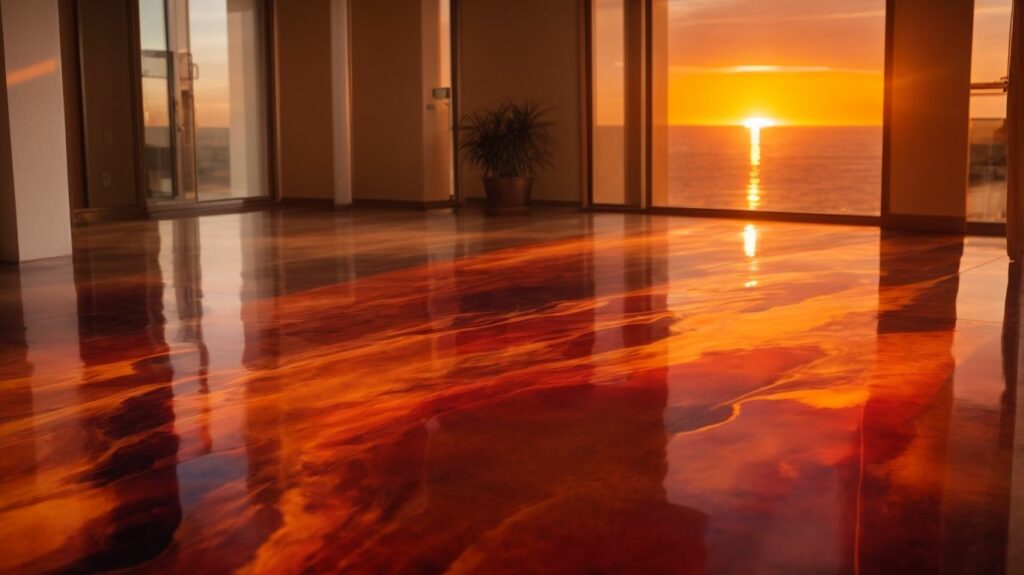
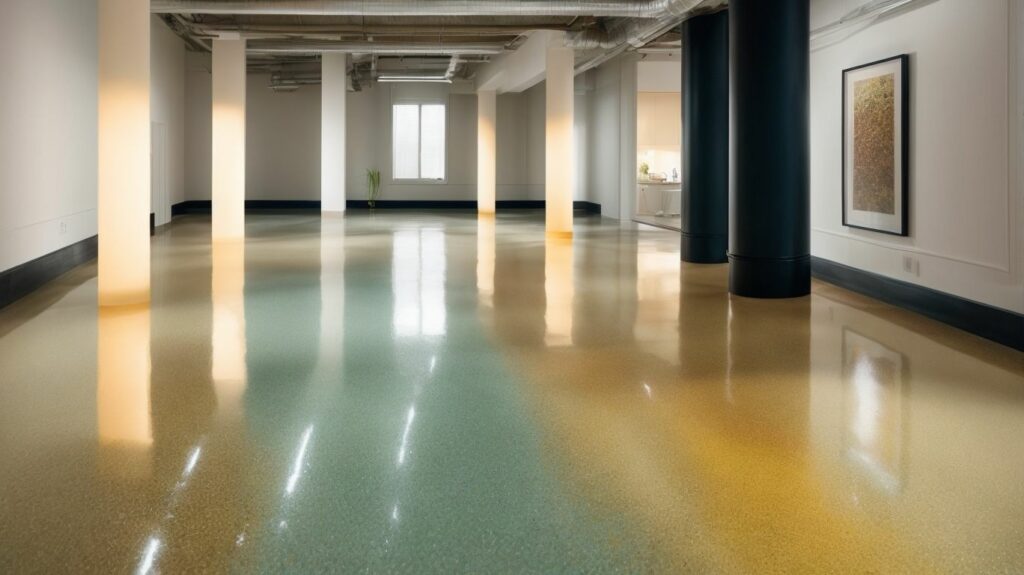
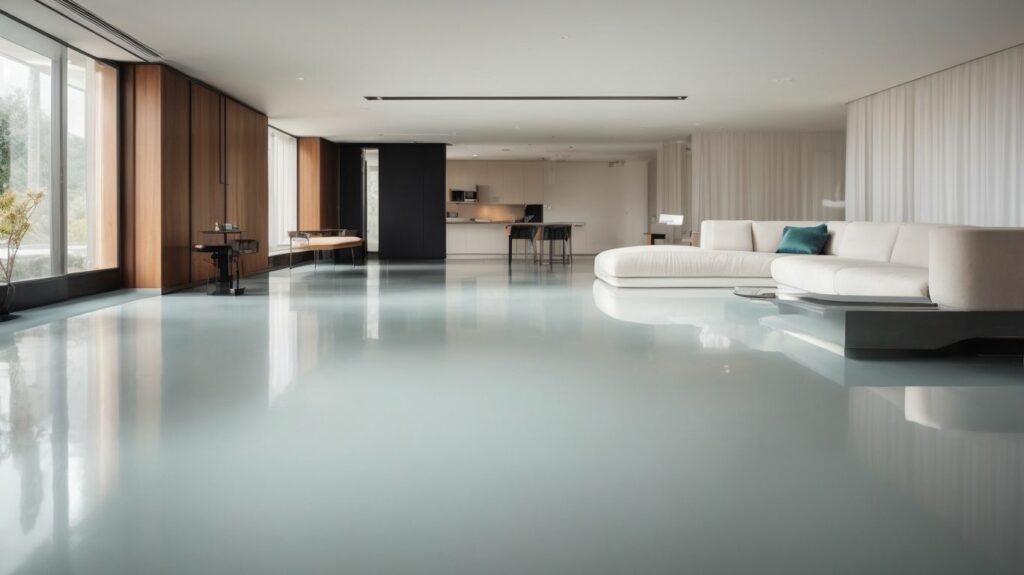
Epoxy flooring is a popular choice for its numerous benefits, such as durability, easy maintenance, resistance to chemicals and stains, and enhanced safety. However, like any flooring material, epoxy floors can encounter issues over time. To help you address common problems and restore your epoxy flooring, here is a step-by-step guide.
Benefits of Epoxy Flooring
Durability and Longevity
Easy Maintenance
Resistance to Chemicals and Stains
Enhances Safety
Common Issues with Epoxy Flooring
Crack Formation
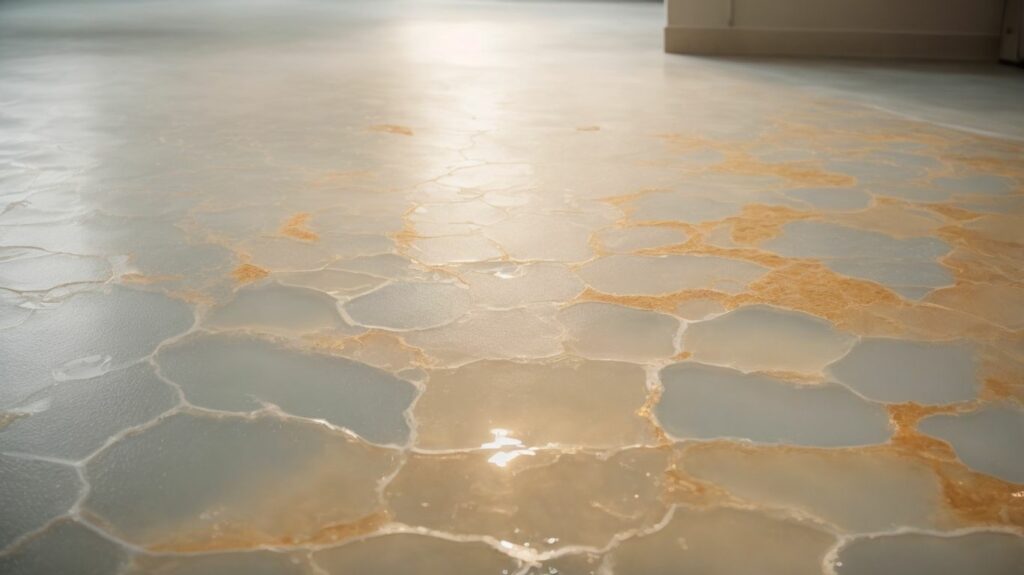
Bubbles or Blistering
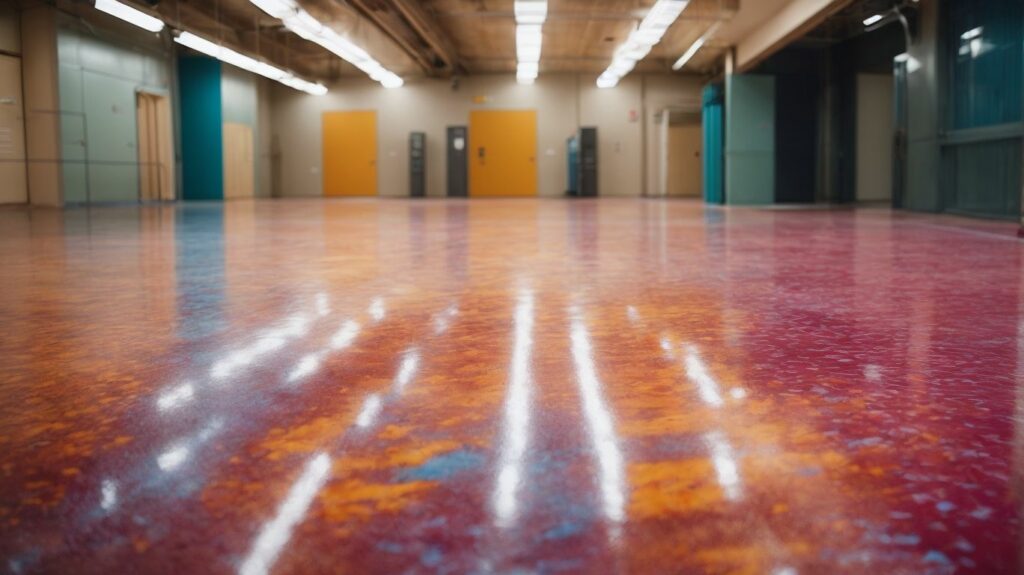
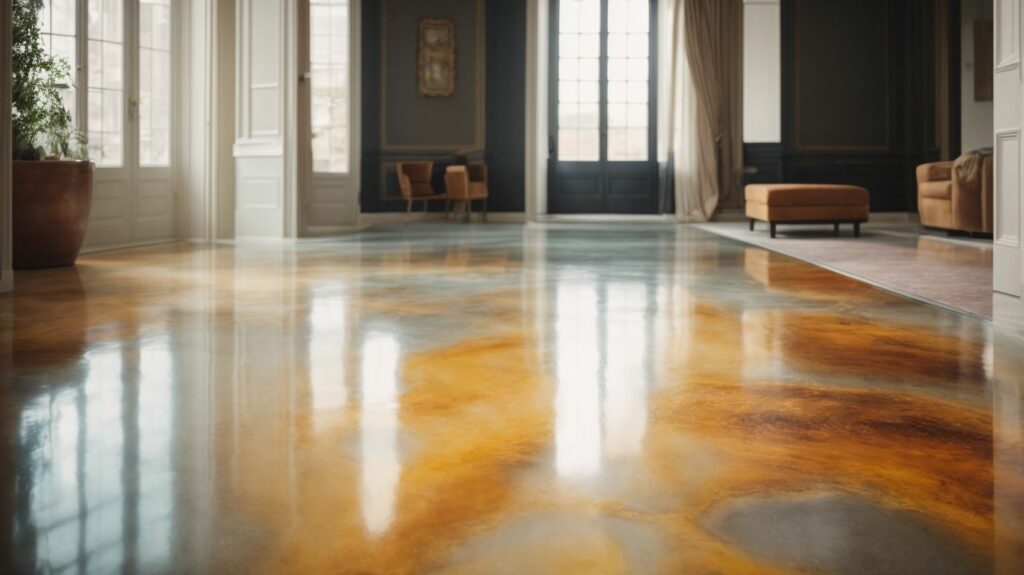
Discoloration
Step-by-Step Guide to Repairing Epoxy Flooring
Assessing the Damage
Surface Preparation
Removing Epoxy Coating
Repairing Cracks
Dealing with Bubbles or Blistering
Addressing Discoloration
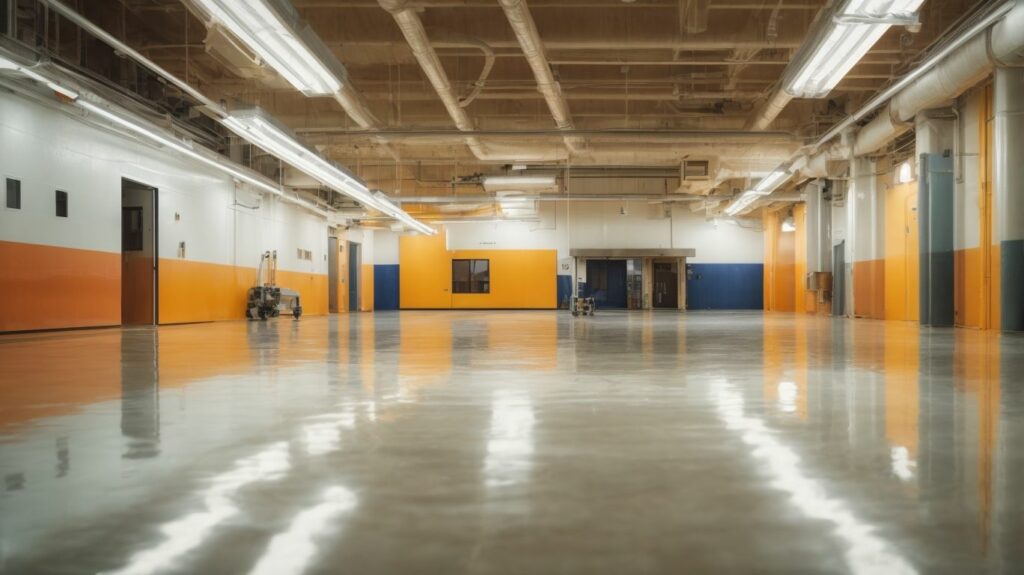
Applying New Epoxy Coating
Tips for Maintaining Epoxy Flooring
By following this guide and implementing proper maintenance practices, you can restore your epoxy flooring and ensure its longevity and visual appeal.
Benefits of Epoxy Flooring
Looking to upgrade your flooring? Discover the incredible benefits of epoxy flooring. From unparalleled durability and easy maintenance to enhanced safety and resistance to chemicals and stains, epoxy flooring is truly a game-changer. So forget about costly replacements and join us as we explore why epoxy flooring should be your top choice. Get ready for a floor that not only looks stunning but also stands the test of time.
Durability and Longevity
Durability and longevity are important factors to consider when selecting epoxy flooring. The following are some reasons why epoxy flooring is renowned for its durability and longevity:
Strength and Resistance: Epoxy flooring has a high resistance to impacts, chemicals, stains, and abrasions, making it ideal for areas with heavy foot traffic.
Long-lasting: When properly installed and maintained, epoxy flooring can last for many years without the need for frequent repairs or replacements.
Easy Maintenance: Epoxy flooring is effortless to clean and maintain, requiring only regular sweeping and occasional mopping.
Protection: Epoxy flooring provides a protective layer that safeguards the underlying concrete from wear and tear, thereby extending its lifespan.
Pro-tip: To maximise the durability and longevity of your epoxy flooring, make sure to follow the manufacturer’s maintenance guidelines and promptly address any repairs or issues that may arise.
Easy Maintenance
Epoxy flooring is renowned for its easy maintenance, which is why it is a popular choice for various spaces. Here are some reasons why:
The seamless and non-porous surface prevents dirt, dust, and stains from penetrating.
Regular sweeping and occasional mopping with a mild detergent are usually sufficient for cleaning.
Resistance to chemicals and solvents reduces the need for harsh cleaning agents.
The smooth surface makes it easy to wipe away spills and stains.
Epoxy coatings are highly durable and resistant to wear and tear, reducing the need for frequent repairs or replacements.
Fun Fact: With proper maintenance, epoxy coatings can last for up to 20 years or more, providing long-lasting and cost-effective flooring solutions.
Resistance to Chemicals and Stains
Epoxy flooring offers excellent resistance to chemicals and stains, making it a popular choice for industrial and commercial settings. This type of flooring provides a protective barrier that prevents spills and stains from penetrating the surface, making it easier to clean and maintain. Here are some key benefits of epoxy flooring in terms of resistance to chemicals and stains:
Chemical Resistance: Epoxy flooring is highly resistant to a wide range of chemicals, including acids, solvents, oils, and cleaners.
Stain Resistance: The seamless and impermeable nature of epoxy flooring prevents stains from seeping into the substrate, making it resistant to common staining agents like oils, grease, and chemicals.
Easy Cleanup: Spills and stains can be easily wiped or mopped away from the smooth, non-porous surface of epoxy flooring.
Durability: Epoxy flooring is designed to withstand heavy foot and vehicle traffic, ensuring that the resistance to chemicals and stains remains intact over time.
True story: A manufacturing facility had epoxy flooring installed in their production area. One day, a chemical spill occurred, but thanks to the epoxy flooring’s excellent resistance to chemicals, the spill was quickly contained and cleaned up without causing any damage to the underlying concrete. The seamless and stain-resistant nature of the epoxy flooring saved the company time and money in repair and maintenance costs.
Enhances Safety
Enhancing safety is a crucial aspect of epoxy flooring. It helps prevent accidents and injuries in various settings by creating a slip-resistant surface and improving visibility. Here are some ways epoxy flooring enhances safety:
Slip Resistance:Epoxy floors can be customized with anti-slip additives to provide traction and reduce the risk of slips and falls.
High Visibility: Epoxy coatings come in a range of vibrant colours, allowing for clear demarcation of pathways, hazard zones, and emergency exits.
Durability: The strong, seamless nature of epoxy flooring creates a long-lasting surface that can withstand heavy foot traffic, impact, and abrasion.
Chemical Resistance: Epoxy floors are highly resistant to chemicals, making them safe for use in environments where spills or leaks are likely.
By incorporating these safety features, epoxy flooring ensures a secure environment for both employees and customers.
Common Issues with Epoxy Flooring
Dealing with common issues with epoxy flooring? Let’s address them head-on! From crack formation to bothersome bubbles and unsightly discoloration, we will explore each problem in detail and reveal the secrets to resolving them. Say goodbye to flooring headaches as we delve into practical solutions that will leave your epoxy floors looking flawless. No need to worry, we’ve got you covered throughout the entire process!
Crack Formation
Crack formation is a common issue with epoxy flooring. It is usually caused by factors such as improper installation, poor substrate preparation, or heavy impact. To repair cracks in epoxy flooring, follow these steps: assess the damage, prepare the surface, remove the damaged coating, repair the cracks using epoxy filler, and finally apply a new epoxy coating. Regular maintenance is essential to prevent future cracks. Additionally, a true story recounts how a homeowner experienced crack formation in their garage epoxy flooring due to heavy furniture being moved. They successfully repaired it using the aforementioned steps.
Bubbles or Blistering
Assess the damage
Inspect the affected areas to determine the extent of the bubbles or blisters.
Surface preparation
Thoroughly clean and prepare the surface by removing any dirt, dust, or grease.
Removing epoxy coating
Use appropriate tools and techniques to remove the existing epoxy coating from the affected areas.
Repairing cracks
Fix any cracks or damaged areas using epoxy crack fillers or patching compounds.
Dealing with bubbles or blistering
Release trapped air by carefully puncturing each bubble or blister and then leveling the surface.
Addressing discoloration
If discoloration occurs, follow the manufacturer’s instructions to apply the appropriate stain or pigment.
Applying new epoxy coating
Apply a new layer of epoxy coating, following the recommended application procedures.
To prevent bubbles or blistering in the future, ensure proper surface preparation, use high-quality epoxy products, and follow the manufacturer’s guidelines closely. Regular maintenance, including cleaning and avoiding harsh chemicals, can also help maintain the integrity of the epoxy flooring.
Discoloration
Epoxy flooring is a common issue that can be caused by several factors. It can occur due to exposure to UV rays, chemical spills, or improper installation. To address discoloration, follow these steps:
1. Assess the damage: Determine the extent and cause of the discoloration.
2. Surface preparation: Thoroughly clean the floor to remove any dirt or debris.
3. Removing epoxy coating: Use a floor grinder or chemical stripper to remove the discoloured epoxy layer.
4. Addressing discoloration: If the discolouration is due to UV exposure, apply a UV-resistant epoxy coating to prevent future fading.
5. Applying new epoxy coating: Once the floor is prepped, apply a new layer of epoxy coating, following the manufacturer’s instructions.
Regular maintenance, including cleaning and resealing, can help prevent discoloration and keep your epoxy flooring looking its best.
Step-by-Step Guide to Repairing Epoxy Flooring
In this guide, we will take you through the process of repairing epoxy flooring. We will cover every aspect of the repair process, starting from assessing the damage to applying a fresh coat of epoxy. Prepare yourself to get your hands dirty and turn your damaged epoxy flooring into a smooth and long-lasting surface. Let’s get started and learn how you can bring back the former glory of your flooring!
Assessing the Damage
Assessing the damage to your epoxy flooring is an important first step in the repair process. Look for cracks, bubbles or blistering, and discolouration. Evaluate the extent of the damage to determine the appropriate repairs needed. Thoroughly inspect the affected areas and make a note of any additional issues. This assessment will guide your surface preparation and help you determine the best approach to repairing the specific damage. Remember, proper assessment is crucial for a successful epoxy flooring repair. Fun fact: Assessing the damage accurately can prevent further problems and ensure a longer lifespan for your epoxy flooring.
Surface Preparation
Before repairing epoxy flooring, it is crucial to carry out proper surface preparation to ensure successful and long-lasting results. Here is a step-by-step guide to surface preparation:
Clean the surface: Eliminate any dirt, debris, or loose particles using a broom, vacuum, or pressure washer.
Remove old coatings: If there is existing epoxy coating, it must be completely eliminated using a floor grinder or shot blaster.
Repair any damages: Fill in cracks and holes using a suitable epoxy filler or patching compound. Smooth the repaired areas to create an even surface.
Etch the surface: To enhance adhesive bonding, use an acid-based etching solution or a mechanical etching method to create a rough texture.
Neutralize the surface: Rinse the surface with clean water and allow it to dry completely.
Sand the surface: Use a floor sander or sanding pad to smooth out any rough spots or imperfections on the surface.
Clean again: Remove any dust or residue left from sanding by thoroughly cleaning the surface with a mild detergent and water.
By following these steps, you will ensure that the epoxy repair adheres properly and provides a sturdy and seamless finish.
Removing Epoxy Coating
To remove epoxy coating, start by following these steps:
Prepare the area: Clear the floor of any objects or debris.
Protect yourself: Wear protective gear such as gloves and goggles to prevent contact with the chemicals.
Apply stripper: Use a chemical epoxy stripper according to the manufacturer’s instructions.
Allow time: Let the stripper sit on the epoxy coating for the recommended amount of time.
Scrape the epoxy: Use a scraper or putty knife to gently remove the softened epoxy.
Clean the floor: Wipe away any residue with a cloth or mop.
Rinse and dry: Rinse the floor with water and allow it to dry completely before applying a new coating or finish.
By following these steps, you can successfully remove epoxy coating from your floor.
Repairing Cracks
To repair cracks in epoxy flooring, follow these steps:
Assess the damage: Determine the size and severity of the crack.
Surface preparation: Thoroughly clean the area around the crack to remove dirt and debris.
Remove the epoxy coating: Carefully strip away the epoxy coating surrounding the crack.
Repair the crack: Fill the crack with an epoxy filler designed for concrete repairs.
Address any bubbles or blistering: If present, carefully remove any bubbles or blisters in the epoxy flooring.
Address discoloration: If the repaired area appears discoloured, use an epoxy colour pigment to match the original flooring colour.
Apply a new epoxy coating: Once the crack is repaired and the area is fully prepared, apply a new layer of epoxy coating for a seamless finish.
Dealing with Bubbles or Blistering
Dealing with bubbles or blistering in epoxy flooring involves identifying the cause and taking the necessary steps to fix the problem. Here is a step-by-step guide to addressing bubbles or blistering:
Identify the Cause:Bubbles can form due to trapped air or moisture, while blistering may occur due to improper surface preparation or poor mixing of the epoxy.
Inspect the Surface: Carefully examine the affected area to determine the extent of the bubbles or blistering.
Prepare the Surface: Use a scraper or sander to remove any loose or damaged epoxy.
Repair Bubbles: If the bubbles are caused by trapped air or moisture, gently puncture the bubble with a pin or needle to release the air or moisture.
Repair Blistering: Smooth the blistered area by sanding it down and then reapply the epoxy using the correct mixing ratios and proper surface preparation.
Allow for Curing: Follow the manufacturer’s instructions for the recommended curing time and conditions.
Maintain the Floor: Regularly clean and maintain the epoxy flooring to prevent future issues.
True story: A homeowner noticed bubbles forming in their recently installed epoxy floor. After researching the issue, they discovered that excess moisture was the cause. They resolved it by installing a vapor barrier before reapplying the epoxy, ensuring a smooth and bubble-free surface.
Addressing Discoloration
To address discoloration in epoxy flooring, follow these steps:
1. Determine the cause of discoloration, such as exposure to UV rays or chemical spills.
2. Thoroughly clean the affected area using a mild detergent and water.
3. If the discoloration is a result of UV damage, consider applying a UV-resistant topcoat to prevent future colour fading.
4. For stubborn stains, use a chemical cleaner specifically designed for epoxy floors, following the manufacturer’s instructions.
5. If the discoloration persists, lightly sand the affected area to remove the top layer of epoxy and reveal a fresh surface.
6. Apply a new layer of epoxy paint or coating to restore the colour and finish of the flooring.
7. Regularly maintain the epoxy flooring by cleaning it with gentle, non-abrasive cleaners and avoiding harsh chemicals and excessive sunlight exposure to prevent further discoloration.
Applying New Epoxy Coating
To apply a new epoxy coating, follow these steps:
Clean the surface thoroughly, removing any dirt or debris.
If there are any existing coatings, remove them using a suitable method, such as grinding or sanding.
Fill any cracks or damage on the floor with an epoxy filler or patching compound.
To address bubbles or blistering, gently sand the affected areas and apply a thin layer of epoxy to level it.
If there is any discoloration, use an epoxy-compatiblestain remover or bleach to restore the original color.
Apply a primer coat of epoxy to the floor, following the manufacturer’s instructions.
Once the primer has dried, apply the final coat of epoxy using a roller or brush, ensuring even coverage. Allow it to fully cure according to the recommended drying time.
Tips for Maintaining Epoxy Flooring
Maintaining epoxy flooring is crucial for its longevity and appearance. Here are some tips to ensure that your epoxy flooring remains in optimal condition:
Regular cleaning: It is important to sweep or vacuum regularly in order to eliminate dirt and debris that may scratch the surface.
Use mild cleaners: Avoid using abrasive cleaners as they can cause damage to the epoxy. Instead, opt for gentle, pH-neutral cleaners to mop the floor.
Protect against chemicals: Although epoxy is resistant to chemicals, it is still important to promptly clean up any spills to prevent potential damage.
Avoid heavy impacts: While epoxy is durable, heavy impacts can lead to chipping or cracking. Utilize furniture pads and refrain from dropping heavy objects on the floor.
Reapply topcoat: Over time, the topcoat of the epoxy may wear off. To maintain its shine and protect the epoxy, consider reapplying a fresh topcoat every few years.
Frequently Asked Questions
What is the process for creating a DIY designer epoxy resin floor?
The process for creating a DIY designer epoxy resin floor involves several steps:
Step 1: Ensure a dry, heated working environment with an ambient temperature of around 20°C.
Step 2: Seal the perimeter and create a barrier at doorways using builders caulk or silicone sealant.
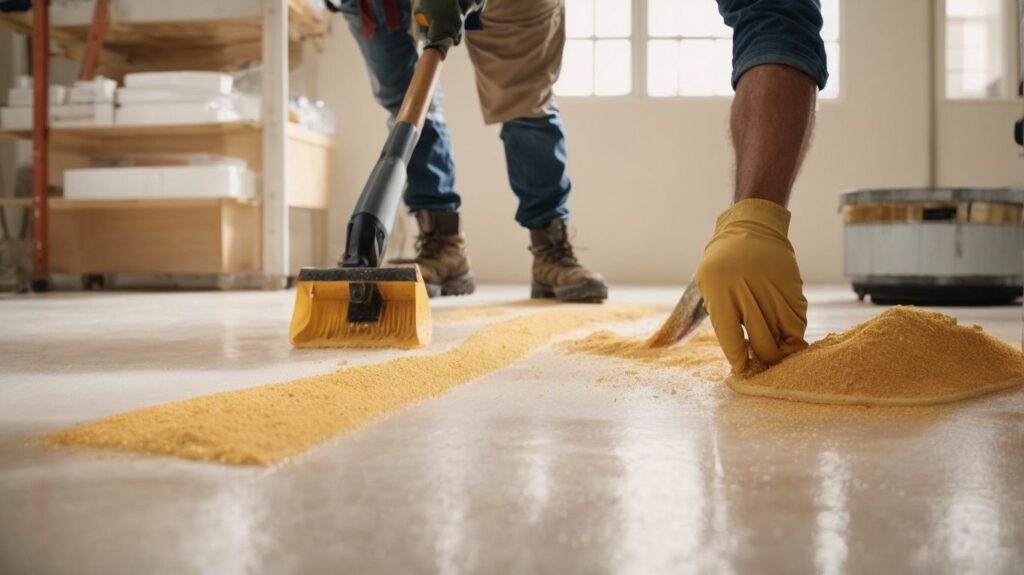
Step 3: Fill any cracks, holes, or gaps in the floor with a mixture of GlassCast 3 and Fumed Silica to create a smooth surface.
Step 4: Sand the floor and thoroughly clean it.
Step 5: Mix the GlassCast 3 in small batches and pour it onto the floor using a notched squeegee on a pole.
Step 6: Spread the resin evenly and remove any air bubbles using a heat gun or propane torch.
Step 7: Apply multiple coats if necessary to achieve the desired thickness.
Step 8: Allow the resin to cure fully before placing heavy traffic or furniture on the floor.
What materials are needed for creating a DIY designer epoxy resin floor?
The necessary materials for creating a DIY designer epoxy resin floor include:
GlassCast 3 Clear Epoxy Coating Resin
Grey Epoxy Solid Colour Pigment
Fumed Silica
Scales
Paddle mixer
Safety equipment
Spiked shoes
Builders caulk or silicone sealant
Notched squeegee on a pole
Spreaders and mixing stick
Cleaning equipment
Polypropylene strip
Glue gun
How do I calculate the amount of resin needed for my DIY designer epoxy resin floor?
To calculate the amount of resin needed for your DIY designer epoxy resin floor, follow these steps:
Measure the area of the room.
Multiply the area by the desired depth of the pour.
In this case, a 7m by 10m room with a 1.5mm depth requires 3 kits of GlassCast 3, totaling 112.5kg.
What precautions should be taken when working with DIY epoxy resin flooring?
When working with DIY epoxy resin flooring, it is important to take the following precautions:
Ensure a dry, heated working environment with an ambient temperature of around 20°C.
Wear safety equipment to protect yourself from fumes and chemicals.
Use spiked shoes to prevent footprints in the wet resin.
Seal the perimeter and create a barrier at doorways to prevent resin seepage.
Fill any cracks, holes, or gaps in the floor for a smooth surface.
Follow instructions for mixing and applying the resin carefully.
Allow the resin to fully cure before placing heavy traffic or furniture on the floor.
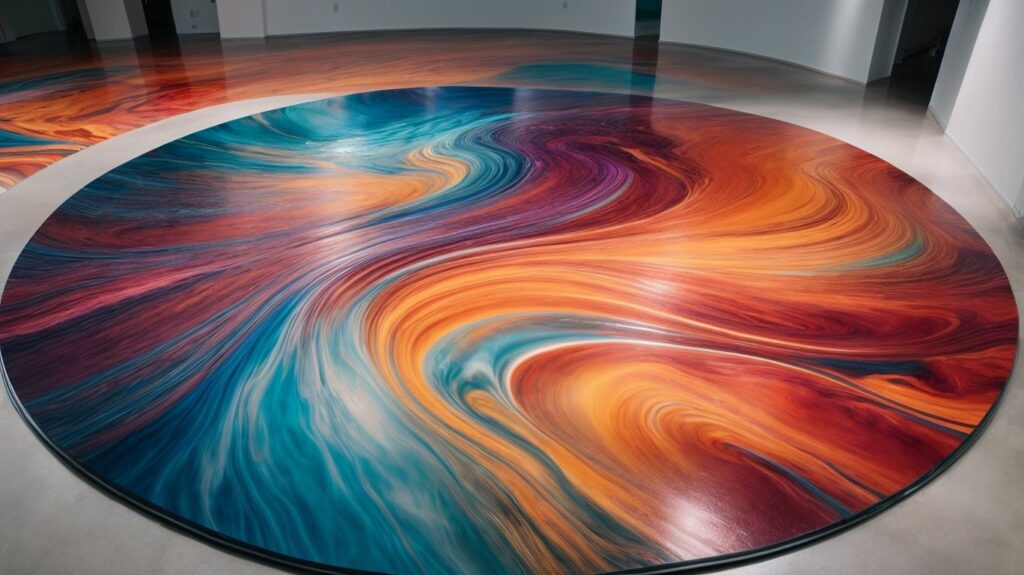
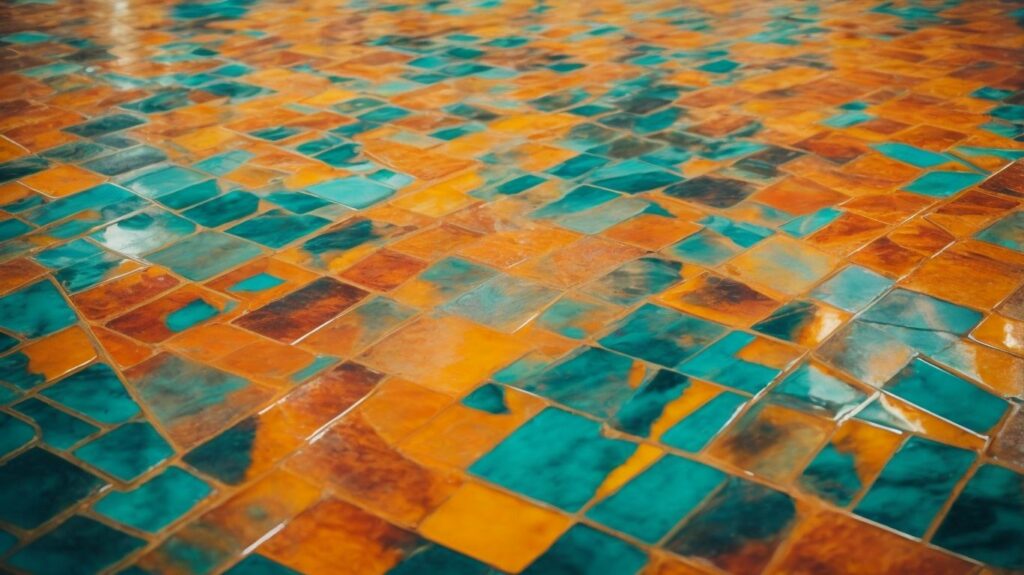
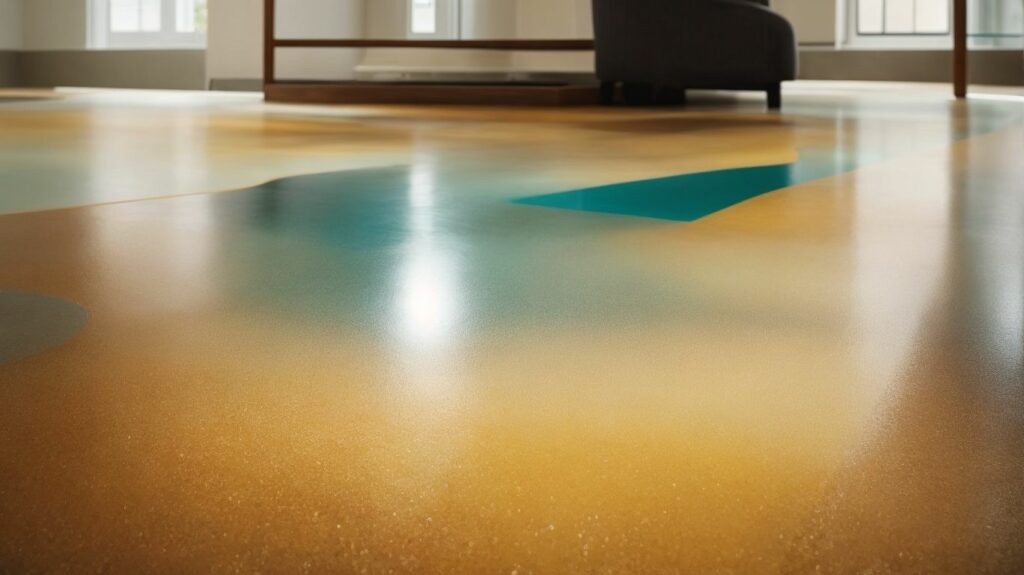
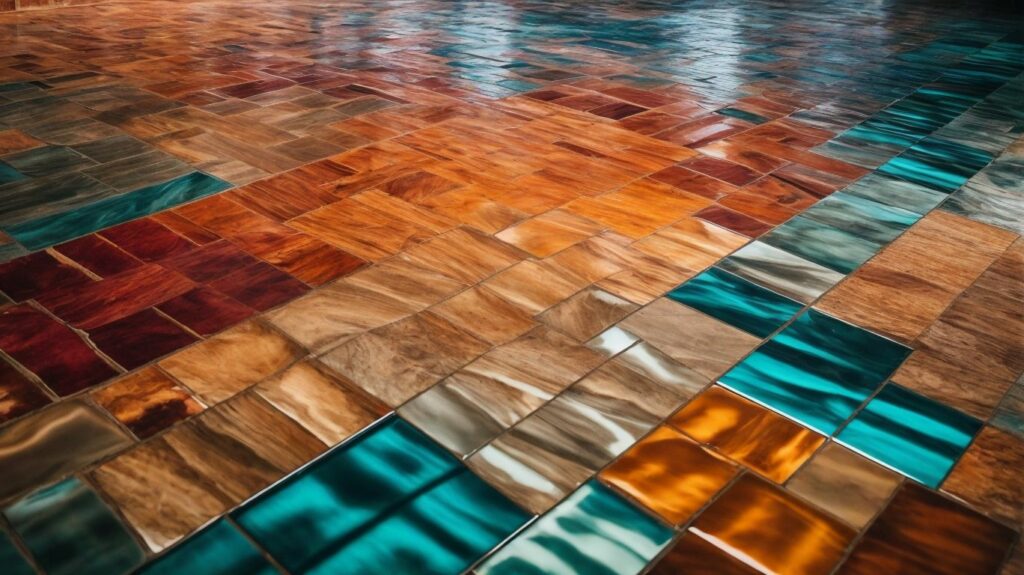
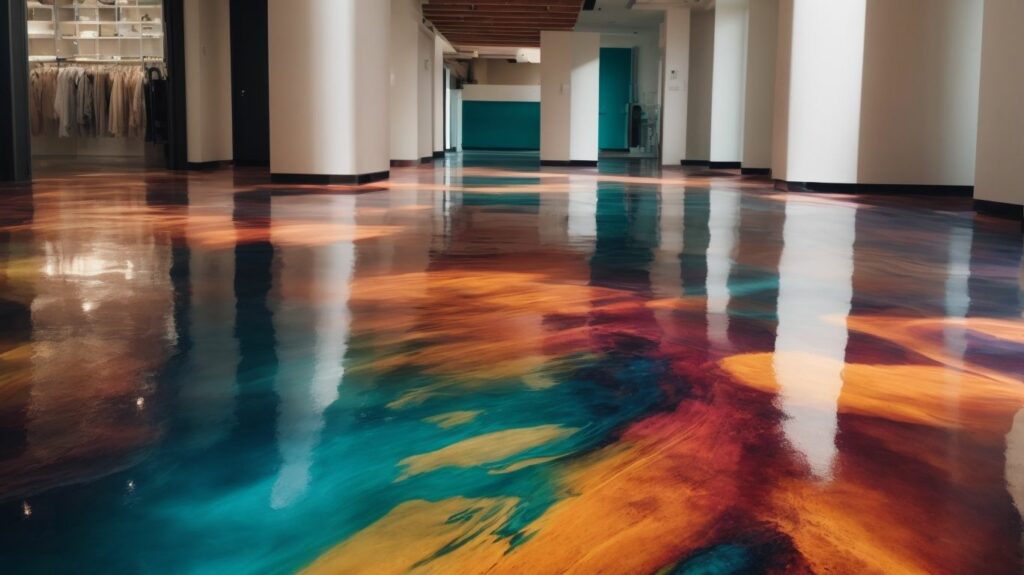
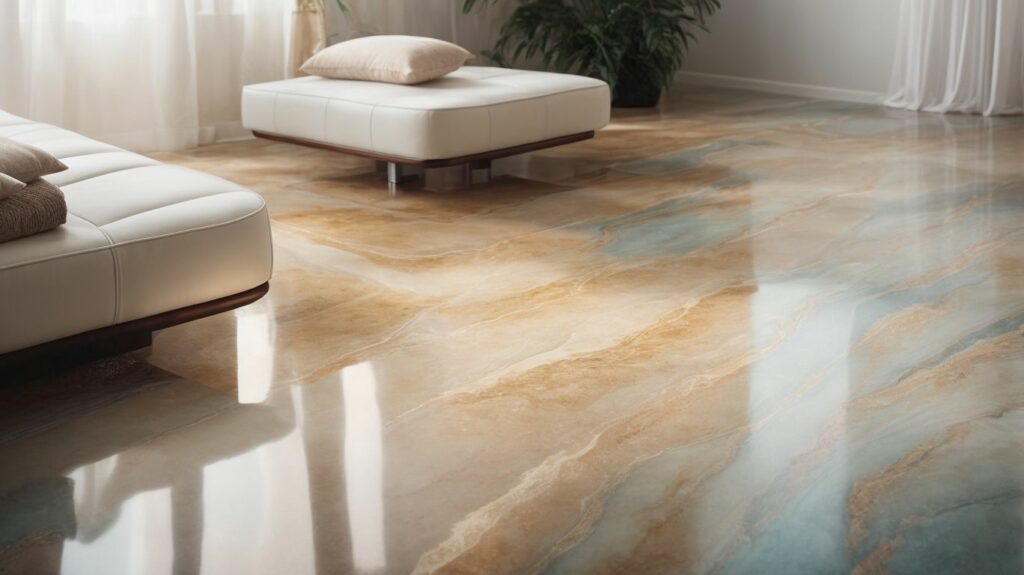
What are the benefits of DIY designer epoxy resin flooring?
DIY designer epoxy resin flooring offers several benefits, including:
Ability to create marbled floors, resin art floors, or a clear coating on top of a decorative floor.
Durable and easy to clean, making it ideal for high traffic areas.
Makes a dramatic statement with its high gloss and glossy clear topcoat finish.
Resists stains and is easy to maintain.
Provides a unique and decorative aesthetic to any space.
Whose copyright does the DIY designer epoxy resin floor information belong to?
The copyright for the DIY designer epoxy resin floor information belongs to Google LLC in 2023.