20+ Years Experience
Specialist Resin Flooring Installers
Enquire Today For A Free No Obligation Quote
HTML
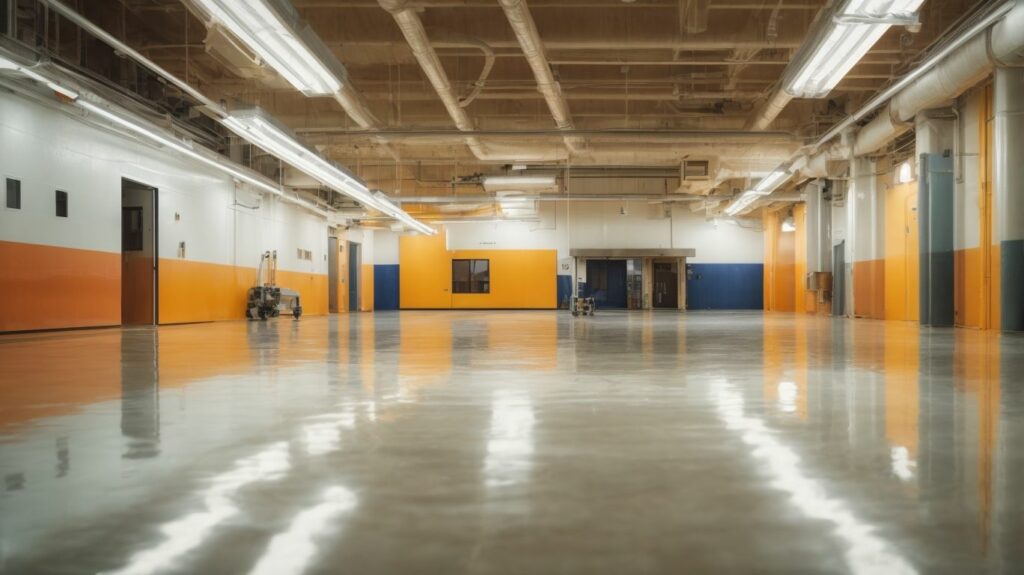
Resin flooring is a popular choice for commercial and industrial spaces due to its durability, versatility, and aesthetic appeal. This step-by-step tutorial will guide you through the process of mastering the installation of resin flooring, ensuring a successful and professional outcome.
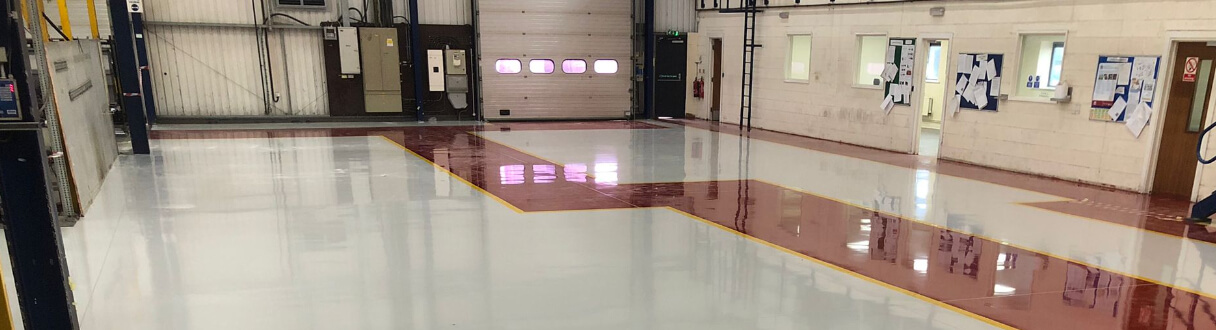
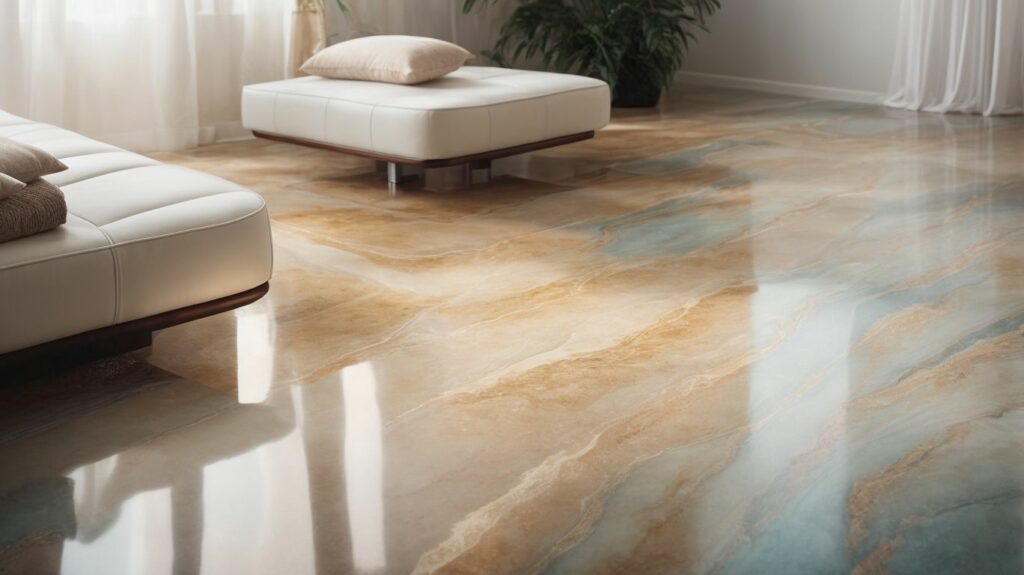
Before delving into the installation process, let’s explore the benefits of resin flooring. Resin flooring offers a range of advantages, including its seamless and smooth finish, excellent chemical resistance, high durability, and easy maintenance. It provides a hygienic and safe solution for various environments.
There are different types of resin flooring available, each with its own unique properties and suitability for specific applications. The main types include epoxy resin flooring, polyurethane resin flooring, and acrylic resin flooring. Understanding the characteristics of each type will help you choose the most suitable option for your project.
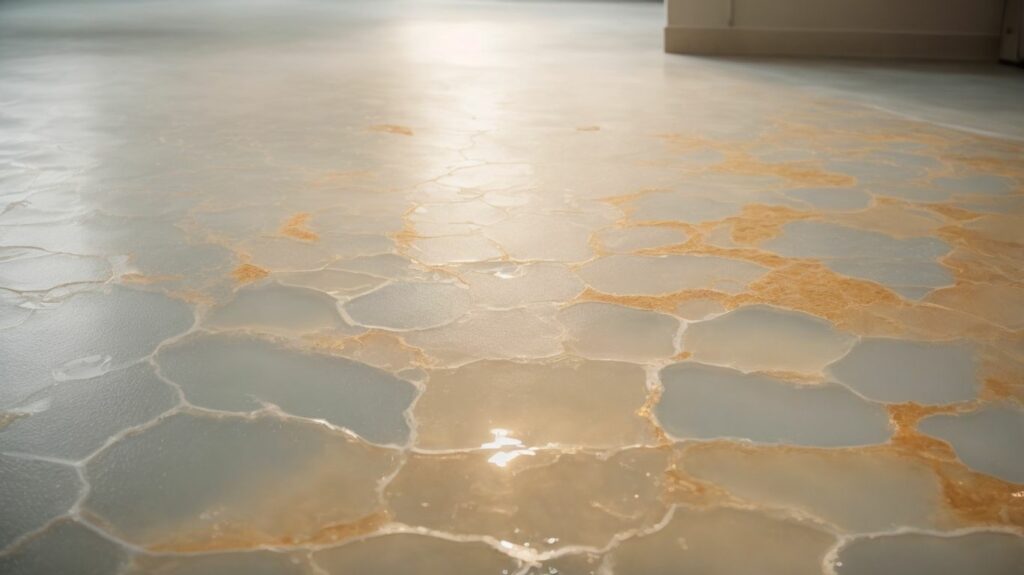
To ensure a successful installation, thorough preparation is crucial. This involves assessing the substrate to ensure its suitability, as well as cleaning and properly preparing the surface for the resin application. Proper substrate assessment and surface preparation play a vital role in the longevity and performance of the resin flooring.
Before embarking on the installation process, gather the necessary materials and tools required for resin flooring installation. This includes the resin flooring system components, such as the base coat and topcoat, as well as protective equipment to ensure safety during the installation. Various application tools, such as rollers and brushes, are necessary for a smooth and even application.
In the subsequent sections, we will provide a comprehensive step-by-step guide to installing resin flooring, including primer application, base coat application, optional decorative chip broadcasting, and clear topcoat application. Following these steps precisely will ensure a successful installation and a flawless finish.
Finally, we will discuss the curing and drying time required for resin flooring, as well as maintenance and care tips to keep your resin flooring looking its best for years to come. By following this step-by-step tutorial, you will gain the necessary knowledge and skills to master the installation of resin flooring and achieve professional results.
Resin flooring offers a range of benefits that make it a popular choice for commercial and industrial spaces. These benefits include:
– Durability: Resin flooring is highly resistant to wear and tear, making it suitable for high-traffic areas.
– Easy maintenance: The smooth and seamless surface of resin flooring makes it easy to clean and maintain.
– Chemical resistance: Resin flooring is resistant to chemicals, making it ideal for industries that handle hazardous substances.
– Safety: Resin flooring can be customized with anti-slip properties, ensuring a safe working environment.
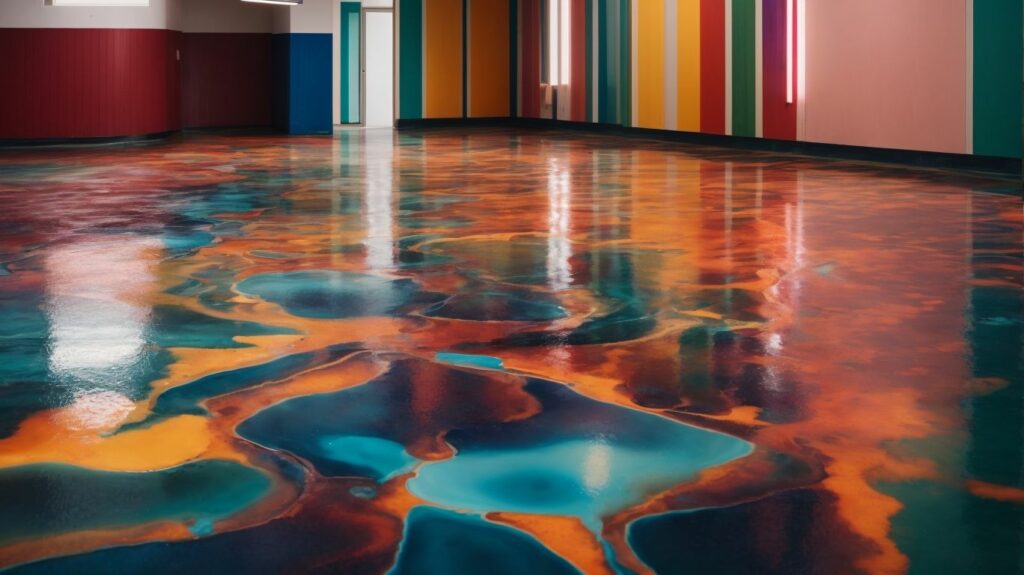
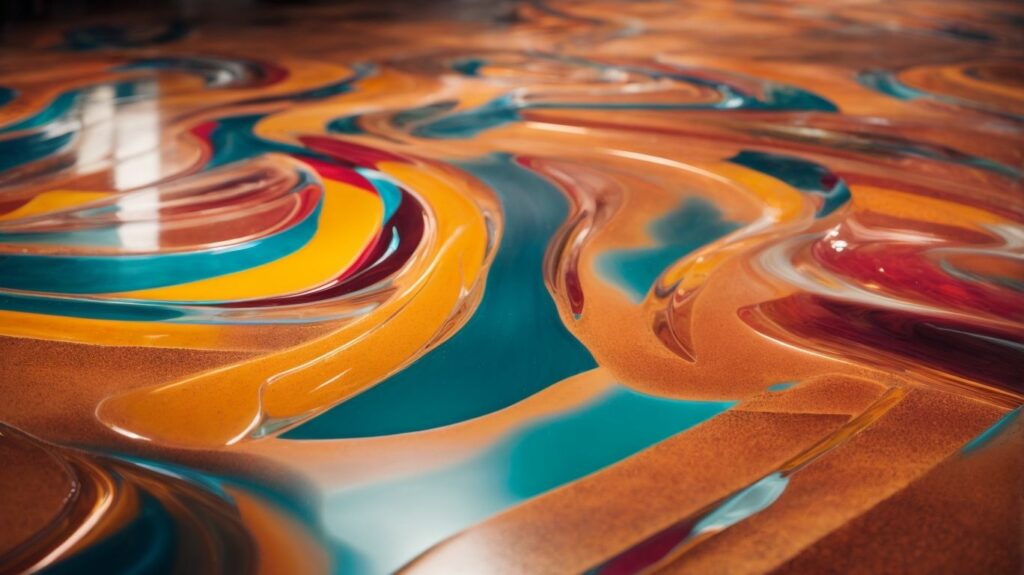
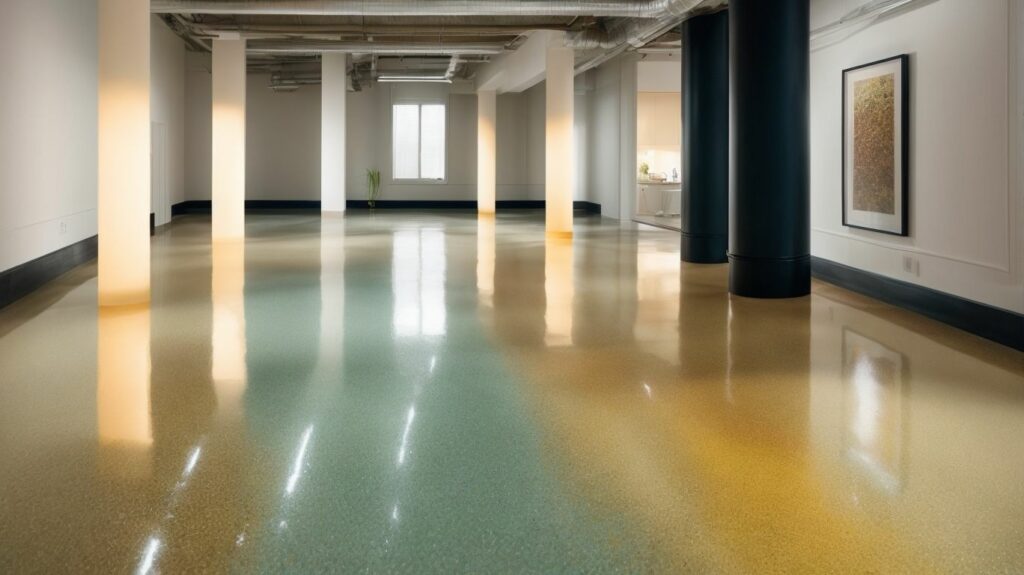
– Aesthetics: Resin flooring comes in a variety of colours and finishes, allowing for creative and attractive designs.
Resin flooring has a long history, dating back to the 1960s, when it started being used in industrial settings due to its durability and low maintenance requirements. Since then, advancements in technology have improved the performance and aesthetics of resin flooring. Today, it is not only used in industrial settings but also in commercial spaces such as offices, retail stores, and healthcare facilities, thanks to its numerous benefits.
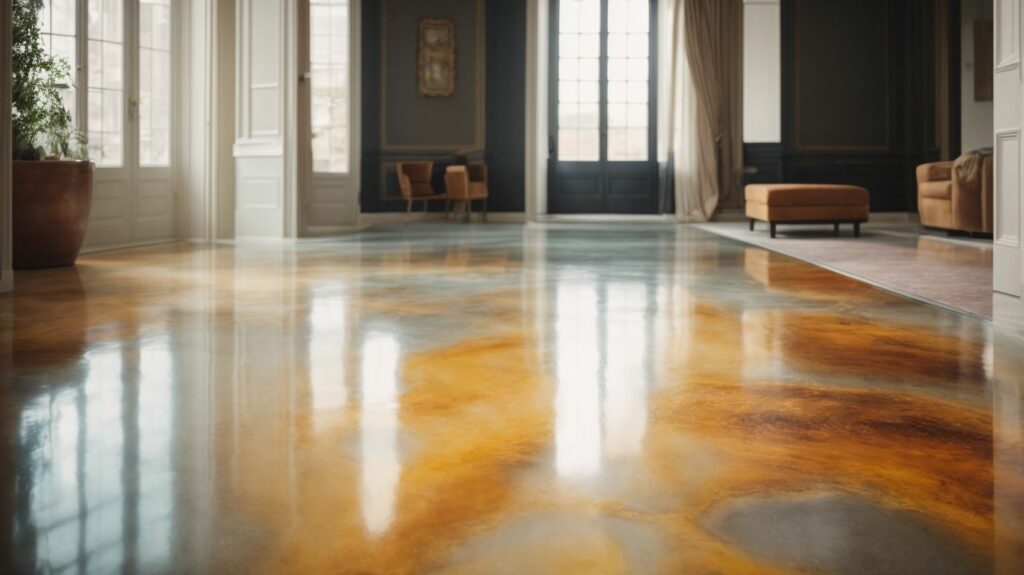
When it comes to renovating your floors, there are several options for resin flooring to consider. These options include durable and sleek epoxy resin flooring, versatile and resilient polyurethane resin flooring, and vibrant and glossy acrylic resin flooring. Each type offers its own unique characteristics. In this section, we will explore the various types of resin flooring, highlighting their key features and explaining how they can enhance the aesthetics and functionality of your floors. Let’s delve into the world of resin flooring!
Epoxy resin flooring is a popular choice for commercial and industrial spaces due to its durability and chemical resistance. Here are some key points to consider about epoxy resin flooring:
Pro-tip: Before installing epoxy resin flooring, ensure that the substrate is properly prepared by cleaning and repairing any cracks or damaged areas. This will ensure a smooth and long-lasting finish.
“`
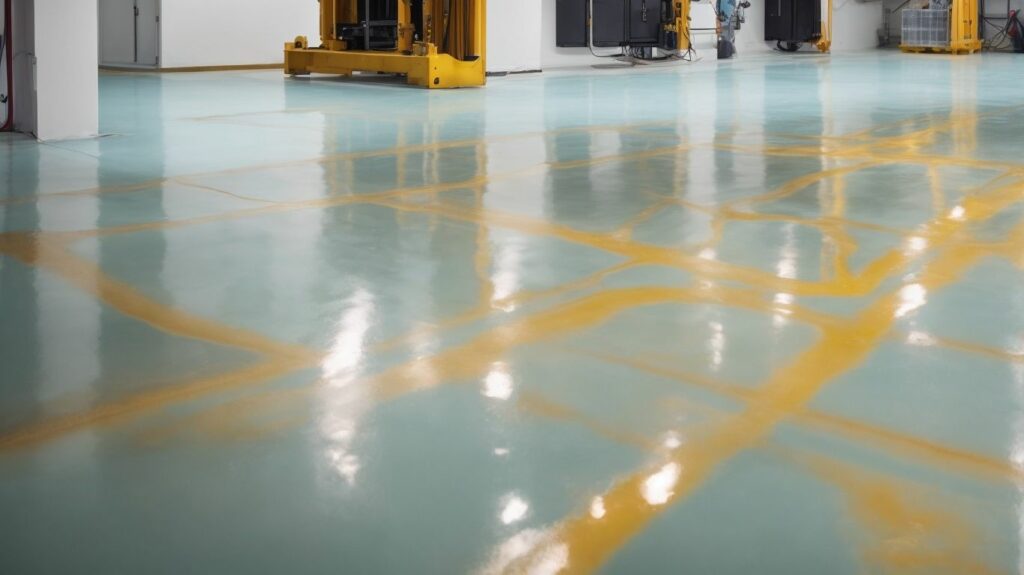
Polyurethane resin flooring is a popular choice for industrial and commercial applications because of its durability and chemical resistance. It offers a seamless, smooth, and glossy finish that is easy to clean and maintain. Polyurethane resin flooring provides excellent resistance to abrasion, impact, and heavy traffic. It is also resistant to moisture and chemicals, making it suitable for areas with high humidity or chemical exposure. Polyurethane resin flooring is available in a wide range of colours and finishes, allowing for customization and aesthetic appeal. Its versatility and performance make it an ideal choice for many industries, including automotive, pharmaceutical, and food processing.
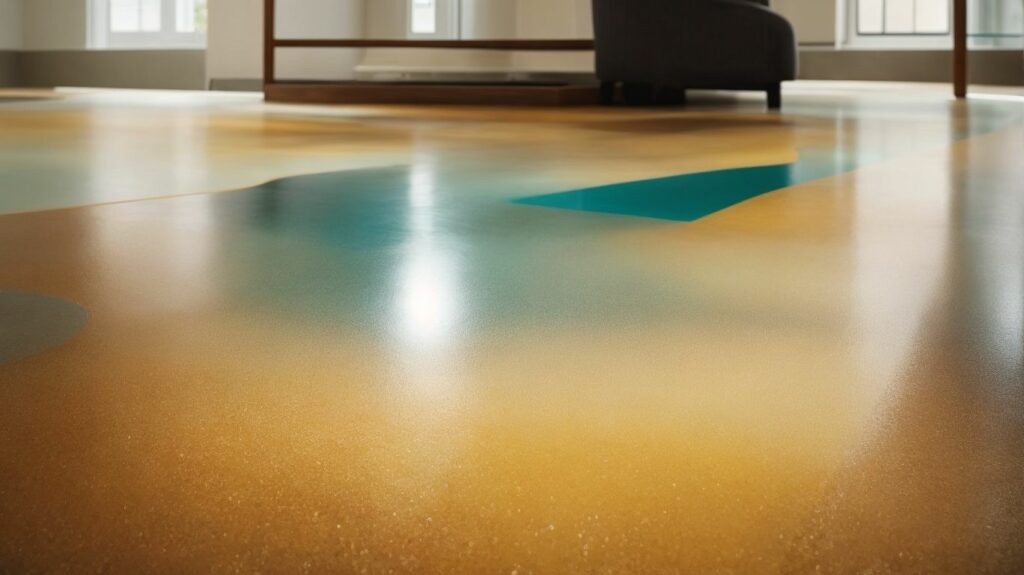
Acrylic resin flooring is a popular choice for both residential and commercial settings because of its durability and versatility. Consider the following key points about acrylic resin flooring:
Seamless and smooth: Acrylic resin flooring creates a seamless and smooth surface, which is not only visually appealing but also easier to clean and maintain.
Chemical and stain resistance: Acrylic resin flooring is highly resistant to chemicals, oils, and stains, making it suitable for high-traffic areas and potential spills.
UV stability: Unlike other resin flooring types, acrylic resin flooring is UV stable, meaning it won’t yellow or deteriorate when exposed to sunlight.
Fast installation and curing: Acrylic resin flooring can be applied quickly, and it has a fast curing time, allowing for minimal downtime during installation.
Decorative options: Acrylic resin flooring offers a wide range of color and design options, allowing for customization to match any aesthetic or branding requirements.
Fun Fact: Did you know that acrylic resin flooring is also commonly used in art studios and galleries due to its ability to enhance the visual appeal of the space while providing a durable and easy-to-maintain surface?
Preparing for the installation of resin flooring is a crucial step that requires attention to detail. In this section, we will explore the essential aspects of preparing the substrate and ensuring a clean and well-prepared surface. Learn how to assess the substrate and follow proper cleaning and surface preparation techniques to set the stage for a successful resin flooring application. Prepare to lay the foundation for a stunning and long-lasting flooring solution.
Assessing the substrate is a crucial step in the installation of resin flooring. It involves evaluating the condition and suitability of the existing surface before applying the resin. Here are some considerations for assessing the substrate:
| 1. Surface Condition: | Check for cracks, unevenness, or damage that may affect the adhesion of the resin. |
| 2. Moisture Levels: | Measure the moisture content of the substrate to ensure it is within the acceptable range for the specific resin system. |
| 3. Cleanliness: | Ensure that the substrate is free from dust, dirt, grease, or any other contaminants that can compromise the bond between the substrate and the resin. |
| 4. Compatibility: | Determine if the substrate material is compatible with the resin flooring system you intend to use. |
By carefully assessing the substrate, you can identify any issues that need to be addressed before proceeding with the resin flooring installation, ensuring a successful and long-lasting result.
Before installing resin flooring, it is important to ensure that the cleaning and surface preparation are carried out correctly. To achieve a successful installation, follow the steps below:
Assess the substrate: Examine the surface for any damages or irregularities that require repair.
Clean the surface: Eliminate all dirt, dust, grease, and previous coatings from the floor using an appropriate cleaning solution.
Repair any damages: Fill any cracks or holes in the floor using a suitable filler or patching compound.
Etch the surface: Use either an acid or mechanical method to etch the surface, ensuring proper adhesion of the resin coating.
Rinse and dry the floor: Thoroughly rinse the floor with clean water to remove any residues and allow it to completely dry before proceeding.
By following these steps, the surface will be well-prepared and ready for the resin flooring installation, resulting in a durable and long-lasting finish.
In this section, we will explore the materials and tools required for the installation of resin flooring. We will discuss the various components of a resin flooring system and the importance of using proper protective equipment. Additionally, we will provide information on the key application tools that are essential for mastering the art of resin flooring installation. Let’s begin!
The resin flooring system consists of resin, hardener, filler, and additives. These components work together to create a strong and seamless floor. The resin serves as the main material, offering strength and resistance to chemicals. The hardener is mixed with the resin to start the curing process, resulting in a solid and resilient surface. Fillers are added to improve certain characteristics, such as texture or flexibility. Additives are used to modify the floor’s properties, such as increasing slip resistance or UV stability. Selecting the appropriate combination of components is vital to ensure optimal performance and longevity of the resin flooring system.
For instance, a construction company was assigned to install a resin flooring system in a busy commercial kitchen. They carefully chose the suitable resin, hardener, fillers, and additives based on the specific requirements of the kitchen environment. The outcome was a seamless and durable floor that endured heavy foot traffic, spills, and rigorous cleaning. The client was highly satisfied with the performance of the resin flooring system, as it provided a safe and hygienic surface for their bustling kitchen operations.
When installing resin flooring, it is important to prioritise safety by using the appropriate protective equipment. Here is a list of essential protective gear:
By wearing appropriate protective equipment, you can ensure a safe and successful resin flooring installation.
When it comes to installing resin flooring, it is important to have the right application tools in order to achieve a successful and professional finish. Here are some essential application tools that you will need:
Discover the process of installing resin flooring as we guide you step-by-step. From applying the important primer to adding the final clear topcoat, this guide will provide you with the expertise to master the installation process. Learn how to start with the base coat and create beautiful visuals by scattering decorative chips. Follow along and become an expert in the field of resin flooring installation.
To ensure a successful installation of resin flooring, it is essential to properly apply a primer. Follow these steps for the primer application:
Properly applying the primer is crucial as it ensures the adhesion and durability of the resin flooring system. By following these steps, you can achieve a successful installation.
To properly apply the base coat for resin flooring, follow these steps:
Pro-tip: Before applying the base coat, ensure the temperature and humidity levels are within the recommended range. This will optimize the curing process and help achieve a durable and long-lasting resin flooring.
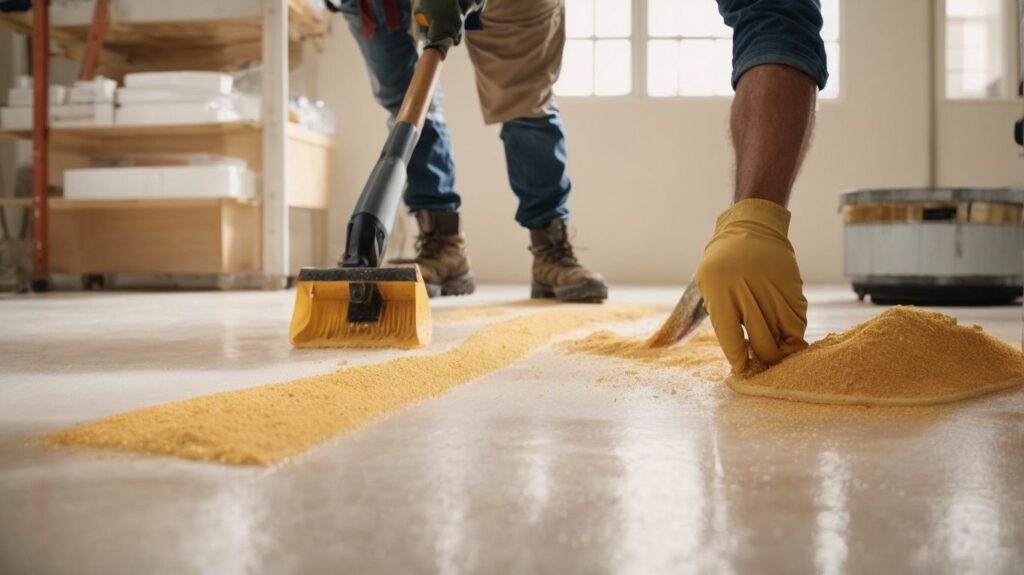
Step 3: Broadcasting of Decorative Chips
The broadcasting of decorative chips is a crucial step in the installation of resin flooring. It not only adds a decorative element to the floor but also provides texture and durability. Follow this step-by-step guide to complete the process:
The practice of broadcasting decorative chips in resin flooring dates back to the early 1900s when architects and designers started experimenting with ways to incorporate colour and texture into industrial floors. Over the years, the process has evolved and gained popularity as a visually appealing and durable flooring solution for both commercial and residential spaces.
Once you have applied the base coat in the installation process of resin flooring, the next step is the clear topcoat application. Here is a step-by-step guide for this crucial stage:
Remember to follow safety precautions and wear protective equipment during the topcoat application. With these steps, you will achieve a smooth and durable finish for your resin flooring.
For a flawless finish, ensure proper surface preparation before the clear topcoat application. Regular maintenance and care, such as routine cleaning and avoiding harsh chemicals, will prolong the lifespan and beauty of your resin flooring.
Curing and drying time are important considerations when installing resin flooring. The table below presents the average curing and drying times for different types of resin flooring.
| Resin Flooring Type | Curing Time (hours) | Drying Time (hours) |
|---|---|---|
| Epoxy | 24-48 | 24-72 |
| Polyurethane | 4-8 | 12-24 |
| MMA | 2-4 | 6-8 |
It is crucial to adhere to proper curing and drying times in order to achieve a durable and long-lasting resin floor. Rushing the process can compromise the quality and performance of the flooring.
Maintenance and care of resin flooring is essential for its longevity and appearance. Follow these guidelines to ensure your resin flooring stays in top condition:
A company installed resin flooring in their warehouse and implemented a strict maintenance routine. Years later, the flooring still looked brand new, impressing clients and boosting employee morale. The investment in proper care paid off, proving that diligent maintenance is vital for the longevity of resin flooring.
Epoxy flooring offers a range of practical benefits including durability, heat and water resistance, chemical resistance, and easy maintenance. It is also cost-effective and provides a smooth, attractive finish.
Yes, epoxy flooring is becoming increasingly popular in residential garages and other areas of the home. Its durability and attractive finish make it a great choice for both commercial and residential applications.
Before applying epoxy, it is important to clean the floor thoroughly. This involves using a degreaser, sanding the floor, filling cracks or holes with concrete filler, and removing any dirt and debris. A detailed step-by-step guide is available in the provided reference data.
In some cases, epoxy flooring can be applied on top of existing floor coatings. However, it is important to consult a professional installer to ensure proper installation and achieve the desired finish. They will be able to assess the condition of the existing coating and determine if it is suitable for epoxy application.
Alternatives to epoxy flooring include floating timber flooring, stone flooring, tiles, vinyl, and working with raw concrete by polishing or staining it. Each alternative has its own advantages and it is important to consider factors such as durability, cost, and desired aesthetics when choosing the right flooring option for your space.
Many epoxy flooring products offer anti-slip properties, making them suitable for areas where slip-resistance is a concern. It is important to select epoxy products that are specifically designed to provide slip resistance and consult a professional to ensure the appropriate coating is applied for your needs.


We Aim To Reply To All Enquiries With-in 24-Hours