20+ Years Experience
Specialist Resin Flooring Installers
Enquire Today For A Free No Obligation Quote
Revamp Your Home with Poured Resin Flooring: A Comprehensive Installation Guide
Poured resin flooring is an innovative and modern flooring option that can greatly enhance the aesthetic appeal and functionality of your home. Its numerous benefits make it a popular choice for homeowners. This comprehensive installation guide will walk you through the process, ensuring a successful transformation of your living space.
Benefits of Poured Resin Flooring
1. Durability and Longevity: Poured resin flooring is highly durable and long-lasting, making it ideal for high-traffic areas in your home.
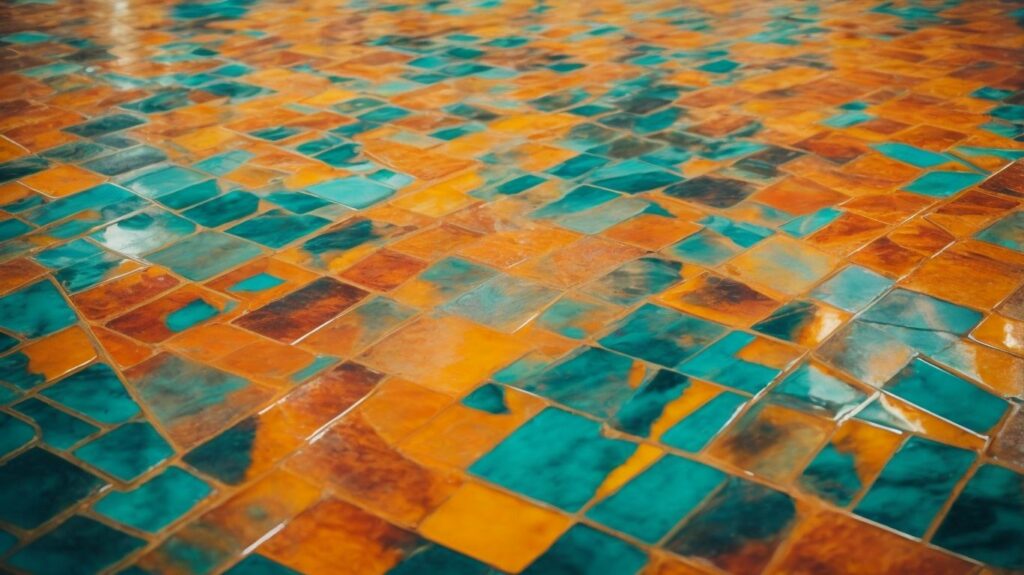
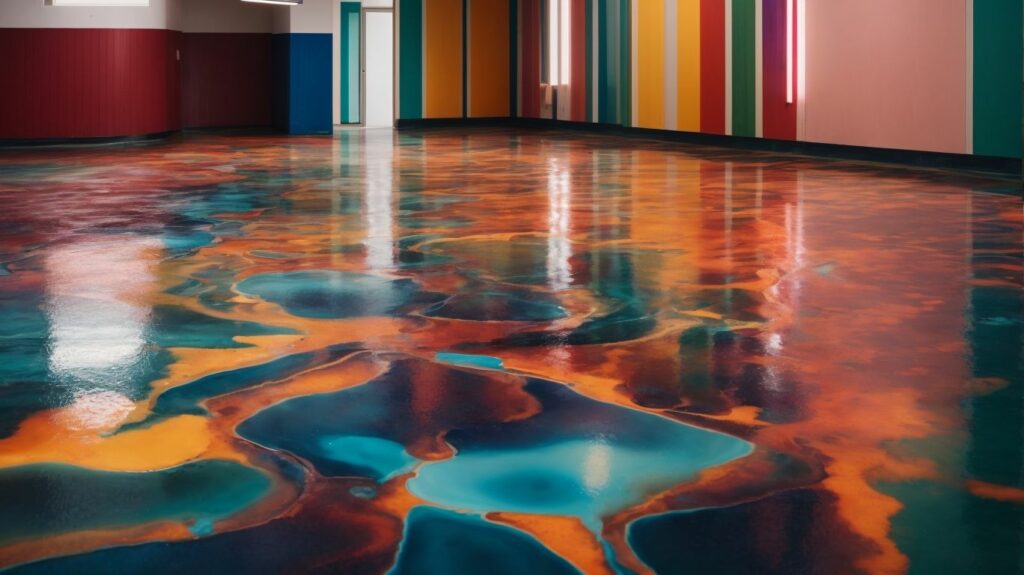
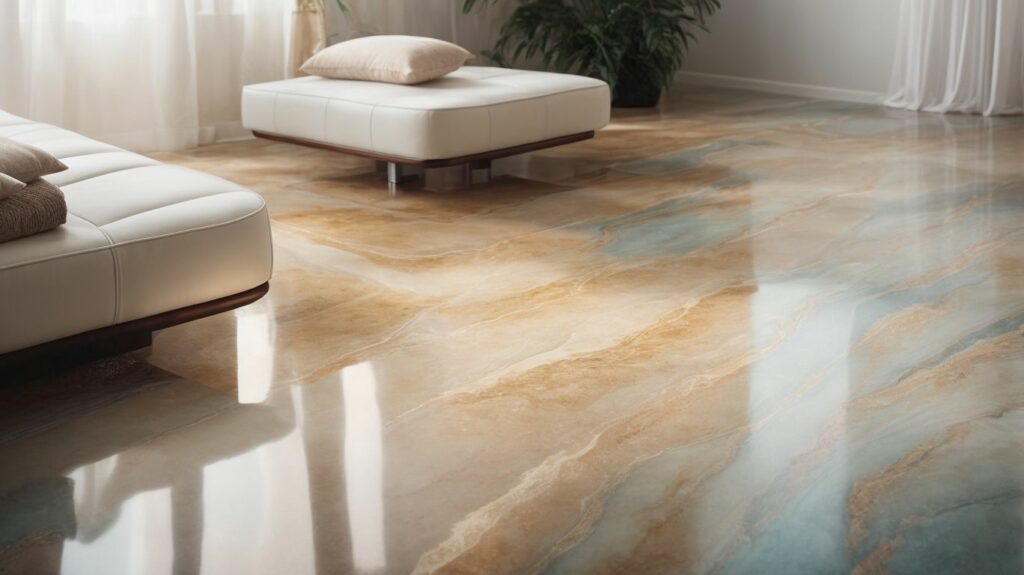
2. Versatility in Design: With a wide range of colors, patterns, and finishes available, poured resin flooring offers limitless design possibilities to suit your personal style and preferences.
3. Seamless and Easy to Clean: The smooth and seamless surface of resin flooring makes it incredibly easy to clean, eliminating the hassle of dirt and grime getting trapped in gaps or seams.
4. Hygienic and Allergen-Resistant: Resin flooring is resistant to allergens and provides a hygienic surface, making it an excellent choice, especially for individuals with allergies or respiratory conditions.
Preparing for Poured Resin Flooring Installation
Before you begin the installation process, proper preparation is essential for achieving a flawless and long-lasting result. Here are the key steps to follow:
1. Assessing the Subfloor: Thoroughly evaluate the condition of the existing subfloor to ensure it is sturdy, level, and free from any cracks or damages.
2. Acclimating the Resin Material: Allow the resin material to acclimate to the room temperature for a specified time to ensure optimal performance during installation.
3. Gathering the Necessary Tools and Equipment: Make sure you have all the tools and equipment required for the installation, including protective gear, mixing tools, and application equipment.
By following these steps, you can create a solid foundation for the poured resin flooring installation process.
Step-by-Step Installation Guide for Poured Resin Flooring
To achieve a professional-looking result, it is important to carefully follow the installation steps. Here is a step-by-step guide to help you through the process:
1. Surface Preparation: Thoroughly clean and prepare the subfloor, ensuring it is free from dust, debris, and any imperfections.
2. Priming the Subfloor: Apply a suitable primer to the subfloor to enhance adhesion and create a secure bond with the resin material.
3. Mixing and Applying the Resin: Follow the manufacturer’s instructions for mixing the resin material and apply it evenly onto the prepared surface.
4. Leveling and Smoothing the Surface: Use appropriate tools to level and smooth the resin, ensuring a uniform and seamless finish.
5. Adding Decorative Elements (Optional): If desired, incorporate decorative elements such as pigments or flakes into the resin to create unique patterns or designs.
6. Curing and Sealant Application: Allow the resin to cure according to the recommended time, and then apply a suitable sealant to enhance durability and longevity.
Maintenance Tips for Poured Resin Flooring
To keep your poured resin flooring looking its best and to prolong its lifespan, regular maintenance is crucial. Here are some essential maintenance tips to consider:
1. Regular Cleaning and Maintenance: Regularly clean the flooring using a soft mop or microfiber cloth to remove dirt and spills. Avoid using abrasive cleaners that could damage the surface.
2. Addressing Minor Damage or Scratches: If minor damage or scratches occur, use a fine-grit sandpaper to gently smooth the affected area, then reapply a topcoat or sealant as needed.
3. Professional Resurfacing and Refinishing: Over time, depending on usage and wear, your resin flooring may require professional resurfacing or refinishing to restore its original appearance and performance.
By following these maintenance tips, you can ensure your poured resin flooring remains beautiful and functional for years to come.
Discover the amazing benefits of poured resin flooring that can transform your home into a stylish and functional space. This section explores the numerous advantages of poured resin flooring, focusing on the Benefits of Poured Resin Flooring. Experience the seamless and easy-to-clean surface that eliminates the need for deep cleaning. Additionally, revel in the hygienic and allergen-resistant nature of this flooring option, which ensures a healthy living environment for you and your loved ones. Prepare to revamp your home with the unparalleled benefits of poured resin flooring.
Discover the amazing benefits of poured resin flooring that can transform your home into a stylish and functional space. This section explores the numerous advantages of poured resin flooring, focusing on the Benefits of Poured Resin Flooring. Experience the seamless and easy-to-clean surface that eliminates the need for deep cleaning. Additionally, revel in the hygienic and allergen-resistant nature of this flooring option, which ensures a healthy living environment for you and your loved ones. Prepare to revamp your home with the unparalleled benefits of poured resin flooring.
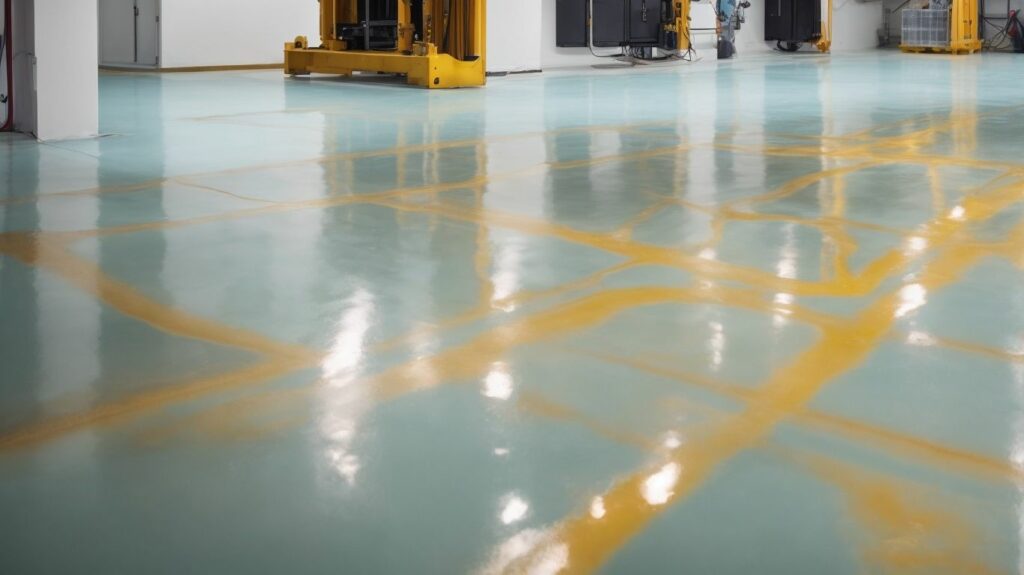
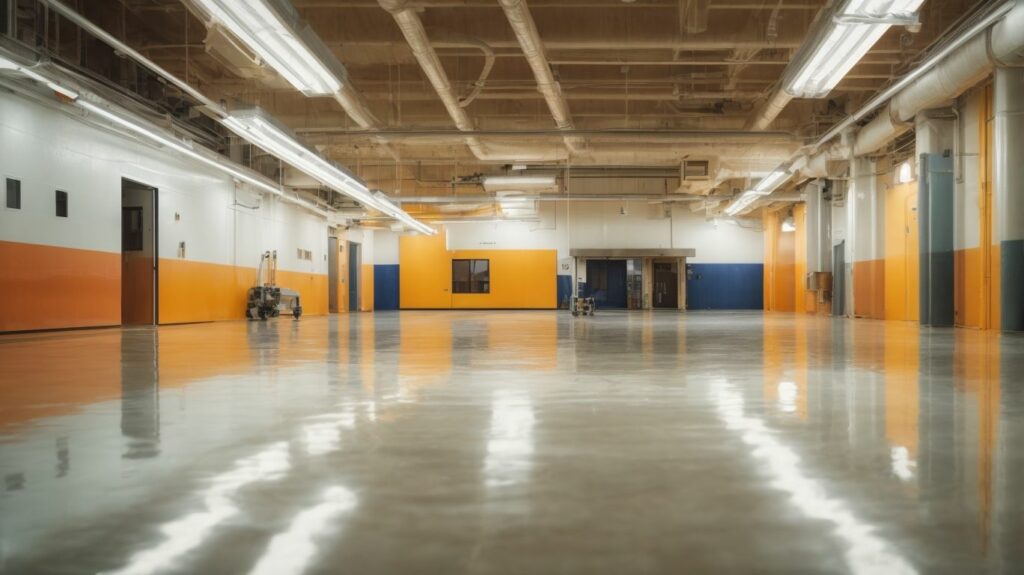
Poured resin flooring offers impressive durability and longevity, making it a popular choice for both residential and commercial spaces.
Here are some key factors that contribute to its long-lasting performance:
For those looking for a long-lasting flooring solution that can withstand the test of time, poured resin flooring is an excellent choice. Its durability and longevity make it a worthwhile investment that will enhance any space for years to come.
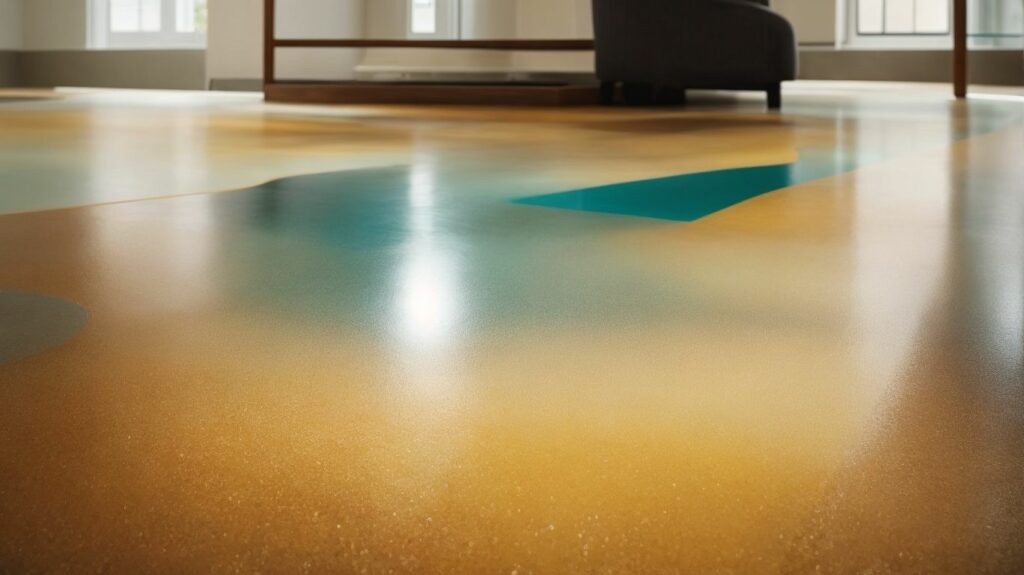
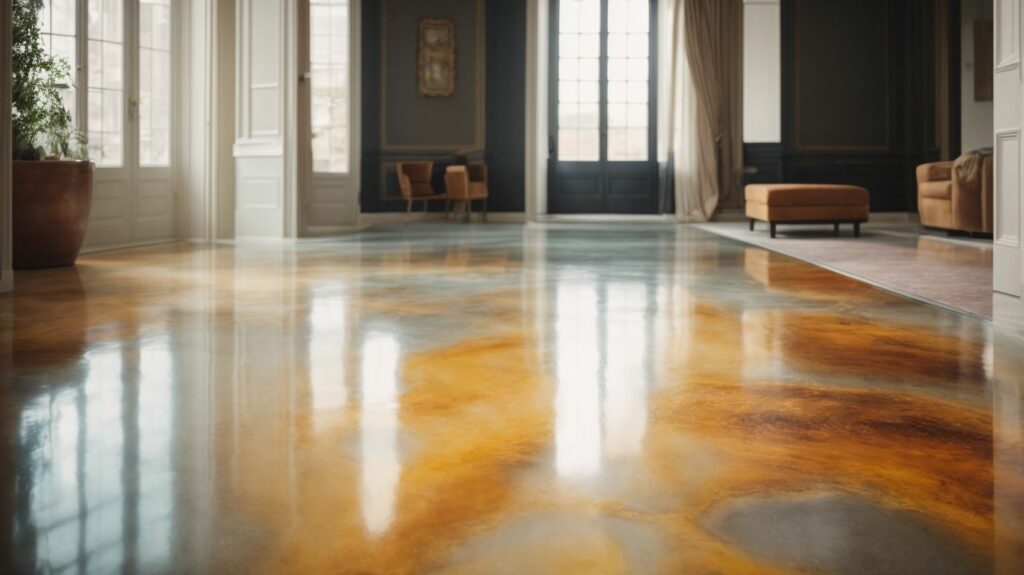
Poured resin flooring offers a wide range of design options, making it a versatile choice for both residential and commercial spaces. Here are some ways that poured resin flooring showcases its versatility in design:
Poured resin flooring offers a wide range of design options, making it a versatile choice for both residential and commercial spaces. Here are some ways that poured resin flooring showcases its versatility in design:
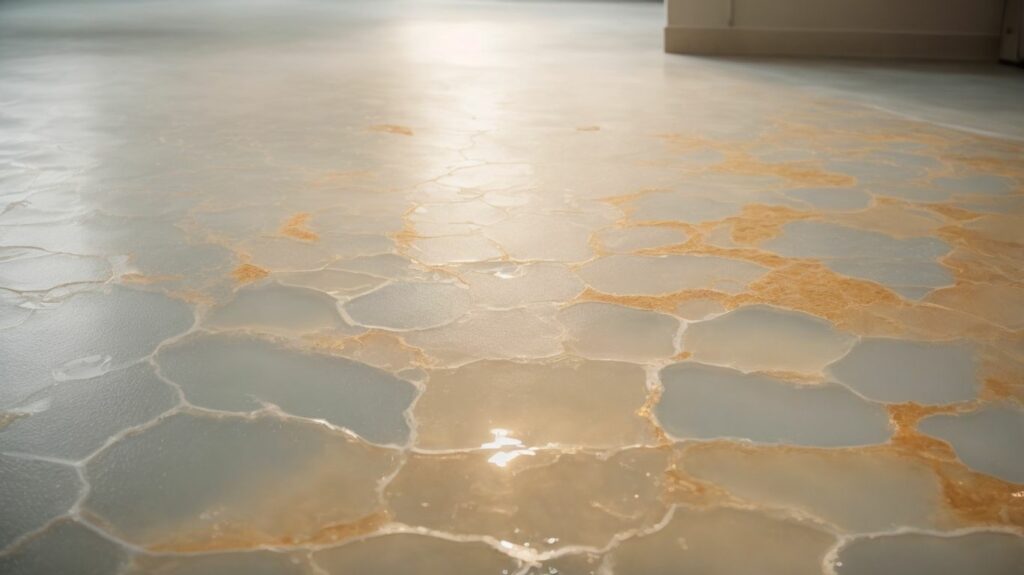
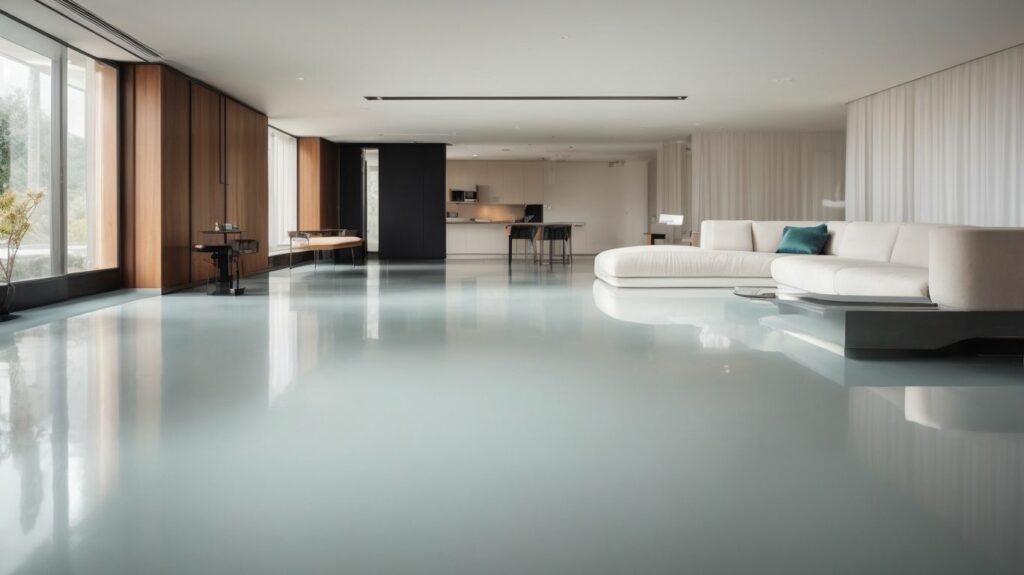
One of the main advantages of poured resin flooring is its seamless and easy-to-clean nature. Here are a few reasons why:
Pro-tip: To maintain the seamless and easy-to-clean properties of your poured resin flooring, avoid using abrasive cleaners or harsh chemicals, as they can damage the surface and compromise its longevity.
Poured resin flooring offers several benefits, including hygienic and allergen-resistant properties. Here is a table highlighting the key advantages:
| Benefit | Explanation |
| Durable and Long-lasting | Resists wear and tear, maintaining its quality for a long time |
| Versatile in Design | Can be customised to suit any aesthetic or style |
| Seamless and Easy to Clean | Smooth surface that is easy to maintain and sanitise |
| Hygienic and Allergen-Resistant | Inhibits the growth of bacteria and allergens, promoting a clean and healthy environment |
Pro-tip: Regular cleaning and maintenance practices can further enhance the hygienic and allergen-resistant properties of poured resin flooring.
Transforming your home with poured resin flooring is an exciting project, and adequate preparation is crucial to achieving impressive results. This section will discuss the important steps involved in preparing for poured resin flooring installation. This includes thoroughly evaluating the subfloor, allowing the resin material to acclimate, and gathering all the required tools and equipment. We will provide you with the necessary knowledge and insights to ensure a successful flooring transformation. Let’s begin the process of creating a space that radiates beauty and elegance.
Assessing the subfloor is an important step in preparing for the installation of poured resin flooring. Here is a step-by-step guide to assessing the subfloor:
By carefully assessing the subfloor, you can ensure that the installation of poured resin flooring proceeds smoothly and that the final outcome is both aesthetically pleasing and long-lasting. Remember to adhere to the guidelines provided by the manufacturer and seek professional assistance if necessary.
To ensure a successful installation of poured resin flooring, it is essential to acclimate the resin material properly. This involves following a specific set of steps:
By acclimatising the resin material, you can ensure optimal performance and adherence to the subfloor during the installation process, resulting in a long-lasting and aesthetically pleasing poured resin floor.
When preparing for the installation of poured resin flooring, it is important to gather the necessary tools and equipment. Here is a list of steps to help you gather everything you need:
By following these steps and gathering the necessary tools and equipment, you will be well-prepared for a successful poured resin flooring installation.
Discover how to achieve flawless poured resin flooring in your home with this step-by-step installation guide. From surface preparation to sealant application, we’ll guide you through each phase of the process. Learn the proper techniques to prime the subfloor, mix and apply the resin, and level and smooth the surface for a sleek and durable finish. Additionally, we’ll demonstrate how to incorporate decorative elements to personalize your space. Prepare to transform your home with stunning poured resin flooring.
Before installing poured resin flooring, it is important to properly prepare the surface to ensure a successful and long-lasting installation. This section will provide a step-by-step guide on how to prepare the surface for poured resin flooring.
1. Clean the surface: Begin by removing any dust, dirt, or debris from the subfloor using a vacuum or broom.
2. Repair cracks and imperfections: Fill in any cracks or holes in the subfloor using a suitable repairing compound. Additionally, sand down any uneven areas to create a smooth surface.
3. Remove old coatings: If there are any existing coatings or sealants on the subfloor, it is crucial to remove them. This will ensure proper adhesion of the resin to the subfloor.
4. Evaluate moisture levels: Test the moisture levels of the subfloor using a moisture meter. Excessive moisture can negatively impact the adhesion and performance of the resin. If moisture levels are too high, it may be necessary to address the issue before proceeding with the installation.
5. Prime the surface: Apply a primer that is suitable for the specific type of subfloor. This will enhance adhesion and prevent the formation of air bubbles during the resin application process.
By following these surface preparation steps, you can ensure a smooth and durable poured resin flooring installation. These steps are essential for achieving a high-quality finished result.
By properly priming the subfloor, you will create a solid foundation for the poured resin flooring, ensuring a long-lasting and flawless result.
Mixing and applying the resin is a vital step in the installation of poured resin flooring. Here is a step-by-step guide to ensure a successful result:
True story: Sarah decided to install poured resin flooring in her kitchen. She carefully followed the mixing and application steps, ensuring a smooth and seamless finish. The result was not only visually stunning but also durable and easy to clean, making her kitchen the envy of her friends and family. The well-mixed and accurately applied resin made all the difference in achieving a professional-looking floor.
To achieve a level and smooth surface for the installation of poured resin flooring, follow these steps:
Ensure that the subfloor is clean, dry, and free from any debris or imperfections.
Apply a self-levelling compound to fill in any low spots or uneven areas on the subfloor.
Spread the self-levelling compound evenly across the surface using a long-handled squeegee or trowel.
Smooth out any bubbles or ridges in the compound by using a spiked roller.
Allow the self-levelling compound to fully dry and cure according to the manufacturer’s instructions.
Once the compound is dry, use sandpaper or a floor buffer to smooth out any rough areas and create a uniform, level surface.
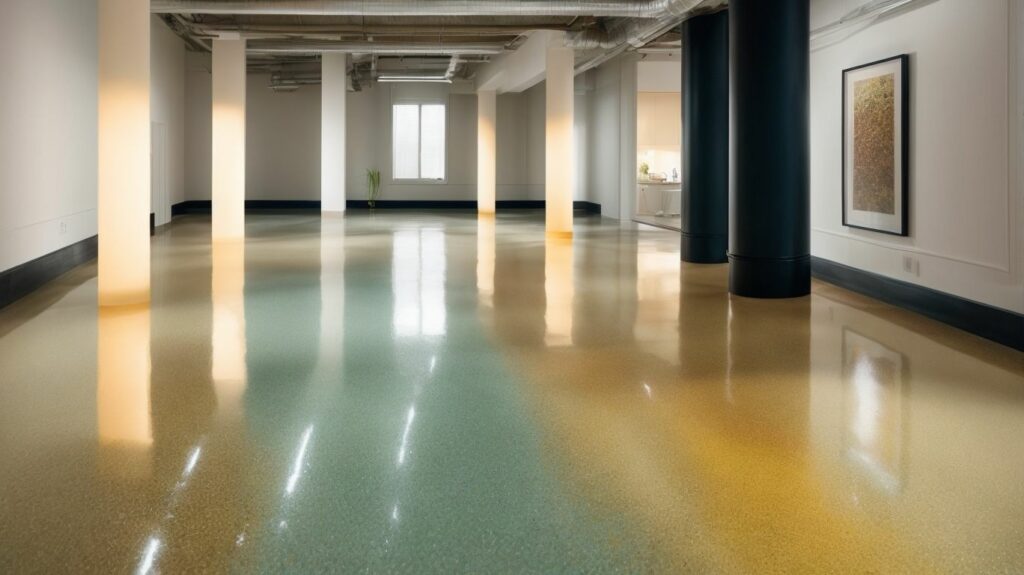
Poured resin flooring has a rich history and has been used for decades, initially as an industrial flooring solution. Over time, its popularity has grown as people have recognised its durability, seamless appearance, and ease of maintenance. Today, poured resin flooring is a sought-after choice for both commercial and residential spaces, offering a modern and sophisticated look that can transform any room. With advancements in technology and design, poured resin flooring continues to evolve, providing an endless array of design possibilities and enhancing the overall aesthetic appeal of any space.
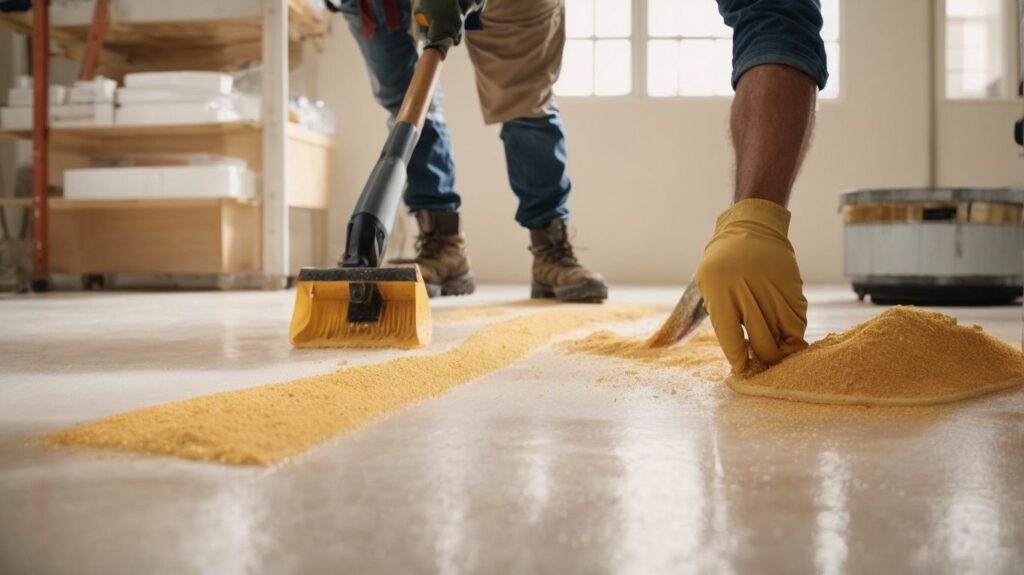
Adding decorative elements to poured resin flooring can enhance its visual appeal and create a unique aesthetic. Here are some ways to incorporate decorative elements into your flooring design:
Adding decorative elements allows you to customise your poured resin flooring to suit your personal style and preferences, making it a truly unique feature in your space.
After the application of poured resin flooring, it is important to allow enough time for the curing process and apply a sealant for protection.
Proper curing and sealant application ensure the durability and longevity of poured resin flooring, making it a wise long-term investment for any space.
Maintenance Tips for Poured Resin Flooring
Keep your poured resin flooring in perfect condition with these essential maintenance tips. From regular cleaning techniques to addressing minor damage or scratches, and even professional resurfacing options, we have everything covered. Bid farewell to concerns about long-term durability and welcome a stunning, well-maintained flooring that will enhance the style and aesthetics of your home. Prepare to uncover the secrets to preserving the beauty and functionality of your poured resin flooring.
Regular cleaning and maintenance are essential for keeping poured resin flooring in optimal condition. To ensure the longevity and functionality of your poured resin flooring, follow these steps:
1. Sweep or vacuum the floor regularly to remove loose dirt and debris.
2. Clean the floor using a mild cleaning solution and a damp mop or microfiber cloth.
3. Avoid using abrasive cleaners or scrub brushes that could potentially damage the resin surface.
4. Immediately wipe up any spills to prevent staining or damage.
5. Regularly inspect the floor for signs of wear or damage, such as scratches or gouges.
6. Promptly address any minor damage by following the manufacturer’s recommended repair procedures.
7. Consider applying a protective wax or sealant to enhance the floor’s longevity and shine.
8. Follow the maintenance guidelines provided by the manufacturer for your specific flooring product.
By following these regular cleaning and maintenance practices, you can preserve the aesthetic appeal and functionality of your poured resin flooring.
Poured resin flooring has a long history of use in commercial and industrial settings due to its durability and versatility. In recent years, it has also gained popularity in residential spaces as homeowners have discovered its unique aesthetic appeal and low maintenance requirements. By properly caring for and promptly repairing minor damage, poured resin flooring can maintain its beauty and functionality for many years to come.
Professional Resurfacing and Refinishing
Professional resurfacing and refinishing is an essential aspect of maintaining poured resin flooring. Here are some key points to consider:
One homeowner had poured resin flooring in their kitchen for its sleek and modern look. After years of heavy use, the floor began to show signs of wear. They decided to invest in professional resurfacing, and the results were astounding. The floor looked brand new and continued to impress their guests for years to come.
Resin floor coatings are made from a combination of natural or synthetic resin materials and create a solid, seamless surface when applied in liquid form. They are durable, glossy, and can withstand heavy foot traffic and spills. Some advantages of resin floor coatings include their high-gloss finish, durability, resistance to chemicals and abrasion, and the ability to choose from a variety of colors and patterns.
There are several types of resin floor coatings. Epoxy resin coatings offer a high-gloss finish, excellent adhesion to concrete and metal surfaces, and resistance to chemicals and abrasion. Polyurethane resin coatings provide a matte or satin finish, flexibility, and UV resistance. Polyaspartic resin coatings have a fast-curing time, high-performance properties, and resistance to UV rays, chemicals, and abrasions. Acrylic resin coatings offer a clear or colored high-gloss finish, UV resistance, and quick drying time.
Resin floor coatings can be used in various residential settings, including garages, basements, kitchens, bathrooms, and living areas. Their durability and versatility make them suitable for high-traffic areas in the home.
Resin floor coatings, such as polyurethane resin coatings, offer both slip-resistant properties and a high-gloss finish. They are a popular choice for homes due to their durability and aesthetic appeal. Comparatively, other types of slip-resistant flooring may focus more on the functional aspect of preventing slips and falls without the same high-end finish.
One significant concern when installing resin floor coatings is moisture from the substrate. Proper preparation and moisture testing must be done to ensure a successful installation. It is also essential to research and understand the properties and application of the specific resin floor coating being used.
Yes, resin floor coatings, including polyurethane and epoxy resin coatings, can be used in commercial settings. They are commonly used in commercial slip-resistant flooring due to their durability, moisture resistance, and seamless surface. They are suitable for areas that experience heavy foot traffic, such as retail spaces, offices, and hospitality venues.


We Aim To Reply To All Enquiries With-in 24-Hours