20+ Years Experience
Specialist Resin Flooring Installers
Enquire Today For A Free No Obligation Quote
Step into Perfection: A Comprehensive Guide to Installing Your Epoxy Floor
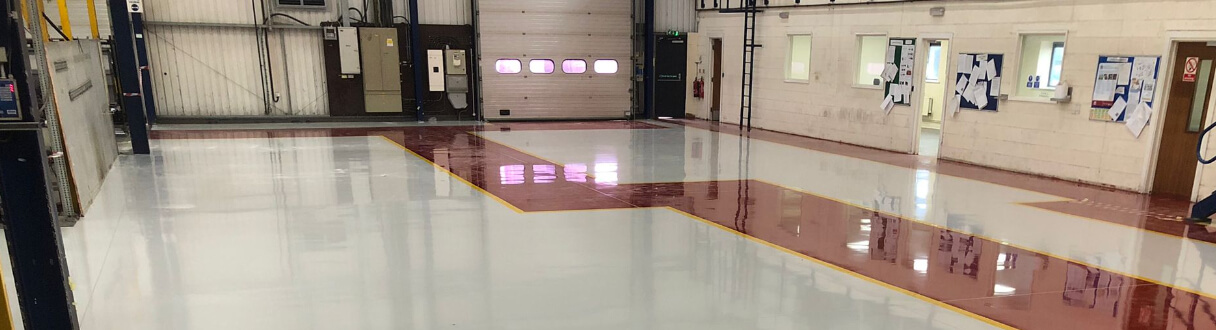
Benefits of Installing an Epoxy Floor
Installing an epoxy floor offers a range of benefits that make it a popular choice for both residential and commercial spaces. These benefits include:
Preparing Your Floor for Epoxy Installation
Before installing an epoxy floor, proper preparation of the existing floor is crucial. This ensures a strong bond and a successful installation. The preparation process involves several steps, including:
Choosing the Right Epoxy System
There are different types of epoxy systems available, and choosing the right one depends on your specific needs and requirements. The three main types of epoxy systems are:
Tools and Materials Needed for Installation
To install an epoxy floor, you will need specific tools and materials. These include epoxy resin, hardener, primer, paint roller, mixing paddle, squeegee, masking tape, and safety equipment such as gloves and goggles.
Step-by-Step Guide to Installing Your Epoxy Floor
Follow these steps to ensure a successful epoxy floor installation:
Post-Installation Care and Maintenance
To ensure the longevity of your epoxy floor, it is important to follow proper care and maintenance practices. This includes regular cleaning, avoiding harsh chemicals, and promptly addressing any spills or stains that may occur.
Troubleshooting Common Issues
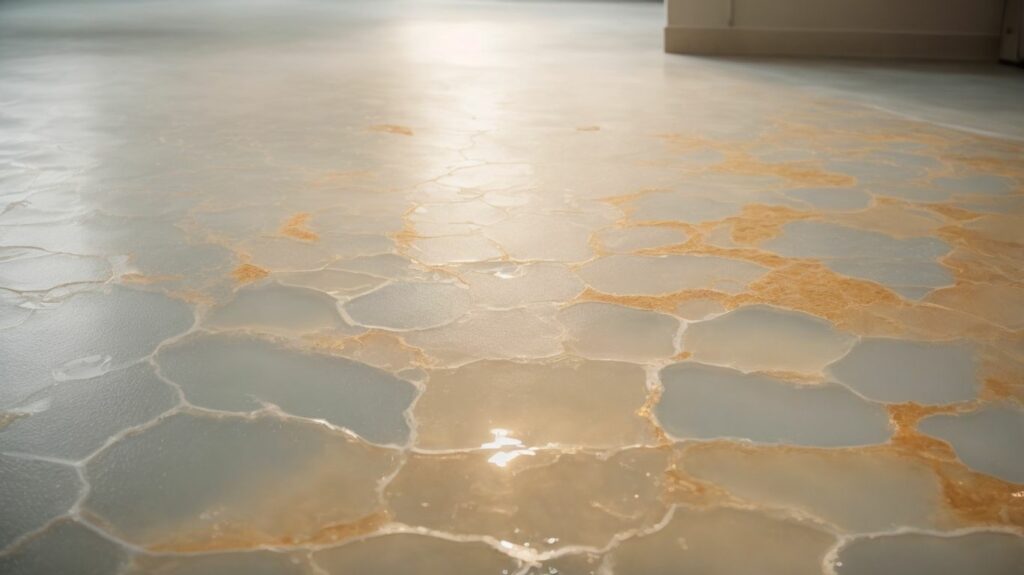
While epoxy floors are highly durable, some common issues may arise, such as air bubbles, uneven coating, or color inconsistencies. This section will provide troubleshooting tips to help address these issues effectively.
By following this comprehensive guide, you can confidently install your epoxy floor and enjoy its numerous benefits for years to come.
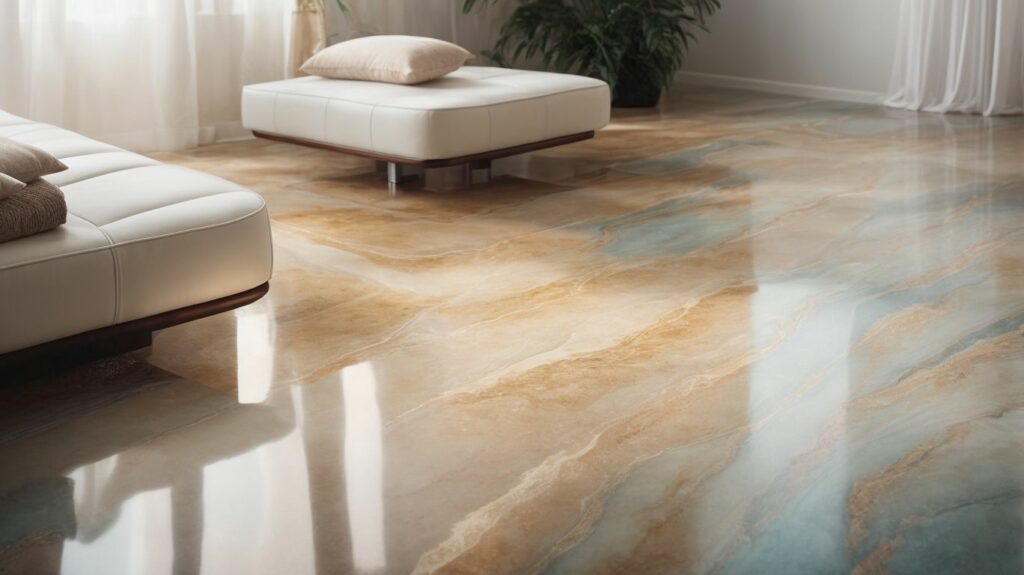
Installing an epoxy floor has numerous benefits that make it a popular choice among homeowners. Its remarkable durability and longevity, as well as its versatile design, provide the perfect combination of functionality and aesthetics. Additionally, the ease of maintenance and cleaning, along with its excellent resistance to chemicals and stains, further enhance its appeal. Let’s explore the many advantages of installing an epoxy floor and understand why it is the epitome of perfection for your space.
Durability and longevity are important factors to consider when selecting an epoxy floor. Here are some key points to keep in mind:
To ensure the durability and longevity of your epoxy floor, it is important to follow proper installation and maintenance guidelines. Regular cleaning, avoiding harsh chemicals, and promptly addressing any repairs or damages will help extend its lifespan.
Consider selecting a professional contractor with experience in epoxy floor installation to achieve the best results. By following these tips, you can maximize the benefits of your investment in an epoxy floor.
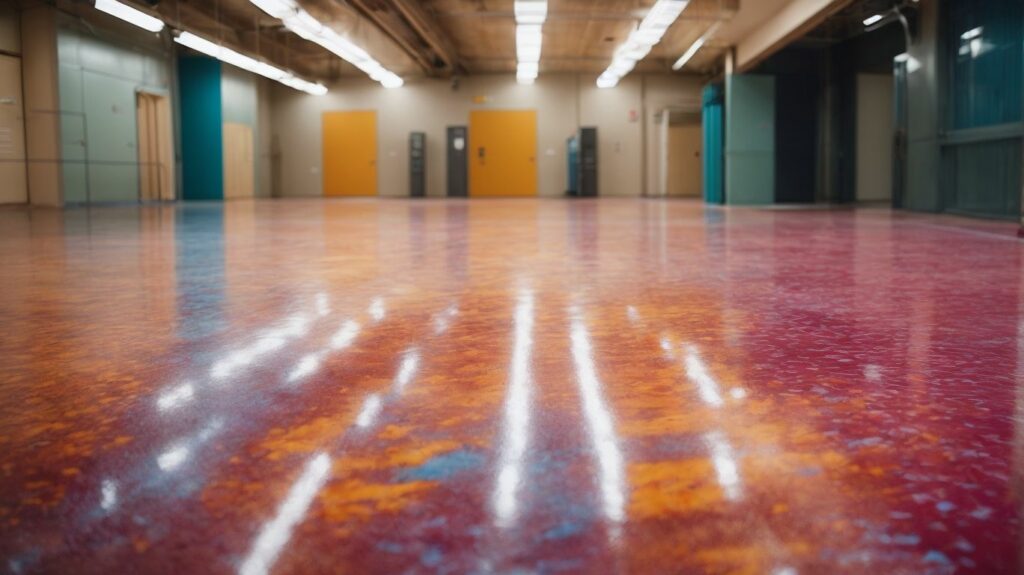
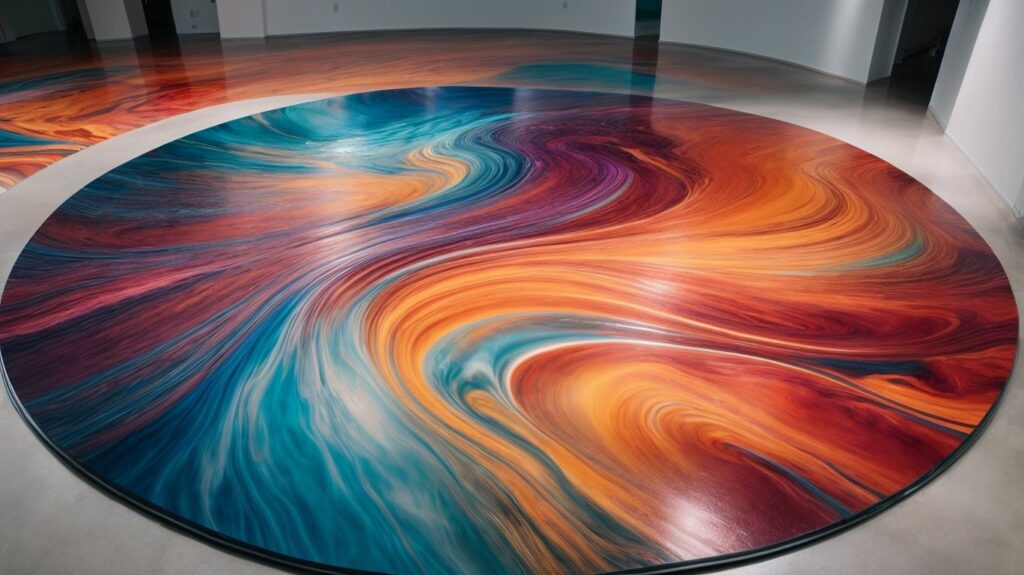
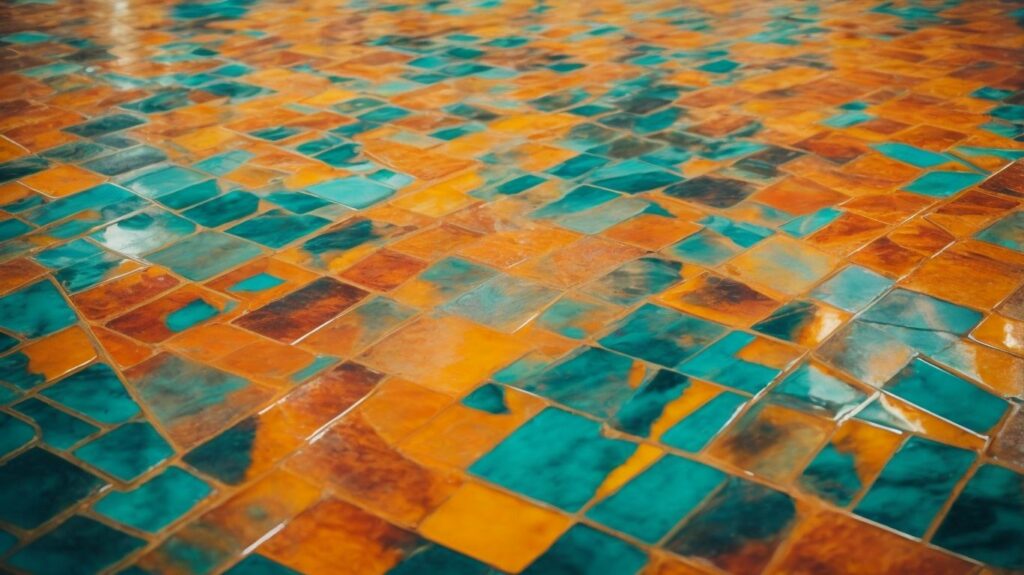
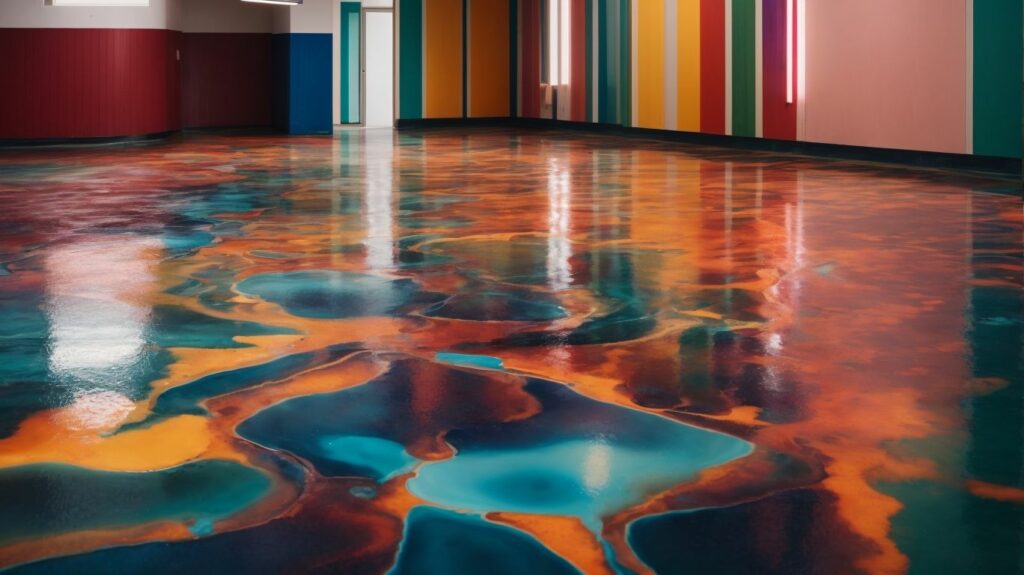
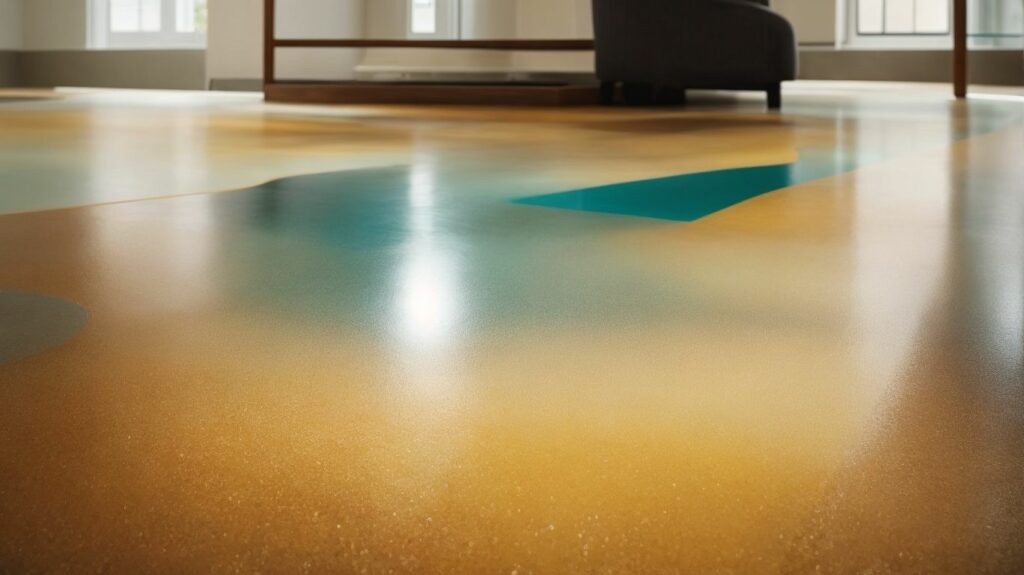
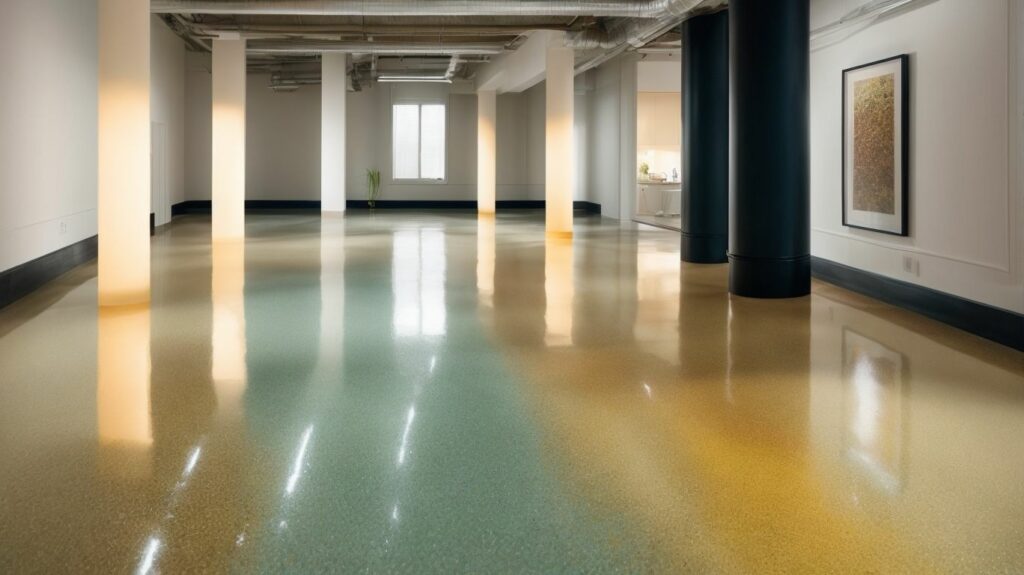
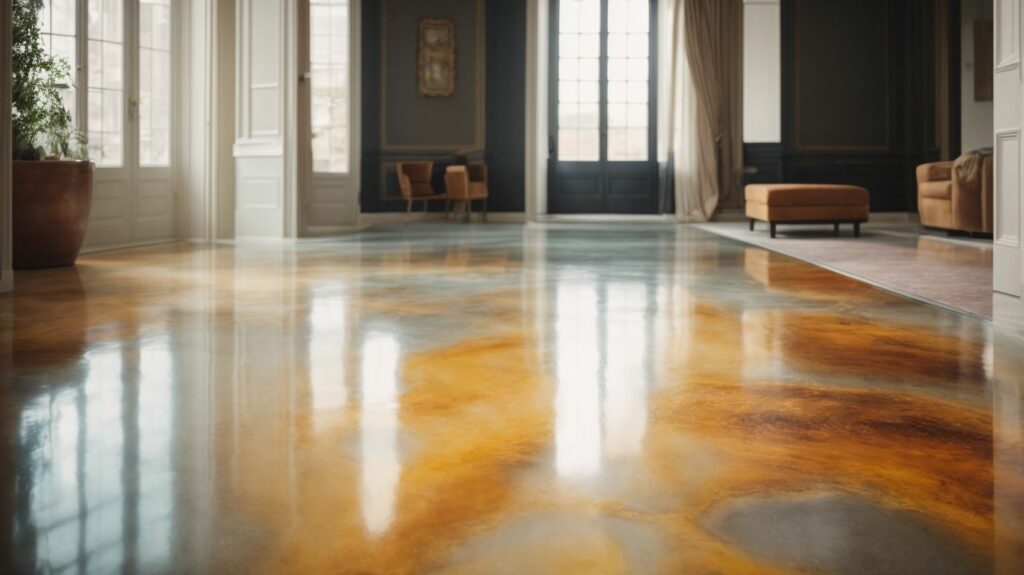
When it comes to epoxy floors, one of the key benefits is their versatility in design. Here are some ways in which epoxy floors can be customised to suit various design preferences:
These design options make epoxy floors a versatile choice for any area, whether it’s a residential, commercial, or industrial space.
Easy maintenance and cleaning are key benefits of installing an epoxy floor. There are several reasons why this is the case:
Epoxy floors offer excellent chemical and stain resistance, making them ideal for various applications. Here is a table outlining the resistance properties of epoxy floors:
| Chemical | Resistant |
| Acids | Yes |
| Oils | Yes |
| Solvents | Yes |
| Grease | Yes |
| Stains | Yes |
Epoxy floors form a seamless, impermeable surface that prevents corrosive substances from seeping into the substrate. This chemical and stain resistance ensures the longevity and durability of the floor, making it an excellent choice for industrial, commercial, and residential spaces.
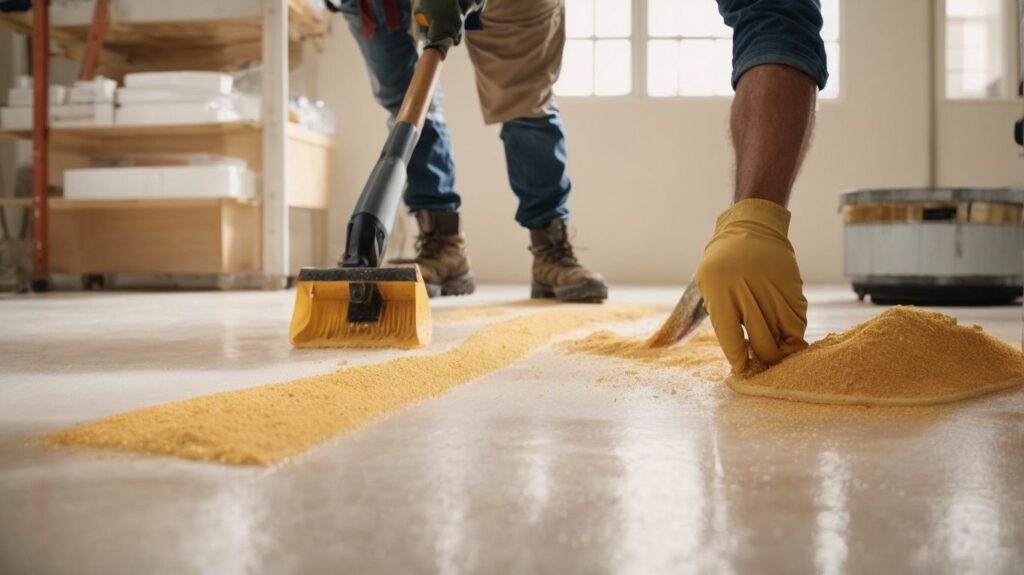
Embarking on an epoxy floor installation journey? Let’s start by giving your floor the attention it deserves. This section will delve into the necessary steps to ensure a flawless epoxy installation. From assessing the floor’s current condition to repairing cracks and imperfections, and finally, thoroughly cleaning the surface – we’ve got you covered. Prepare to lay the groundwork for a stunning and durable epoxy floor transformation.
Assessing the condition of the floor is an important initial step in the installation of an epoxy floor. The following steps should be followed:
|
Fact: A properly assessed and prepared floor surface is crucial for achieving a seamless and long-lasting epoxy floor installation.
Repairing cracks and imperfections is essential before installing an epoxy floor to achieve a smooth and durable finish. To properly prepare your floor, follow these steps:
By following these steps, you can ensure that your epoxy floor will have a seamless and flawless appearance. Always read and follow the manufacturer’s instructions for the specific epoxy product you are using. Regular maintenance and cleaning will also help extend the lifespan of your epoxy flooring.
Properly cleaning the floor surface is essential before installing an epoxy floor. Follow these steps to ensure a clean and smooth surface for the epoxy coating:
By properly cleaning the floor surface, you ensure optimal adhesion of the epoxy coating and a long-lasting, beautiful finish.
Choosing the Right Epoxy System
When installing an epoxy floor, it is important to choose the appropriate epoxy system. This section will explore various options to assist you in making an informed decision. We will discuss the characteristics and advantages of solvent-based epoxy, water-based epoxy, and 100% solid epoxy. Prepare yourself to find the ideal epoxy system for your flooring requirements, guaranteeing a flawless and durable finish.
Solvent-based epoxy is a popular choice for flooring installations in the UK due to its durability and chemical resistance. It consists of a mixture of epoxy resin and a solvent, which provides better penetration into the concrete substrate. Here is a breakdown of the main characteristics of solvent-based epoxy:
A solvent-based epoxy floor requires proper ventilation during installation due to the release of volatile organic compounds (VOCs). It is essential to follow safety guidelines and wear appropriate personal protective equipment.
Solvent-based epoxy offers exceptional durability and chemical resistance for flooring applications in the UK, making it a reliable choice for commercial and industrial spaces. Remember to consider the specific needs of your project before selecting the epoxy system.
Water-based epoxy is a popular choice for flooring installations due to its ease of use and environmentally friendly properties. It is a type of epoxy that uses water as a carrier instead of solvents or other chemicals.
Here is a table outlining the benefits and considerations of using water-based epoxy:
| Benefits | Considerations |
| Low VOC emissions | Longer curing time compared to solvent-based epoxy |
| Non-toxic and odourless | Less resistant to chemicals and stains |
| Environmentally friendly | May require more coats for desired thickness and durability |
| Easy to clean up with water | Can be more expensive than solvent-based epoxy |
Considering the attributes of water-based epoxy can help you make an informed decision when choosing the right flooring system for your needs. If you prioritise environmental friendliness, low VOC emissions, and easy cleanup, water-based epoxy may be the ideal choice for your project.
Remember to consult with professionals and follow the manufacturer’s guidelines for the best results in installing and maintaining your epoxy floor.
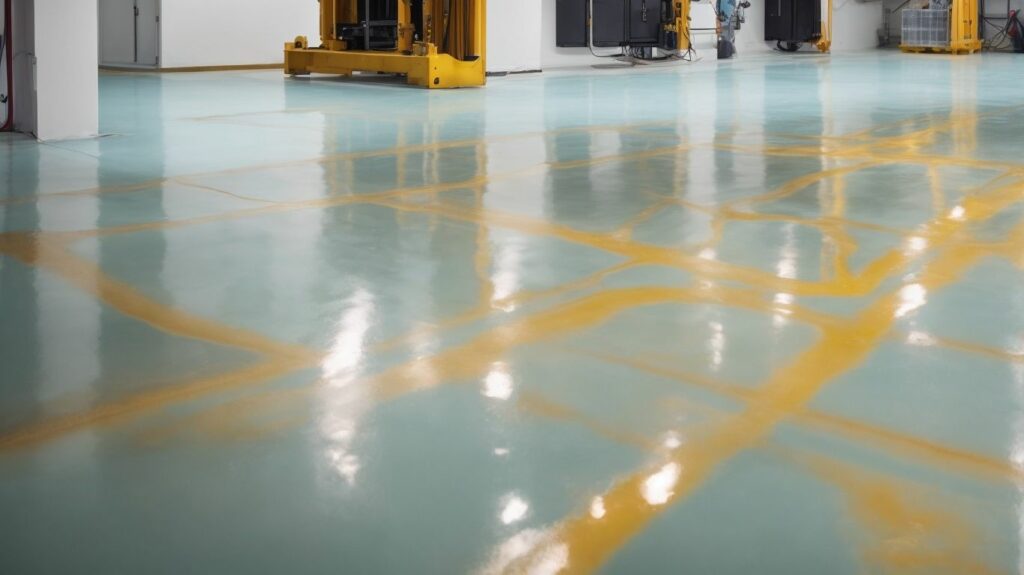
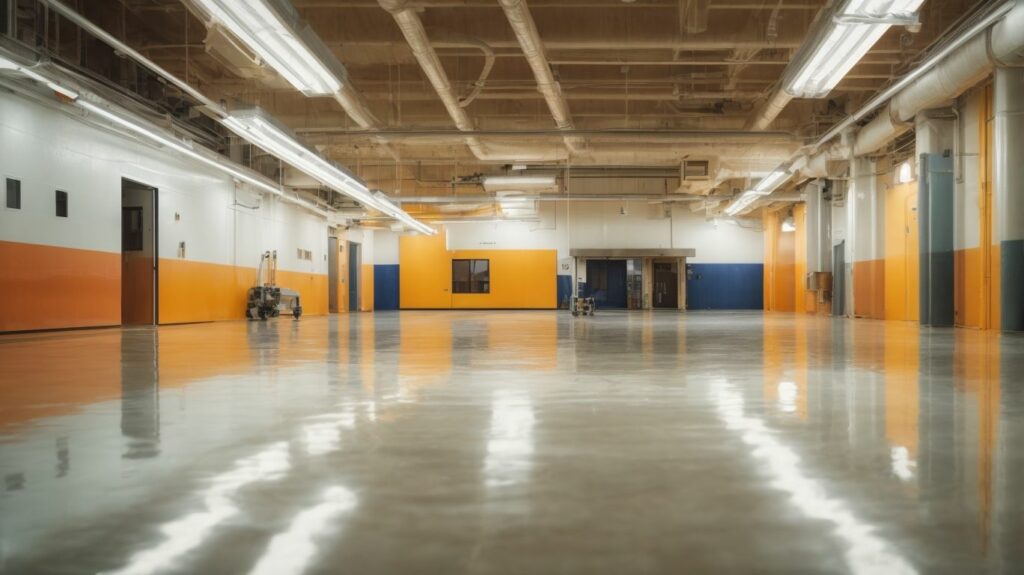
100% Solid Epoxy is a high-performance flooring option known for its durability and strength. This type of epoxy is made up of 100% solid content, with no solvents or water added. It provides excellent chemical and abrasion resistance, making it ideal for areas with heavy traffic or exposure to chemicals. 100% Solid Epoxy offers a seamless and smooth surface, making it easy to clean and maintain. It is commonly used in industrial settings, commercial buildings, and garages. When installing a 100% Solid Epoxy floor, proper surface preparation and application techniques are essential to ensure a successful and long-lasting installation.
Pro-Tip: Consider consulting a professional for the installation of a 100% Solid Epoxy floor to ensure optimal results.
To ensure a successful installation of your epoxy floor, it is crucial to have the correct tools and materials. Here is a list of the essential items you will need:
Having these tools and materials ready will ensure a smooth installation process and result in a high-quality epoxy floor.
Get ready to transform your space with an awe-inspiring epoxy floor installation! This guide will take you through each stage of the process in a step-by-step manner. From meticulous floor preparation to the application of the final topcoat, we’ll cover it all. You’ll learn the secrets to achieving a flawless epoxy finish and how to incorporate stunning decorative elements into your floor design. So, roll up your sleeves and let’s dive into the world of epoxy flooring perfection!
Preparing your floor for epoxy installation is an essential step in achieving a successful outcome. The following are the key steps to consider for floor preparation:
By following these steps, you can ensure that your floor is adequately prepared for the application of the epoxy, resulting in a durable and long-lasting finish.
To achieve a successful epoxy floor installation, it is crucial to properly apply the primer. Follow these steps for a smooth and durable finish:
| Steps | Description |
|---|---|
| 1 |
Thoroughly clean the floor surface, removing any dirt, dust, or debris. |
| 2 |
Repair any cracks, imperfections, or damage on the floor before applying the primer. |
| 3 |
Select a high-quality epoxy primer that is compatible with your specific floor type. |
| 4 |
Follow the manufacturer’s instructions to mix the primer and achieve the correct consistency. |
| 5 |
Apply the primer evenly using a roller or brush, working in small sections. |
| 6 |
Allow the primer to dry completely before proceeding with the epoxy coating. |
By following these steps, you can ensure that the primer effectively bonds to the floor surface, creating a strong foundation for the epoxy coating.
When it comes to mixing and applying the epoxy coating for your floor, it is important to follow the correct steps to ensure a successful installation. Here is a step-by-step guide to help you:
Prepare the epoxy mixture according to the manufacturer’s instructions, ensuring that you carefully measure and mix the components.
Start applying the epoxy coating using a roller or brush, beginning from the furthest corner of the room and working your way towards the exit.
Apply the epoxy in thin, even coats, making sure to avoid puddles or excessive buildup.
Use a squeegee or roller to spread the epoxy evenly across the floor, ensuring complete coverage.
Allow the first coat to dry as per the manufacturer’s instructions before applying additional coats.
For a more durable finish, consider adding a clear topcoat once the final epoxy coat has dried.
By following these steps, you will be able to achieve a smooth and professional-looking epoxy floor coating.
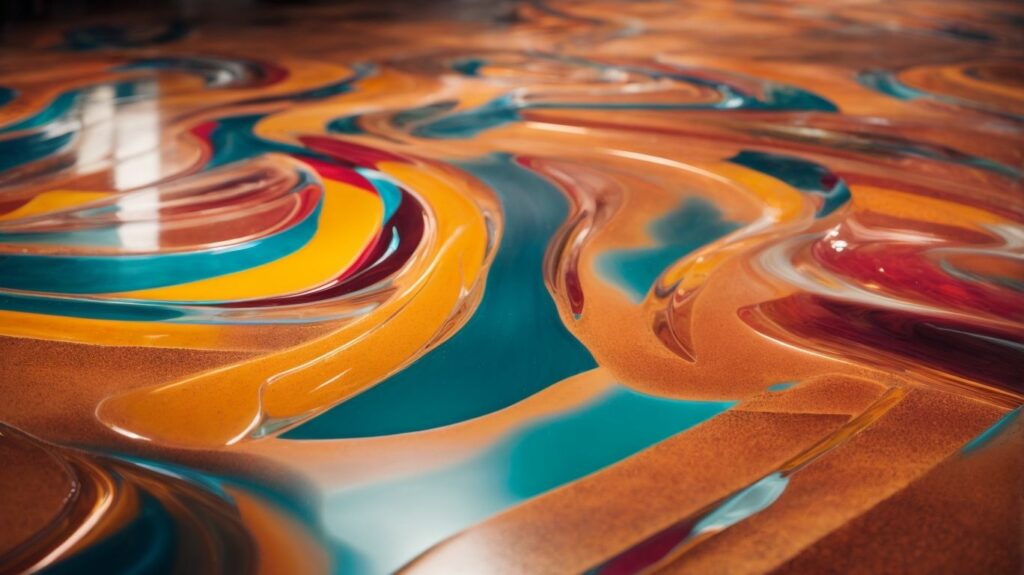
To enhance the appearance and customize your epoxy floor, there are several options available for adding decorative elements. Here are a few ideas:
1. Metallic pigments: Incorporate metallic pigments into the epoxy coating to add shimmer and depth to your floor. This can create a stunning metallic effect that changes with the lighting.
2. Flakes or chips: Sprinkle decorative flakes or chips onto the wet epoxy surface to create a speckled or textured design. These flakes come in various colours and sizes, offering endless design possibilities.
3. Stencils or tape: Use stencils or tape to create patterns or designs on the epoxy floor. Layering different colours or utilising techniques like marbling or geometric shapes can achieve a unique and artistic look.
4. Custom logos or images: For a more personalised touch, consider adding custom logos or images to your epoxy floor. These can be applied using stencils, decals, or by working with a professional artist.
Adding decorative elements to your epoxy floor not only enhances its visual appeal but also allows you to create a space that reflects your style and personality.
Fact: Did you know that epoxy floors are not limited to residential and commercial spaces? They are also commonly used in industrial settings due to their durability, chemical resistance, and easy maintenance.
When applying the topcoat to your epoxy floor, follow these steps for a professional and long-lasting finish:
Fact: A proper topcoat application not only enhances the appearance of your epoxy floor but also adds an extra layer of protection, increasing the floor’s durability and resistance to wear and tear.
Implementing proper post-installation care and maintenance is essential to maintain the longevity and appearance of your epoxy floor. Here are the steps you should follow:
Regular Cleaning: Sweep or vacuum the floor to remove dust and debris.
Gentle Washing: Use a mild detergent and warm water to mop the floor. Avoid using harsh chemicals that can damage the epoxy.
Stain Prevention: Immediately wipe spills to prevent stains. Consider using mats or rugs in high-traffic areas to reduce wear and tear.
Protection from Scratches: Place furniture pads under heavy objects to prevent scratches. Avoid dragging heavy items across the floor.
Regular Inspections: Check for any signs of damage or wear and promptly address them by contacting a professional.
Reapply Topcoat: Over time, the epoxy floor may require a new topcoat to maintain its shine and durability.
By following these steps, you can ensure that your epoxy floor remains in excellent condition for years to come, extending its lifespan and preserving its aesthetic appeal.
Pro-tip: If you encounter any issues during the installation process, it is recommended to seek guidance and assistance from a professional. Troubleshooting common issues can help you achieve a flawless epoxy floor installation.
A roller applied floor refers to applying epoxy floor paint using a roller, which is suitable for light wear and tear. On the other hand, a self-leveling epoxy floor refers to a thicker floor coating that is more suitable for heavier industrial use.
The common methods for surface preparation include grinding, sanding, shot-blasting, and milling. Diamond grinding is the most popular and flexible method as it allows for the use of different types of grinding tools.
Yes, priming is necessary before applying epoxy floor paint. Priming creates a surface for proper bonding, improves adhesion, extends floor life, and reduces the risk of bubbles and gasses in the final epoxy coat.
Before applying epoxy floor paint, all cracks, holes, and dents should be filled with epoxy grout. Large and deep holes may require filling with fast-drying cement mortar before applying the primer.
Yes, smaller cracks and holes can be patched either before or after applying the primer for epoxy floor paint. It is common for cracks to become visible after applying the primer.
No, no special tools are required for installing Everlast® Epoxy Flooring. However, having a clean 5-gallon bucket, Xylene for cleaning tools, a steel finishing trowel, a cove base tool, a gauge trowel, a mixing drill, and safety equipment such as gloves, goggles, kneepads, and dust masks is recommended.


We Aim To Reply To All Enquiries With-in 24-Hours