20+ Years Experience
Specialist Resin Flooring Installers
Enquire Today For A Free No Obligation Quote
Resin flooring is a type of flooring that uses a combination of resin and hardening agents to create a durable and long-lasting surface. It is commonly used in commercial and industrial settings due to its resistance to chemicals, abrasion, and impact. However, there might be instances when you would need to remove resin flooring, whether it’s to update the look of the space or to address issues with the existing flooring.
In this step-by-step guide, we will walk you through the process of removing resin flooring. But before we delve into that, let’s first understand what resin flooring is and why you would want to remove it.
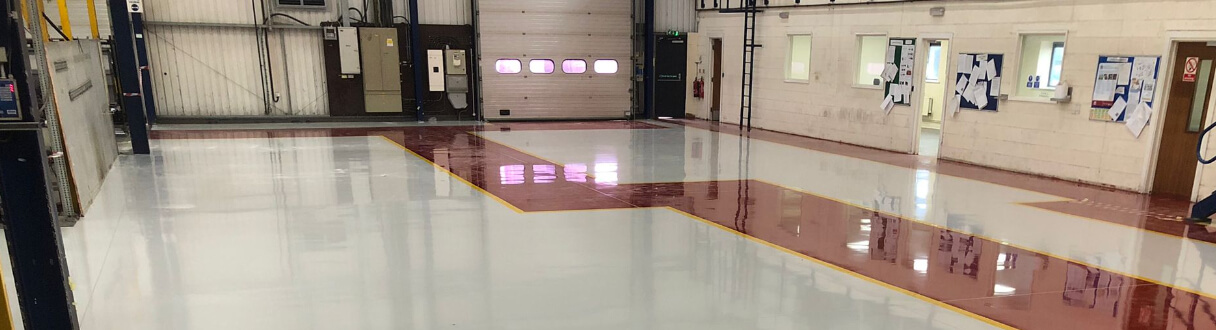
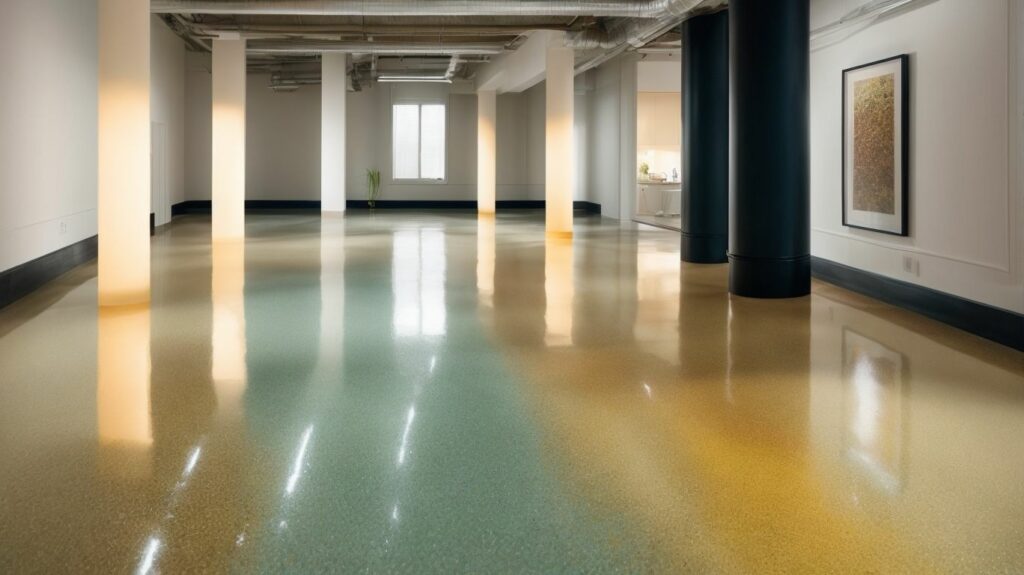
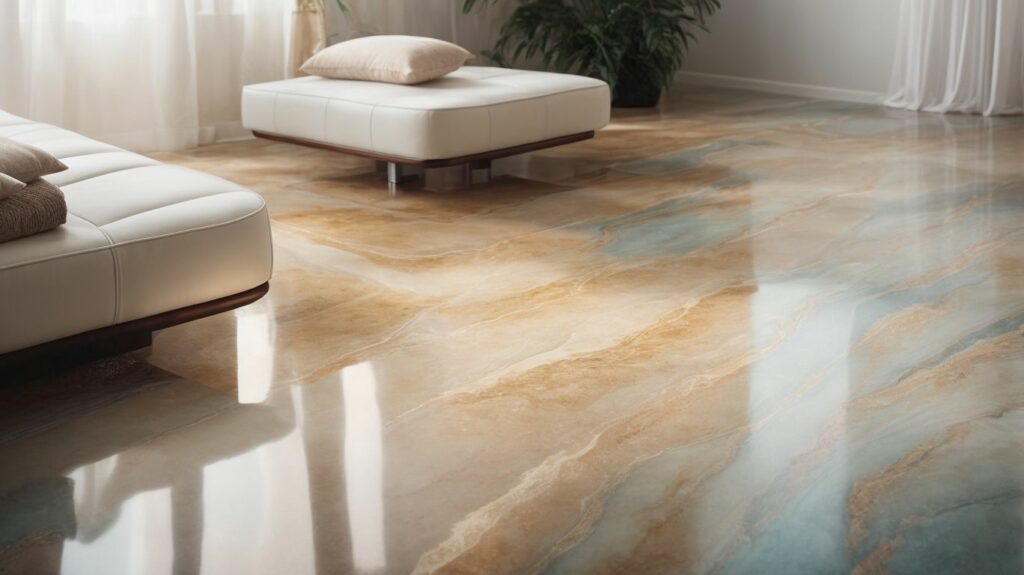
Resin flooring is a seamless and smooth flooring option that provides a high-gloss finish. It is commonly used in areas where a hygienic and easy-to-maintain surface is required, such as industrial kitchens, hospitals, and warehouses.
There are various reasons why you might want to remove resin flooring. It could be due to wear and tear over time, the need for a different flooring material, or the presence of damage or defects that require repair. Whatever the reason may be, it is important to follow a systematic approach to ensure a successful removal process.
Stay tuned as we guide you through each step of the process, from preparation and safety precautions to the actual removal of the resin flooring. We will also address common challenges that may arise during the process and provide tips on when it’s best to seek professional help. We will share some preventative measures to help you avoid the need to remove resin flooring in the future. So let’s get started on this journey of undoing and redoing your flooring.
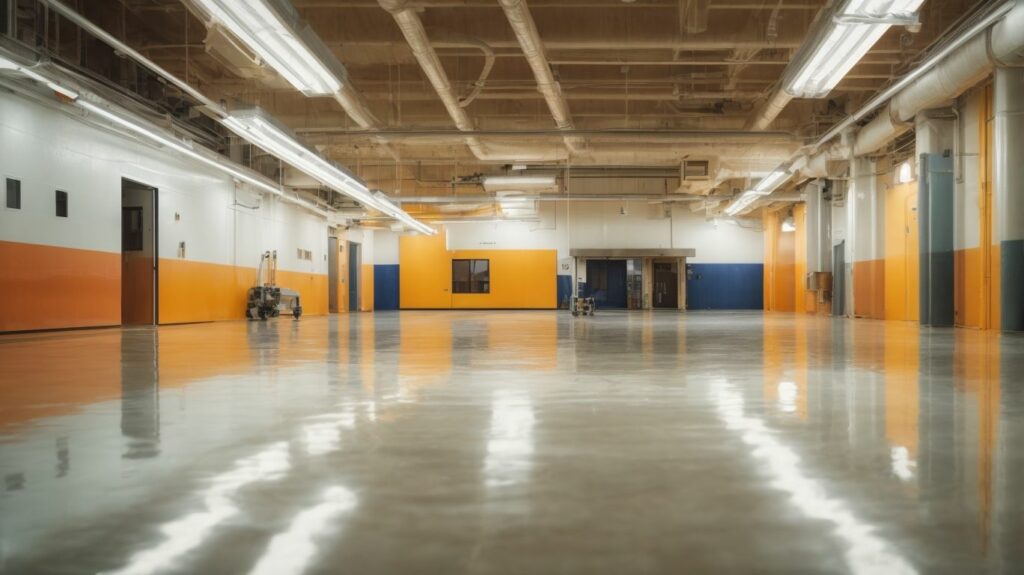
Resin flooring is a type of flooring made from a combination of resin and hardener. It is popular in industrial and commercial spaces because it is durable and resistant to chemicals, impacts, and abrasions. Resin flooring is also known for its seamless and easy-to-clean surface, making it hygienic and suitable for areas with high foot traffic. It can be customized with different colours and finishes to match the aesthetic of the space. Resin flooring is a versatile and reliable option for various applications.
One might want to remove resin flooring for various reasons. If the existing flooring has become damaged or worn out, it may be necessary to remove the resin coating for repairs or replacement. Changing design preferences or functional requirements may also require the removal of resin flooring to accommodate a different style or type of flooring. In some cases, the resin flooring may not have been applied correctly or may have developed issues over time, prompting the need for removal. For example, a homeowner decided to remove their resin flooring after discovering cracks and delamination caused by improper installation.
In this guide, we will provide a step-by-step approach to removing resin flooring. From safety precautions to necessary tools and equipment, we will cover everything you need to know. We will also help you evaluate the situation and create a solid plan. Additionally, we will guide you through the removal process and proper disposal of resin waste. Let’s get started!
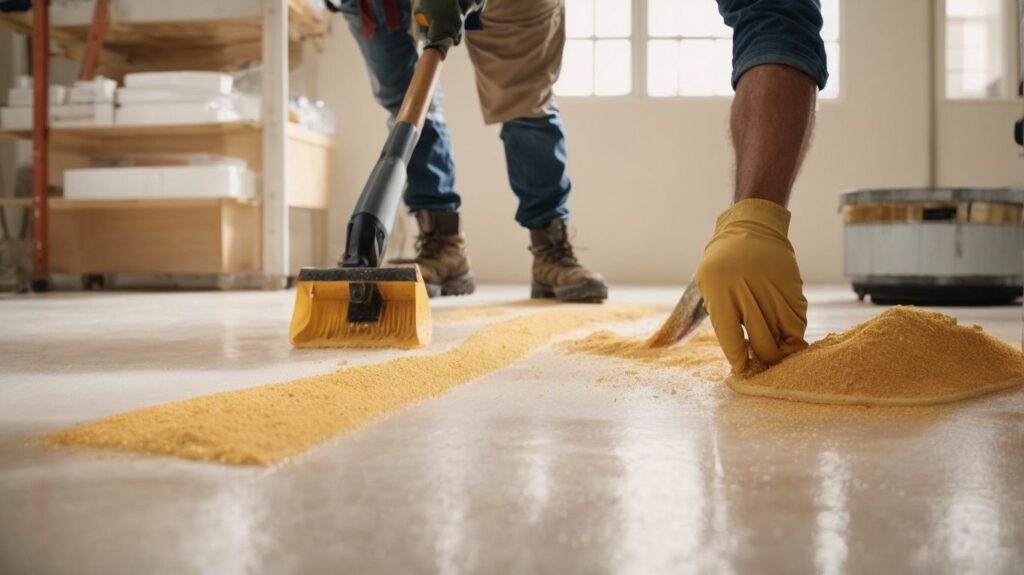
Prior to removing resin flooring, it is important to prepare the area properly. This involves following the steps below:
By diligently preparing the area and gathering the appropriate tools, you can effectively initiate the process of removing resin flooring.
Taking appropriate safety precautions is essential when removing resin flooring. To ensure a safe process, follow these steps:
Wear protective clothing: Put on gloves, goggles, and a respirator to shield your skin, eyes, and lungs from harmful chemicals.
Ventilate the area: Open windows and use fans to guarantee proper ventilation and reduce exposure to fumes.
Prepare a safe work area: Remove any obstacles or tripping hazards from the space to prevent accidents.
Use the correct tools: Utilise tools specifically designed for resin flooring removal, such as scrapers and grinders, to avoid injuries.
Dispose of waste correctly: Seal and label bags containing removed resin waste, and adhere to local regulations for disposing of hazardous materials.
Step 3: Tools and equipment for removing resin flooring are vital for a smooth and successful process. You will need the following essential items:
With the correct tools and equipment, you can efficiently remove resin flooring and prepare the surface for any desired changes. Remember to always follow safety precautions and consult professionals if necessary.
When removing resin flooring, step 4 involves evaluating and planning to ensure a smooth and efficient process. Here are the key steps to follow:
By carefully evaluating and planning the removal process, you can minimize any potential issues and ensure the successful removal of the resin flooring. Remember to prioritize safety and follow proper disposal guidelines for any waste generated.
The removal process of resin flooring involves several important steps to ensure its effective removal.
Prepare the area by clearing out any furniture or obstacles.
Take necessary safety precautions such as wearing protective gear and ensuring proper ventilation.
Gather the required tools and equipment, including a scraper, heat gun, and solvent.
Evaluate the flooring and plan the removal process accordingly.
Start the removal process by first removing the top layer of the resin flooring.
Continue by removing the base layer using a scraper or heat gun.
Thoroughly clean the surface once the resin flooring has been removed.
Dispose of the resin waste properly in accordance with local regulations.
Proper disposal of resin waste is crucial to minimize environmental impact and comply with regulations. To ensure proper disposal of resin waste, follow these steps:
True story: A manufacturing company once mistakenly disposed of resin waste in regular trash bins, resulting in environmental contamination and costly fines. As a result of this incident, the company implemented proper disposal procedures to prevent future occurrences and ensure compliance.
Removing resin flooring can present several challenges that need to be overcome for a successful project. Here are some common challenges one may encounter:
To overcome these challenges, it is recommended to consult with professionals experienced in resin flooring removal. They can provide guidance, use proper tools and techniques, and ensure the safety and efficiency of the removal process.
When to Seek Professional Help?
Knowing when to seek professional help is crucial when dealing with the removal of resin flooring. Some DIY enthusiasts may attempt the process themselves, but there are certain circumstances where it is best to rely on the expertise of professionals. These circumstances include:
| 1. Extensive damage: | If the resin flooring is severely damaged or has deep stains that cannot be easily removed, it is advisable to consult professionals. |
|---|---|
| 2. Lack of experience: | If you have little or no experience in handling resin flooring, it is safer to call in professionals who have the necessary skills and knowledge. |
| 3. Time constraints: | If you have limited time available or cannot dedicate sufficient time to the removal process, professionals can complete the job efficiently and in a timely manner. |
| 4. Safety concerns: | The removal of resin flooring can involve the use of chemicals and specialized equipment. If you are unsure about handling these safely, it is best to leave it to professionals who have the proper tools and training. |
Remember, seeking professional help ensures a smooth and successful removal process, reducing the risk of mistakes or further damage.
Regularly clean your resin flooring to prevent the build-up of dirt and debris.
Follow the manufacturer’s guidelines for maintenance, including routine inspections and repairs.
Place protective mats in high-traffic areas to minimise wear and tear on the flooring.
Use gentle cleaning products that are specifically designed for use on resin flooring.
Install moisture barriers and ensure proper ventilation to prevent moisture-related damage.
By following these tips, you can prolong the lifespan of your resin flooring and avoid the hassle of having to remove and replace it.
Epoxy flooring is a type of resin flooring that is known for its supreme strength and long-lasting effects. It is commonly used in DIY projects and is considered one of the strongest glues available for various applications.
There are two main methods to remove epoxy flooring from a concrete slab. One option is to use a stripping solution, which involves applying a specific solution, letting it soak, and then scraping away the old epoxy. The other option is to use a light floor sander or shot blaster to strip away the epoxy layer.
To remove epoxy flooring, you may need tools such as a metal scraper, rubber gloves, an eye protection, a painter’s mask, a fiber mop, a shop vac, and potentially a light floor sander or shot blaster, depending on the method chosen.
Yes, it is possible to chemically remove epoxy from concrete floors. One method involves using a stripping solution, as mentioned earlier, which can effectively break down the epoxy layer for easier removal.
Yes, removing epoxy flooring can be a labor-intensive and time-consuming process, especially if it covers a large area. It requires careful preparation, patience, and the use of appropriate tools and equipment.
If you prefer not to remove epoxy flooring yourself, you can seek professional help from companies like Epoxy Colorado. They have expertise in applying, repairing, and replacing epoxy flooring and offer free estimates for assistance on the Colorado Front Range.


We Aim To Reply To All Enquiries With-in 24-Hours