20+ Years Experience
Specialist Resin Flooring Installers
Enquire Today For A Free No Obligation Quote
html
Mastering the art of epoxy flooring requires careful planning and execution to ensure a successful installation. Epoxy flooring is a highly durable and versatile option that offers long-lasting protection and an attractive finish. Understanding the key aspects of epoxy flooring and following the right techniques are essential for achieving the desired results.
Before diving into the installation process, it is crucial to grasp the basics of epoxy flooring. Epoxy flooring is a type of resinous flooring system that consists of a two-part mixture, including a resin and a hardener. When combined, these two components chemically react to form a rigid, durable, and resistant surface that can withstand heavy foot traffic, impacts, stains, and chemicals.
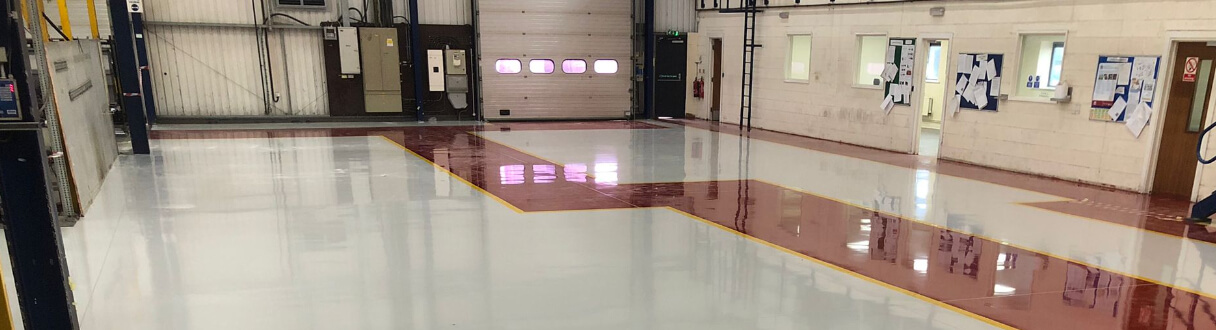
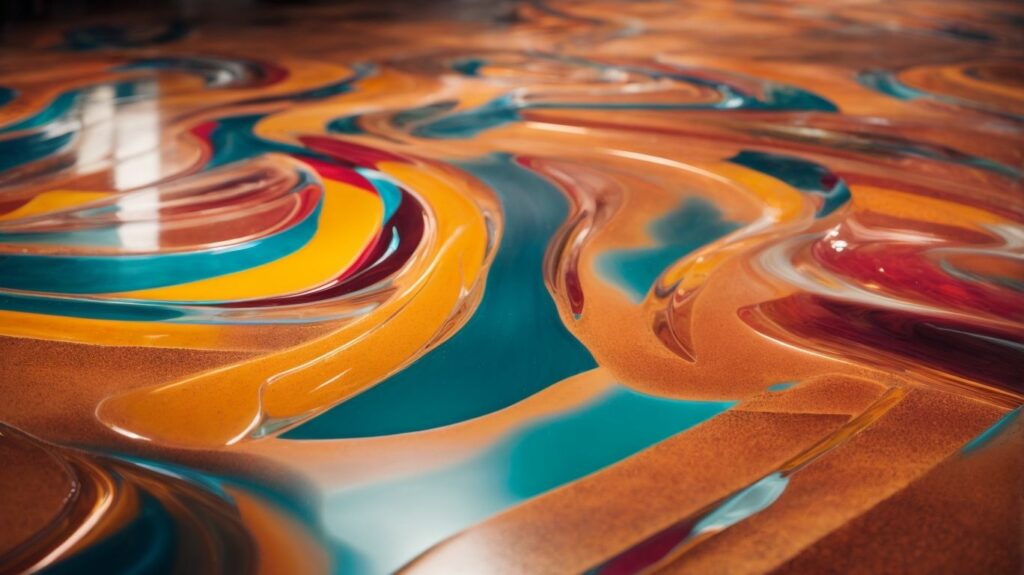
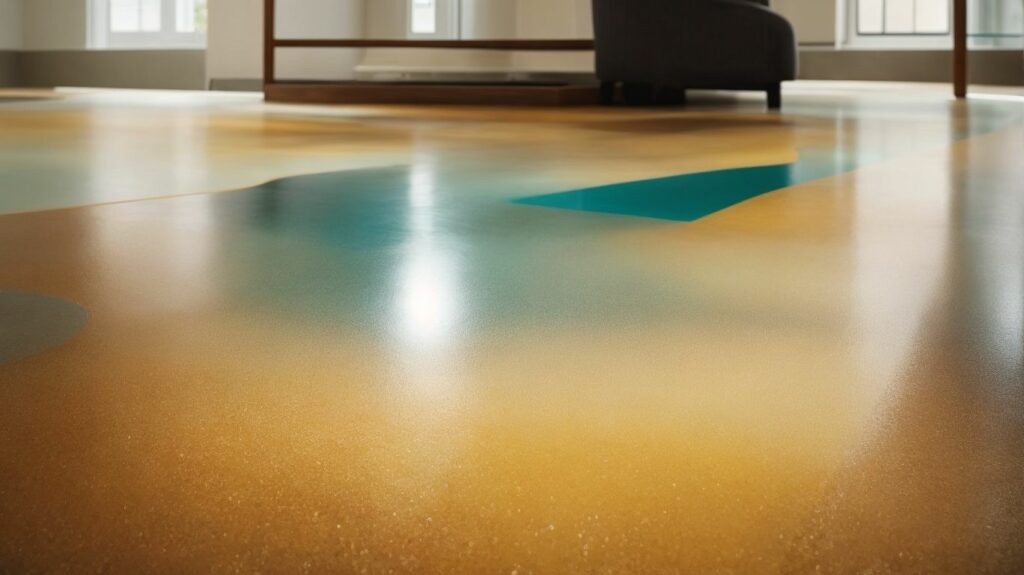
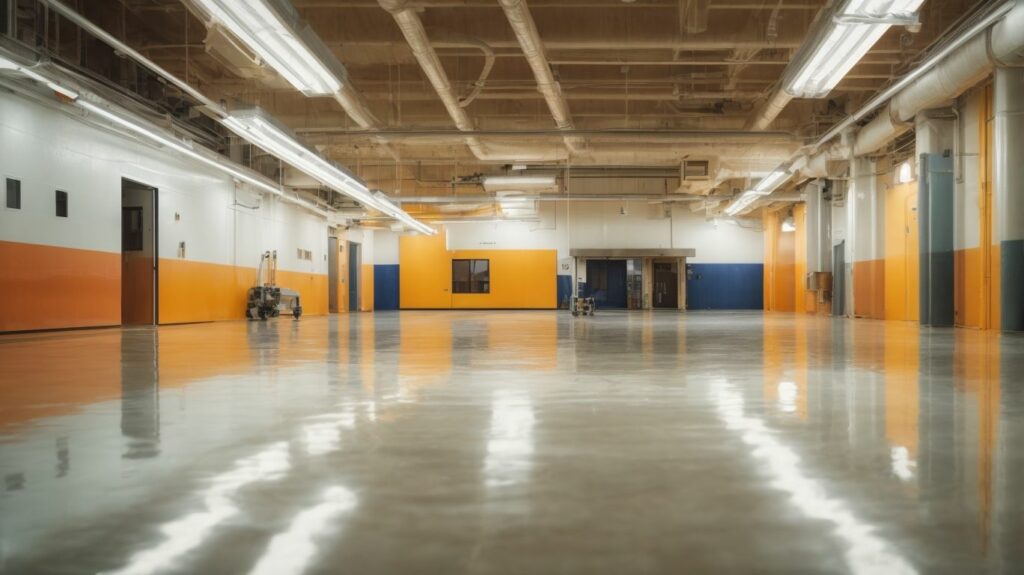
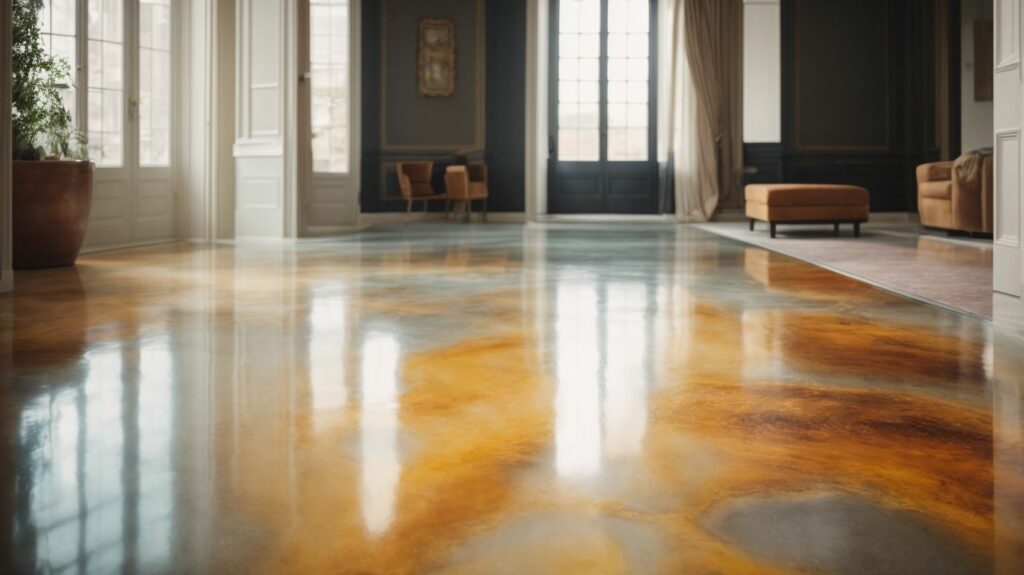
There are several reasons why epoxy flooring is a popular choice for various applications. The seamless finish, high-gloss appearance, and availability of different colors and patterns contribute to its aesthetic appeal. Epoxy flooring offers excellent durability, easy maintenance, and resistance to abrasion, moisture, and chemicals. These qualities make it suitable for a wide range of settings, including residential garages, commercial facilities, warehouses, and industrial spaces.
Now that we have a brief understanding of epoxy flooring, let’s delve into the tips that will help you successfully install this resilient flooring option. The installation process begins with thorough preparation, and assessing the substrate is a crucial step. Proper surface preparation, including cleaning and repairing cracks and imperfections, ensures the epoxy adheres well and provides a smooth finish.
To execute a flawless epoxy flooring installation, you will need the right tools and materials. Essential tools for epoxy flooring include a power drill, epoxy mixing paddle, roller frames, spike shoes, and squeegees. Choosing the right epoxy products, such as the appropriate resin and hardener, as well as any additives or decorative elements, is equally important to achieve the desired outcome.
Following a step-by-step guide is crucial during the installation process. This includes cleaning the surface, priming the substrate, properly mixing and applying the epoxy resin, spreading the mixture evenly, and adding texture or decorative elements as desired. Understanding the curing and drying time is essential for achieving the desired hardness and durability of the epoxy flooring.
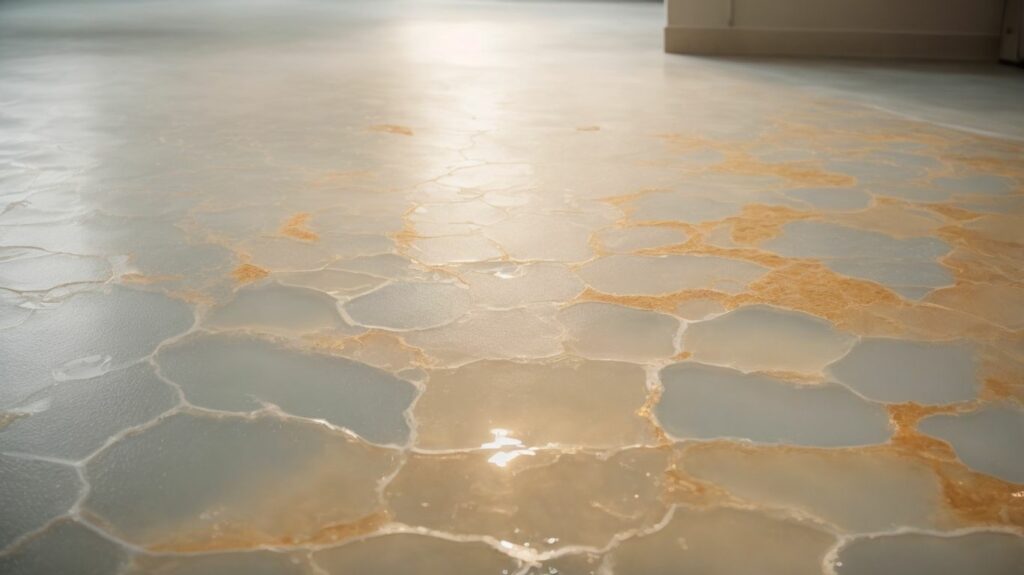
Inevitably, challenges may arise during the installation process. It is important to be prepared to troubleshoot common issues such as bubbles or pinholes, uneven coatings, and peeling or delamination. Understanding how to address these issues promptly can help salvage the installation and ensure a high-quality final result.
Finally, maintaining and extending the lifespan of your epoxy flooring requires regular cleaning and maintenance. Implementing protective measures in heavy traffic areas, such as installing mats or applying additional topcoats, can further protect the epoxy surface from wear and tear.
By following these top tips and techniques, you can master the art of epoxy flooring and achieve a successful installation that not only enhances the aesthetic appeal of your space but also provides long-lasting durability and protection.
Understanding Epoxy Flooring
Epoxy flooring is a combination of epoxy resin and hardener, creating a strong and durable surface. It is versatile and suitable for various applications, including residential, commercial, and industrial settings. It provides excellent resistance to chemicals, stains, and abrasions, and is also easy to clean and maintain, making it ideal for high-traffic areas. Proper surface preparation is crucial for a successful epoxy flooring installation. This includes thorough cleaning, repairing any cracks or imperfections, and ensuring a smooth and dry surface.
A homeowner wanted to transform their garage into a functional space. They chose to install epoxy flooring due to its durability and aesthetic appeal. After proper preparation, the epoxy flooring was installed flawlessly. The homeowner now enjoys a beautiful, easy-to-clean garage that withstands heavy use.
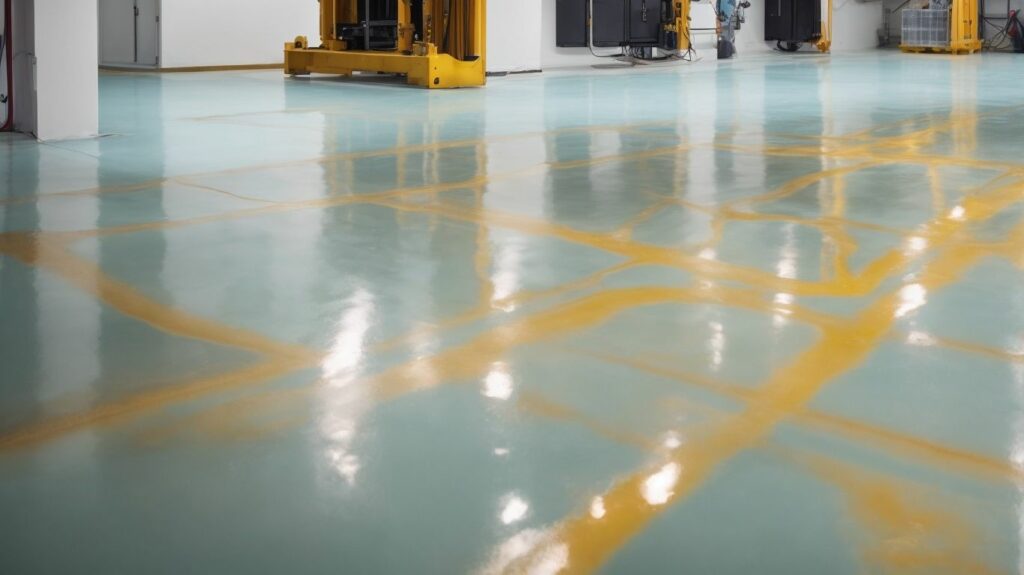
Epoxy flooring is a durable and versatile flooring option commonly used in commercial and industrial settings. It is created by combining resin and hardeners to form a strong and chemical-resistant surface. Epoxy flooring offers several benefits, including high durability, easy maintenance, and resistance to stains and chemicals. It is also customizable, allowing for various colours, patterns, and textures. In residential spaces, epoxy flooring is becoming more popular due to its aesthetic appeal and long-lasting properties. Epoxy flooring provides a reliable and attractive solution for creating a durable and functional floor surface.
A homeowner decided to install epoxy flooring in their garage to improve its appearance and functionality. They were impressed with how easy it was to clean and how resistant it was to stains and spills. The epoxy flooring also made their garage look more professional and spacious. They were so happy with the results that they decided to extend the epoxy flooring to other parts of their home, such as the basement and laundry room, to enjoy the same benefits throughout their living space.
Epoxy flooring offers a wide range of benefits that have made it a popular choice for residential and commercial spaces. There are several reasons why you should choose epoxy flooring:
In this section, we will discuss the important steps to prepare for a successful epoxy flooring installation. We will cover assessing the substrate, surface preparation, and repairing any cracks or imperfections. With expert tips and tricks, we will help you start your flooring project on the right track. Let’s begin by laying the groundwork for a stunning epoxy floor that will impress everyone.
Assessing the substrate is a critical step in the installation of epoxy flooring. It involves evaluating the condition of the surface where the epoxy will be applied. Here are some important factors to consider:
| – Surface condition: | Check for cracks, chips, or unevenness that may require repair before applying epoxy. |
| – Moisture levels: | Assess whether the substrate is dry or prone to moisture issues, as moisture can affect the adhesion of the epoxy. |
| – Porosity: | Determine if the substrate is porous or non-porous, as this will affect the type of epoxy primer and coating needed. |
| – Compatibility: | Ensure that the substrate is compatible with epoxy by checking its chemical resistance and reaction to the epoxy materials. |
By carefully assessing the substrate, you can address any issues beforehand and ensure a successful installation of epoxy flooring.
For optimal results, it is recommended to consult with a professional or follow the manufacturer’s guidelines for substrate assessment. Proper preparation will result in a durable and long-lasting epoxy floor.
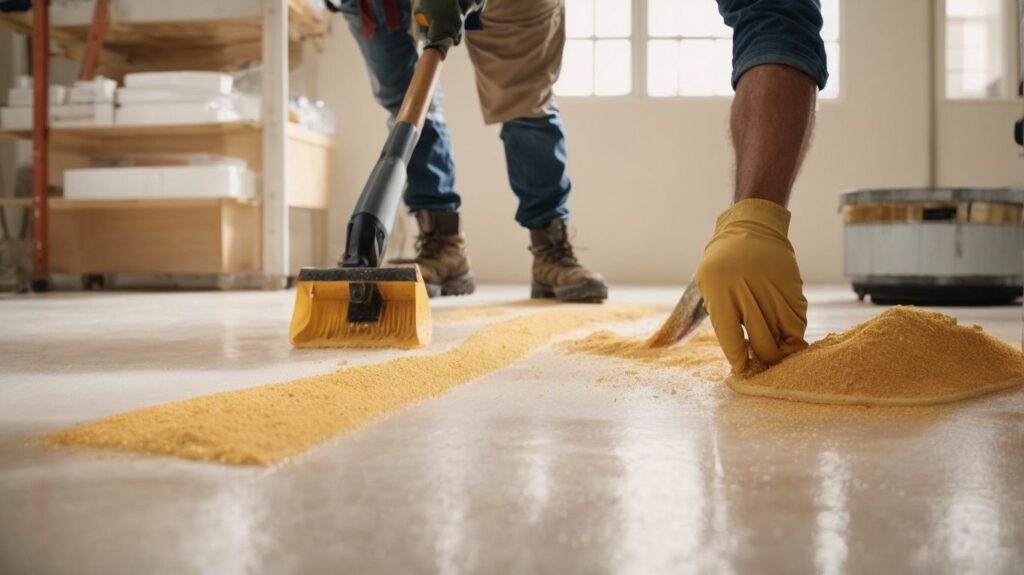
The key to a successful epoxy flooring installation lies in proper surface preparation. Here are the steps to follow in preparing the surface for epoxy flooring:
To achieve the best results, it is recommended to consult the product manufacturer’s guidelines and follow their specific surface preparation instructions. Taking the time to properly prepare the surface will ensure a durable and long-lasting epoxy flooring installation.
Remember, a well-prepared surface is the foundation for a successful epoxy flooring project. Take the necessary steps to clean, repair, and prime the substrate to achieve optimal adhesion and a flawless finish. Happy epoxy flooring installation!
Repairing cracks and imperfections in epoxy flooring is essential for maintaining its durability and aesthetic appeal. Here are the steps to effectively repair cracks and imperfections:
By following these steps, you can effectively repair cracks and imperfections in your epoxy flooring, ensuring its longevity and attractiveness.
To achieve a flawless finish in epoxy flooring, it is essential to have the right tools and materials. In this section, we will discuss the necessary tools for epoxy flooring and how they can help you achieve success. We will also emphasize the importance of selecting the appropriate epoxy products to ensure a long-lasting installation. So, let’s get started and explore the key elements for successful epoxy flooring.
When it comes to epoxy flooring installation, it is crucial to have the right tools for a successful result. Here are some essential tools you’ll need for epoxy flooring:
|
With these essential tools, you will be well-equipped to tackle your epoxy flooring installation project.
Epoxy flooring has gained popularity in various industries over the years due to its durability, versatility, and aesthetic appeal. The use of epoxy dates back to the early 20th century when it was primarily used for industrial applications. Since then, advancements in technology and the development of more user-friendly formulations have made epoxy flooring accessible for residential and commercial use. Today, epoxy flooring is a popular choice for garages, warehouses, retail spaces, and even homes, providing a seamless and long-lasting flooring solution.
When selecting the appropriate epoxy products for your flooring project, it is crucial to take into account the following factors:
With these considerations in mind, you can select the appropriate epoxy products that will meet your flooring needs and provide long-lasting results.
Epoxy flooring has been used in various industrial and commercial applications for decades. Its origins can be traced back to the early 20th century when epoxy resin was first developed as a coating material. Over time, advancements in technology and formulation have led to the creation of epoxy products specifically designed for different flooring requirements. Today, epoxy flooring offers a durable, seamless, and attractive solution for a wide range of spaces, from warehouses and factories to retail stores and residential garages.
Looking to achieve a flawless epoxy flooring installation? Look no further! This step-by-step guide will take you through the process of achieving a successful epoxy flooring installation. From cleaning the surface to spreading the epoxy mixture, and even adding decorative elements, we’ll cover all the essential steps you need to know. Get ready to transform your floors and create a stunning, durable, and long-lasting epoxy finish. Let’s dive in!
To achieve a successful installation of epoxy flooring, it is crucial to clean the surface properly. Follow these steps to clean the surface before applying epoxy:
Fun Fact: Properly cleaning the surface enhances the adhesion of the epoxy coating, resulting in a more durable and long-lasting flooring solution.
Priming the substrate is an essential step in the epoxy flooring installation process as it guarantees proper adhesion and a long-lasting finish. Here are the steps involved in priming the substrate:
By properly priming the substrate, you establish a solid foundation for the epoxy coating, ensuring a smooth and durable finish.
Mixing and applying the epoxy resin is a crucial step in the installation of epoxy flooring. Here is a step-by-step guide to ensure a successful application:
Did you know? The use of epoxy resin dates back to ancient Egypt, where it was used as an adhesive in woodworking and pottery. Over time, the material evolved and is now widely used for various applications, including flooring, due to its durability and chemical resistance.
Pro-tip: To achieve a smooth and flawless finish, it is important to maintain a consistent spreading technique and work efficiently to avoid any inconsistencies in the epoxy layer.
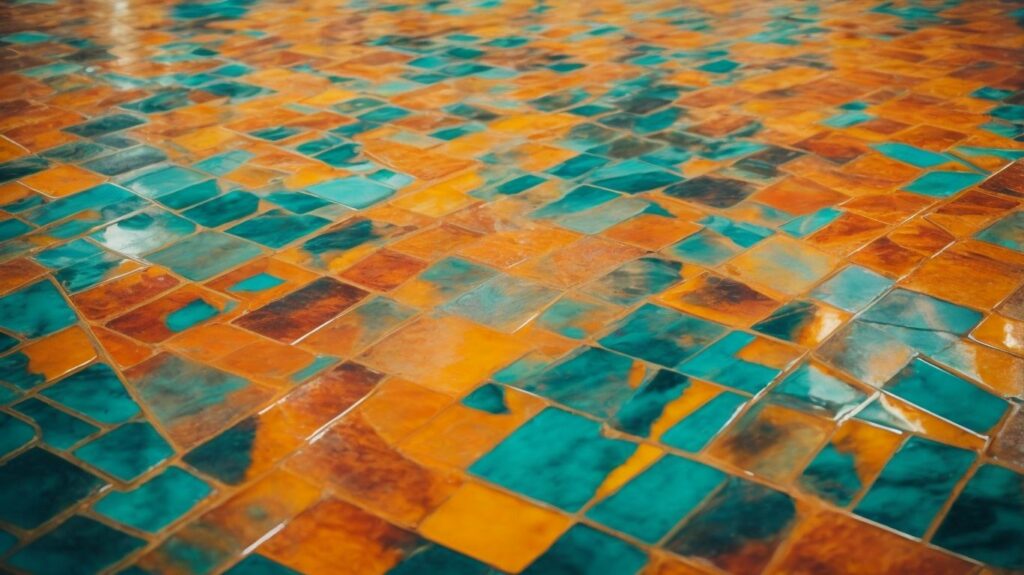
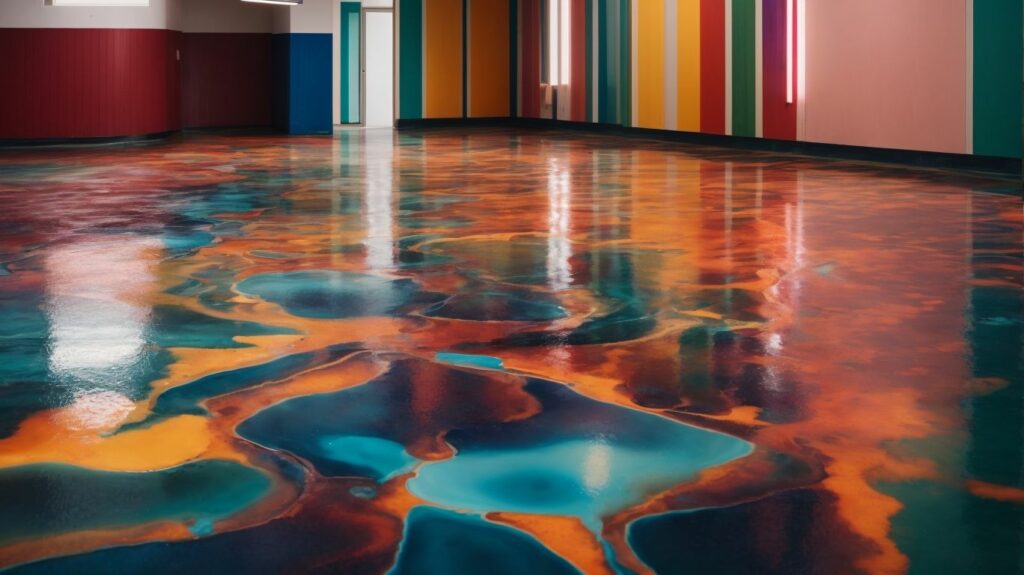
Adding texture or decorative elements to epoxy flooring can enhance the appearance and style of any space. Here are some options to consider:
The use of decorative elements in flooring is not a recent trend. In fact, archaeological evidence suggests that ancient civilisations, such as the Egyptians and Romans, used various materials and techniques to create decorative flooring designs. These early flooring designs incorporated elements like mosaic tiles, marble patterns, and intricate geometric motifs. Today, the availability of modern materials and techniques, such as epoxy flooring, offers even more possibilities for adding texture and decorative elements to create visually stunning floors.
Curing and drying time is an essential aspect of epoxy flooring installation as it determines when the floor can be fully utilized. Here is a list of important points to consider regarding the curing and drying time of epoxy flooring:
By understanding and adhering to the recommended curing and drying time, you can ensure the longevity and durability of your epoxy flooring.
Troubleshooting Common Issues
Having trouble with your epoxy flooring? Don’t worry, we’ve got you covered! In this section, we’ll address some of the common issues that occur during epoxy flooring installations. From bubbles or pinholes to uneven coatings and peeling or delamination, we’ll provide tips and solutions to help you troubleshoot and overcome these challenges. Get ready to become an expert in epoxy flooring with our expert advice!
Dealing with bubbles or pinholes is a common issue when installing epoxy flooring. Here are some steps to effectively address this problem:
Proper Mixing: Ensure that you thoroughly mix the epoxy resin and hardener to prevent the formation of air bubbles.
Surface Preparation: Make sure the surface is clean and free from any contaminants that could cause bubbles or pinholes.
Rolling Technique: Use a roller to evenly spread the epoxy mixture, applying light pressure to release any trapped air.
Torching: After applying the epoxy, use a heat gun or torch to lightly pass over the surface to remove any remaining bubbles.
Sanding and Re-coating: If bubbles or pinholes still appear after curing, sand the surface and apply a new layer of epoxy to achieve a smooth finish.
Pro-tip: Make sure to properly prepare the surface and follow the manufacturer’s instructions for the epoxy product to prevent uneven coatings.
When addressing peeling or delamination with epoxy flooring, it is important to take prompt action to prevent further damage and maintain the longevity of the floor. Here are the steps to address this issue:
Incorporating these steps into your epoxy flooring maintenance routine will help prevent peeling or delamination and ensure a successful and long-lasting installation.
Epoxy flooring was first developed and used in the early 20th century for industrial purposes due to its durability and chemical resistance. Over time, its popularity grew, and it began to be used in commercial and residential settings. Today, epoxy flooring has become a popular choice for its aesthetic appeal, easy maintenance, and long lifespan. Its versatility and ability to withstand heavy traffic and varying conditions have made it a go-to option for countless industries and homeowners alike.
Translated text:To ensure the longevity and beauty of your epoxy flooring, it is crucial to maintain it properly. In this section, we will discuss practical tips for maintaining and extending the lifespan of your epoxy flooring. We will cover effective cleaning techniques and protective measures for high-traffic areas. Let’s explore the secrets to keeping your epoxy flooring in pristine condition, so you can enjoy its benefits for years to come!
Pro-tip: Avoid using harsh chemicals or abrasive cleaners as they can damage the epoxy surface. Regular cleaning will help maintain the shine and integrity of your epoxy flooring for years to come.
To ensure the protection of epoxy flooring in heavy traffic areas, it is important to consider implementing the following measures:
Choose high-quality epoxy products that are specifically designed for heavy use and durability.
Apply multiple coats of epoxy to provide an additional layer of protection.
Install mats or rugs in high-traffic areas to reduce wear and tear on the epoxy surface.
Maintain regular cleaning and maintenance of the epoxy floor to prevent dirt and debris from causing any damage.
Consider applying a topcoat or sealant to further enhance the resistance of the epoxy floor.
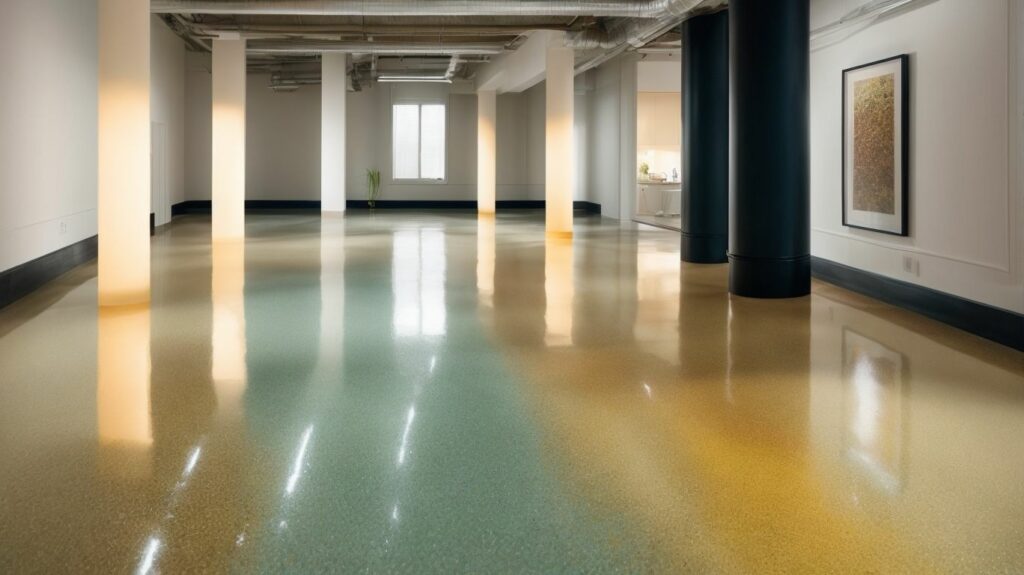
Epoxy flooring is a type of surface coating that provides a glossy and resilient finish. It has been gaining popularity in commercial, industrial, and residential settings due to its aesthetic appeal and durability.
For successful epoxy flooring installation, several specialized tools are necessary. These include shot blasters for surface cleaning and profiling, diamond grinders for leveling or removing tougher coatings, mixing drills and paddles for homogeneous epoxy preparation, squeegees and rollers for application, spike shoes for foot traffic during application, and non-skid aggregates for slip resistance.
Surface preparation is a crucial step in epoxy flooring installation. It involves the use of shot blasters to remove old coatings and contaminants, diamond grinders to smoothen irregularities, and industrial vacuums to eliminate residual dust and debris. Proper surface preparation ensures optimal adhesion and a smooth finish for the epoxy.
During epoxy flooring installation, professionals should wear protective gear such as respirators, protective eyewear, and gloves to safeguard against harmful fumes released by the epoxy. Adequate ventilation, achieved through high-quality fans and ventilation systems, is necessary in enclosed spaces to reduce fume concentrations and maintain a safe working environment.
Epoxy flooring installation requires expertise and the use of specialized equipment. Professionals have the knowledge and experience to ensure meticulous preparation, uniform application, and a flawless finish. Hiring a professional ensures that the epoxy flooring is installed correctly and provides long-lasting results.
For more detailed information about epoxy flooring equipment and its proper use, it is recommended to contact a professional in the field. They can provide expert guidance and advice tailored to specific project requirements.


We Aim To Reply To All Enquiries With-in 24-Hours