20+ Years Experience
Specialist Resin Flooring Installers
Enquire Today For A Free No Obligation Quote
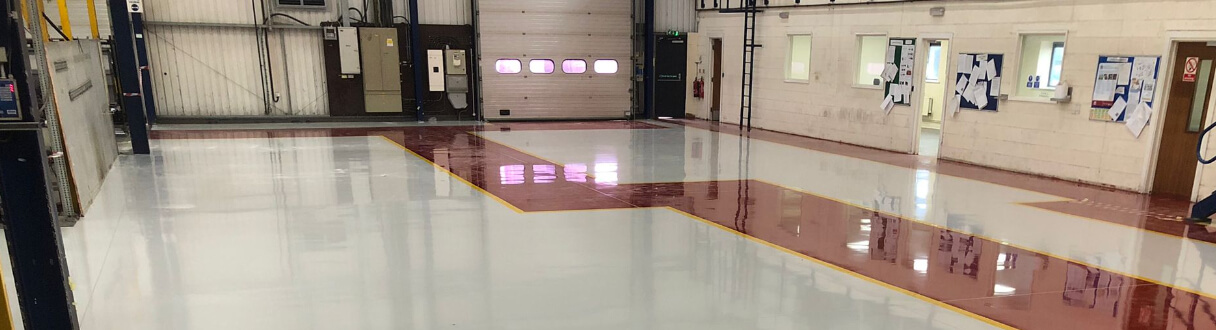
Applying epoxy resin flooring is a detailed process that requires careful preparation and execution. Epoxy resin flooring offers a range of advantages, making it a popular choice for various applications. Some reputable suppliers and professionals, such as British Coatings Federation, recommend epoxy resin flooring for its durability, chemical and stain resistance, and easy maintenance. It provides enhanced safety by offering slip resistance and fire retardant properties.
Before applying epoxy resin flooring, proper substrate preparation is essential. This involves a series of steps, including cleaning the surface, repairing any cracks or imperfections, conducting moisture testing, and priming the substrate. These steps ensure a smooth and stable foundation for the epoxy resin.
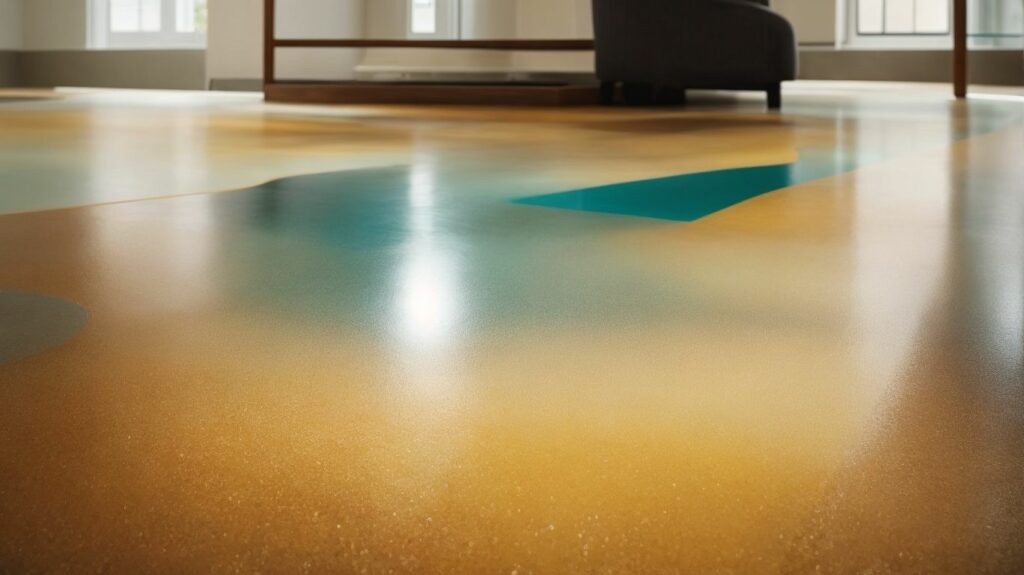
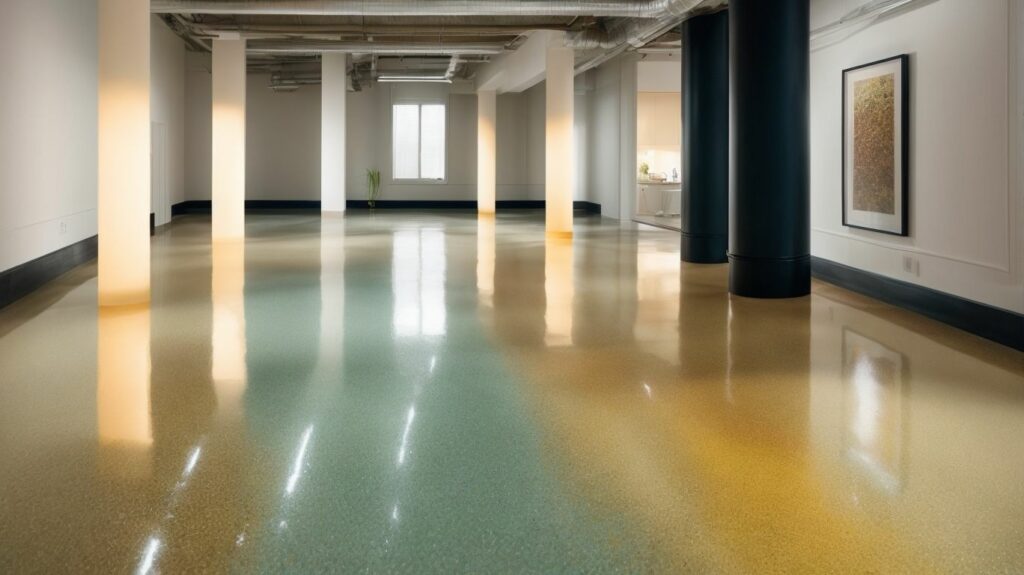
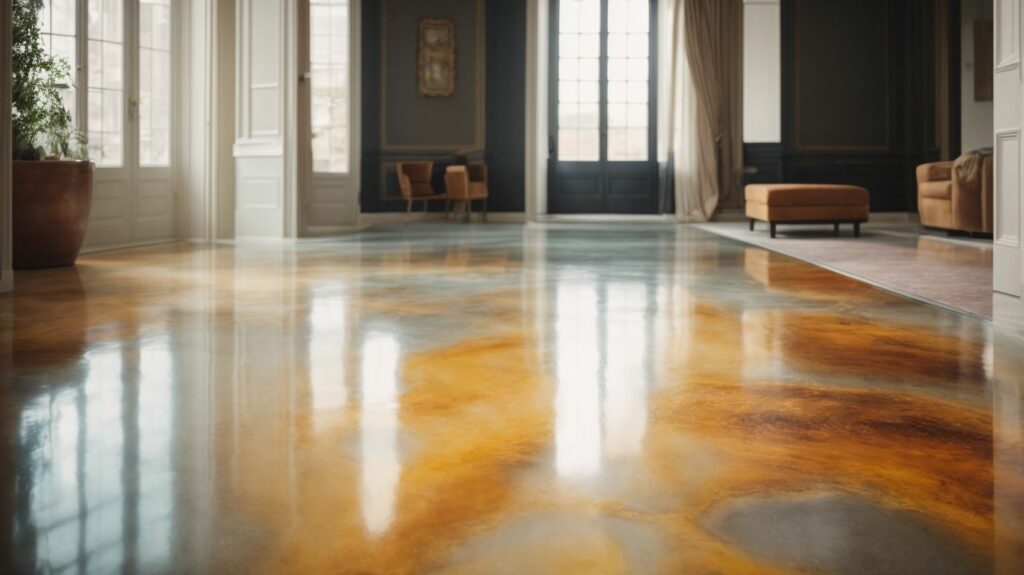
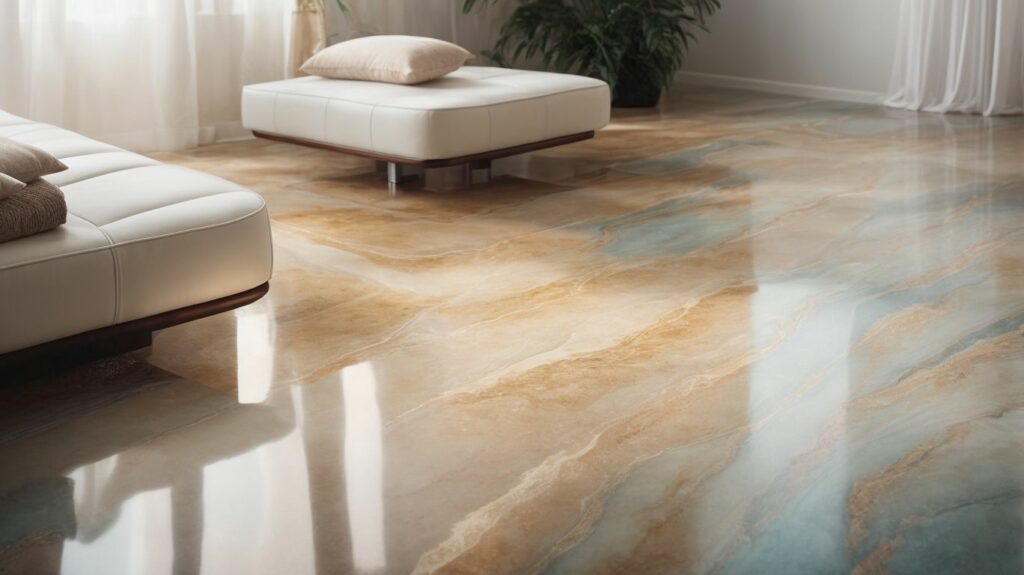
Once the substrate is prepared, the application of epoxy resin flooring can begin. This involves mixing the epoxy components according to the manufacturer’s instructions, applying the base coat, optionally broadcasting decorative elements, and finally applying the top coat to achieve the desired finish.
After application, curing and drying play a crucial role in achieving optimal results. Sufficient curing time should be allowed, as specified by the manufacturer, to ensure the epoxy resin fully sets. Proper ventilation is also necessary during this stage to facilitate the drying process. Additional coats may be applied, if needed, during post-curing.
To maintain the longevity and appearance of the epoxy resin flooring, regular maintenance and care are required. Proper cleaning techniques and avoiding abrasive substances can help preserve the surface. Being aware of common issues that may arise, such as bubbling or chipping, and knowing how to troubleshoot them can ensure the longevity of the epoxy resin flooring.
By following this detailed tutorial and understanding the advantages, preparation, application, curing, maintenance, and troubleshooting of epoxy resin flooring, you can achieve a durable and visually appealing flooring solution for various environments.
Discover the incredible advantages of epoxy resin flooring in this section. From durability and longevity to chemical and stain resistance, easy maintenance, and enhanced safety – we’ve got you covered. Say goodbye to the hassles of traditional flooring and say hello to a stunning and practical solution. Get ready to transform your space with epoxy resin flooring!
Durability and longevity are important factors to consider when selecting epoxy resin flooring. To ensure long-lasting results, there are several key considerations:
1. High-quality materials: It is recommended to choose epoxy resin products that are known for their durability and longevity. This includes products with a high solids content.
2. Proper installation: It is crucial to have the flooring installed by experienced professionals who are knowledgeable about working with epoxy resin. This ensures proper adhesion and a strong bond.
3. Surface preparation: Before applying the epoxy resin, it is essential to thoroughly clean and prepare the substrate. This promotes optimal adhesion and enhances the longevity of the flooring.
4. Regular maintenance: Implementing a routine cleaning and maintenance schedule is important to keep the flooring in excellent condition. This helps prevent any damage or wear over time.
5. Protective measures: To prevent scratches or dents, it is advisable to use protective measures such as placing mats or pads under heavy equipment or furniture.
6. Periodic inspections: Regularly inspect the flooring for any signs of damage or wear. Addressing any issues promptly can prevent further deterioration.
By considering these factors, you can ensure the durability and longevity of your epoxy resin flooring.
Chemical and stain resistance are important factors to consider when selecting epoxy resin flooring. Epoxy resin flooring is well-known for its ability to withstand chemicals and stains, making it highly durable and easy to maintain. The following table highlights the chemical and stain resistance of epoxy resin flooring:
| Type of Substance | Resistance Level |
|---|---|
| Oil and Grease | High |
| Acidic Solutions | High |
| Alkaline Solutions | High |
| Solvents | High |
| Food and Beverage Spills | High |
Epoxy resin flooring is specifically designed to create a protective barrier against these substances, preventing them from penetrating the surface and causing damage or staining. This makes it an excellent choice for areas with high chemical exposure or where spills are common, such as industrial facilities, laboratories, and commercial kitchens. Choosing epoxy resin flooring guarantees long-lasting protection and easy maintenance for your floors.
Maintaining epoxy resin flooring is relatively straightforward and requires regular cleaning and care. To keep your flooring in top condition, follow these steps:
By following these simple steps, you can ensure that your epoxy resin flooring remains in excellent condition for many years to come. Remember, regular maintenance is essential for easy upkeep and a long-lasting finish.
Enhanced safety is a significant advantage of utilising epoxy resin flooring. It offers various ways to enhance safety, which are as follows:
In fact, a facility in the UK made the switch to epoxy resin flooring and observed a significant decrease in accidents and injuries, thanks to the enhanced safety features it offers.
A solid foundation is crucial for achieving a flawless epoxy resin flooring. In this section, we will discuss the important steps involved in preparing the substrate. This includes cleaning the surface, repairing any cracks or imperfections, conducting moisture tests, and priming the substrate. Each of these sub-sections plays a significant role in ensuring a perfect finish. We will not take any shortcuts, but instead focus on the essential groundwork required for a stunning transformation. So let’s get started and prepare the floor for an amazing transformation!
To properly clean the surface before applying epoxy resin flooring, follow these steps:
Clear the area: Remove any furniture, equipment, or debris from the floor.
Sweep or vacuum: Thoroughly remove dust, dirt, and loose particles from the surface.
Scrub and wash: Use a suitable cleaning solution and scrub the floor to remove any grease, oil, or stains.
Rinse and dry: Rinse the floor with clean water and ensure it is completely dry before proceeding.
Keeping the surface clean is crucial to ensure a successful epoxy resin application. Regular maintenance, such as sweeping and mopping, will help maintain the appearance and longevity of the epoxy resin flooring.
Remember to wear protective gear, such as gloves and safety goggles, while cleaning and handling chemicals.
Repairing cracks and imperfections in epoxy resin flooring is important to achieve a smooth and flawless finish. Here are the steps to follow:
Remember to prioritize safety by following safety precautions and wearing protective gear during the repair process. Regularly inspect the flooring for any new cracks or imperfections and address them promptly to maintain the overall integrity of the epoxy resin flooring.
Moisture testing is an essential step in preparing the substrate for epoxy resin flooring. It is used to determine the moisture content in the concrete to ensure proper adhesion and prevent future problems.
To ensure a successful installation of epoxy resin flooring, it is important to address any moisture issues before proceeding. Proper moisture testing will help prevent problems such as blistering, peeling, or delamination of the epoxy coating.
Priming the substrate is an essential step in the process of applying epoxy resin flooring. It ensures proper adhesion and enhances the durability of the flooring system. The following steps are involved in priming the substrate:
It is recommended to use a high-quality primer recommended by the manufacturer and to follow the specific instructions provided. Proper surface preparation is essential for the successful installation of epoxy resin flooring, so it is important to dedicate sufficient time to complete this step thoroughly.
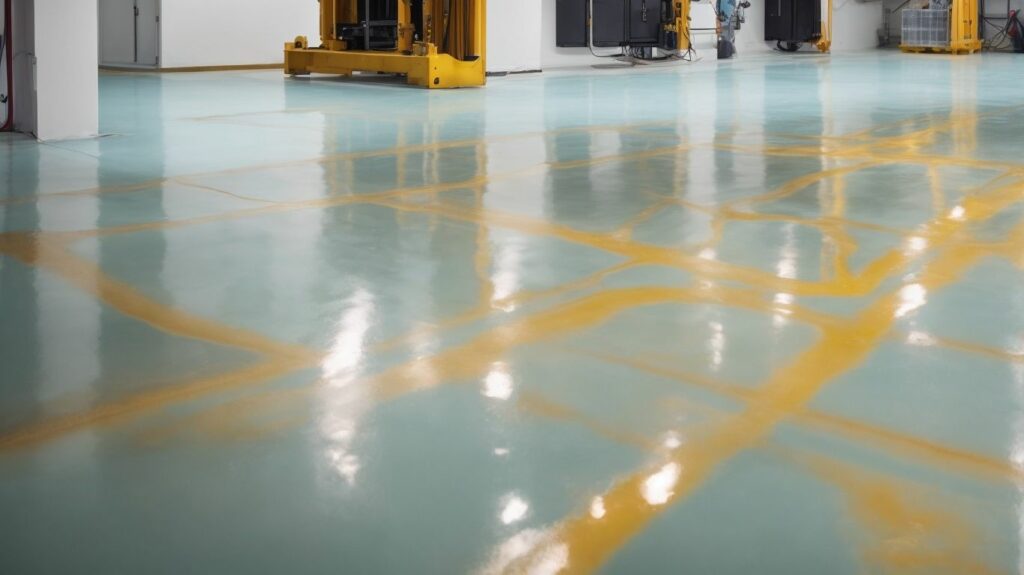
Applying Epoxy Resin Flooring
Applying epoxy resin flooring offers a fantastic chance to enhance the appearance of any area with a resilient and elegant finish. In this section, we will explore the detailed step-by-step process of applying epoxy resin flooring. This will include everything from blending the epoxy components to applying the top coat. Get ready to uncover the techniques for achieving a flawless and enduring epoxy resin floor that will impress everyone. So, let’s get started on this transformative journey!
To mix the epoxy components for resin flooring, follow these steps:
1. Prepare the workspace by ensuring it is clean, well-ventilated, and free of any dust or debris.
2. Wear protective gear such as gloves and safety glasses.
3. Measure out equal parts of the epoxy resin and hardener according to the manufacturer’s instructions.
4. Pour the resin component into a mixing container, followed by the hardener component.
5. Gently stir the mixture using a stir stick, making sure to scrape the sides and bottom of the container to ensure thorough blending.
6. Continue stirring for the recommended mixing time, typically around 2-3 minutes, to achieve a homogenous mixture.
7. Avoid introducing air bubbles into the mixture by stirring slowly and carefully.
8. Once properly mixed, set aside the mixture for a short induction time if required by the manufacturer.
Ensure proper mixing is achieved to ensure the epoxy resin flooring cures correctly and provides optimal performance.
To ensure a successful application of the base coat for epoxy resin flooring, it is important to follow a systematic process. The following steps should be taken to apply the base coat:
Thoroughly clean the surface of the substrate to remove any dirt, debris, or contaminants that may affect the adhesion.
Repair any cracks or imperfections in the substrate using appropriate materials and techniques.
Perform moisture testing to ensure that the substrate is sufficiently dry for the base coat application.
Apply a primer to the substrate to enhance adhesion and promote a strong bond between the base coat and the surface.
Pro-tip: Before applying the base coat, it is recommended to carefully read and follow the manufacturer’s instructions to ensure proper application and achieve the desired results.
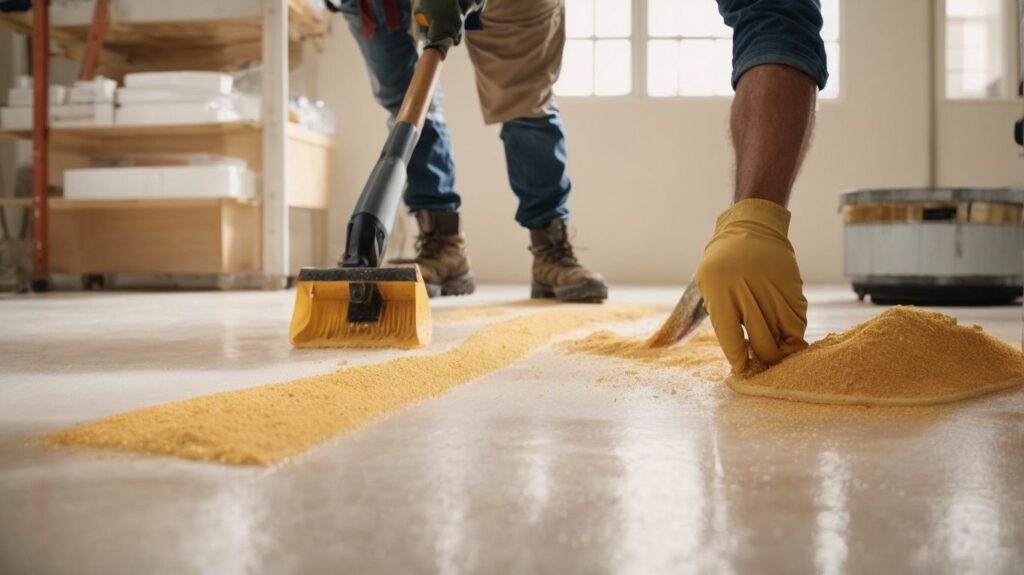
When applying epoxy resin flooring, one important step is to broadcast the decorative elements. This step enhances the floor’s aesthetic appeal by adding visual interest and texture. Here are some key considerations for broadcasting the decorative elements:
Applying the top coat is the final step in the installation process of epoxy resin flooring. This last layer enhances the durability of the flooring and provides a glossy finish. The following is a step-by-step process for applying the top coat:
After applying the top coat, it is important to properly maintain the epoxy resin flooring. Regular cleaning and occasional reapplication of a protective finish can help prolong its lifespan and keep it looking its best.
Curing and Drying
When it comes to curing and drying epoxy resin flooring, there are a few crucial factors to keep in mind. From allowing sufficient curing time to creating proper ventilation, and even considering post-curing and additional coats, every step plays a vital role in achieving the perfect finish. Get ready to discover the key secrets to ensuring a flawless epoxy resin flooring installation.
When applying epoxy resin flooring, it is important to allow sufficient curing time. This is essential for ensuring proper bonding and strength of the coating. Here are the steps to follow:
By allowing sufficient curing time, you will ensure a durable and long-lasting finish for your epoxy resin flooring.
Proper ventilation is essential to ensure a safe and effective installation process when applying epoxy resin flooring. Here are the steps to create proper ventilation:
In the early 1900s, the significance of proper ventilation was acknowledged in industrial workplaces to protect workers from harmful chemicals and fumes. This led to the development of ventilation systems that have since been adapted for various industries, including the application of epoxy resin flooring. Today, creating proper ventilation remains a crucial step to ensure the safety and success of epoxy resin flooring installations.
After applying the epoxy resin flooring, it is important to properly post-cure and apply additional coats to ensure optimal performance and longevity. Here are the steps to follow in this process:
True story: A restaurant owner recently applied epoxy resin flooring in their kitchen. After the initial application, they diligently post-cured the floor and applied an additional coat to achieve a glossy and durable finish. The flooring has since withstood heavy foot traffic and spills, proving that proper post-curing and additional coats are essential for long-lasting and resilient epoxy resin flooring.
Maintaining and caring for epoxy resin flooring is important to ensure its long-lasting durability and appearance. Here are some essential maintenance and care tips:
True story: A homeowner followed these maintenance tips and had an epoxy floor that still looked brand new after ten years of heavy use. The proper care and attention given to the floor ensured its longevity and continued beauty.
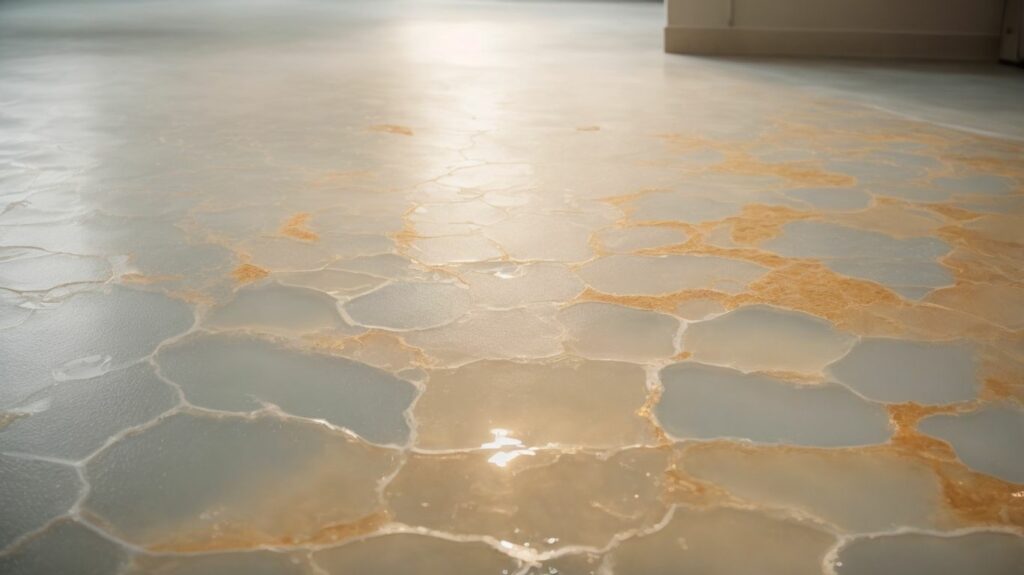
When applying epoxy resin flooring, it is important to be aware of the common issues that may arise and how to troubleshoot them. Here are some common issues and their troubleshooting solutions to ensure a smooth and successful application process:
| Issue | Troubleshooting Solution |
|---|---|
| Bubbles and air pockets | To remove any air trapped in the epoxy before it cures, use a degassing tool or heat gun. |
| Uneven surface | To avoid uneven surfaces, ensure proper mixing of the epoxy components and apply the resin evenly. |
| Fish eyes | Before applying epoxy, clean the surface thoroughly to remove any contaminants that may cause fish eyes. |
| Delamination | To prevent delamination, properly prepare the substrate and apply the epoxy according to the manufacturer’s guidelines. |
| Yellowing or discoloration | To prevent yellowing over time, use a high-quality, UV-resistant epoxy. |
By being aware of these common issues and their troubleshooting solutions, you can achieve a successful epoxy resin flooring application without any major problems.
Yes, epoxy resin flooring is commonly used in high-traffic areas like garages due to its ability to withstand wear and tear.
Epoxy flooring is applied using a two-part system, which involves mixing a resin and a hardener together to create a durable surface.
To achieve a glossy clear topcoat for your epoxy floor, you can apply multiple thin and even coats using a squeegee. However, keep in mind that a glossy finish may show imperfections more easily.
Yes, you can add grit additives to your epoxy floor to improve slip resistance. These additives can help create a safer surface, especially in areas prone to spills or moisture.
Good preparation is essential for a successful epoxy floor installation. It involves cleaning and repairing the concrete floor, performing a moisture test, applying a vapor barrier if needed, and filling cracks and holes. Proper preparation ensures a strong bond and a durable finish.
To create a beautiful and durable epoxy coating for your basement floor, you can follow these steps: clean and repair the floor, apply a self-leveling concrete primer, mix and apply the epoxy resin and hardener according to the manufacturer’s instructions, allow the floor to cure, and add color flakes or topcoats for a decorative finish.


We Aim To Reply To All Enquiries With-in 24-Hours