20+ Years Experience
Specialist Resin Flooring Installers
Enquire Today For A Free No Obligation Quote
Mastering the art of laying resin flooring requires a comprehensive understanding of its characteristics and proper installation techniques. Resin flooring is a popular choice for commercial and residential spaces due to its durability, easy maintenance, chemical resistance, and visual appeal.
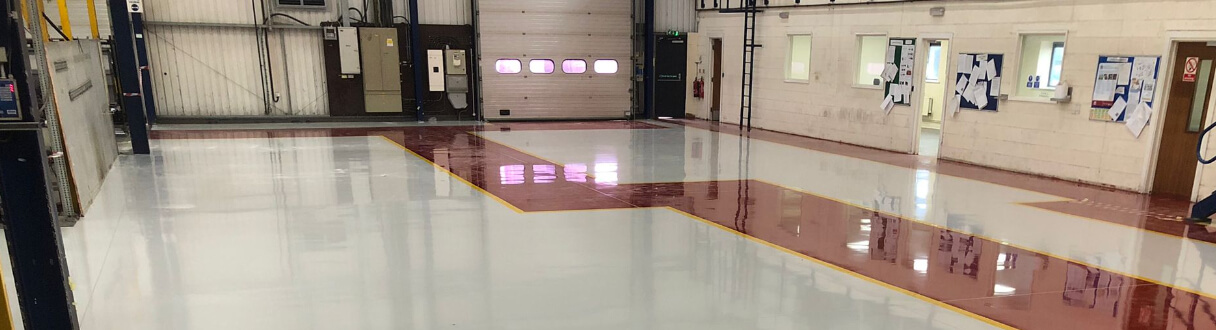
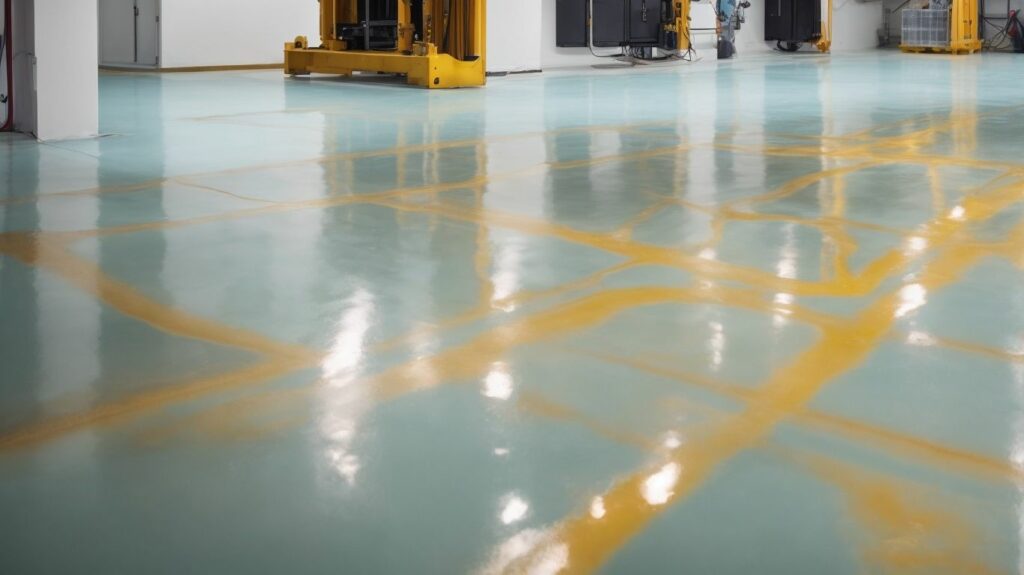
Resin flooring is a type of flooring system made from a combination of liquid resin and hardener that, when mixed together, create a strong and seamless surface. It provides a smooth and glossy finish that is highly resistant to wear and tear, making it suitable for high traffic areas.
There are various types of resin flooring available, including epoxy, polyurethane, and methyl methacrylate (MMA) resin. Each type offers unique features and benefits, such as enhanced chemical resistance or rapid curing times, catering to different application requirements.
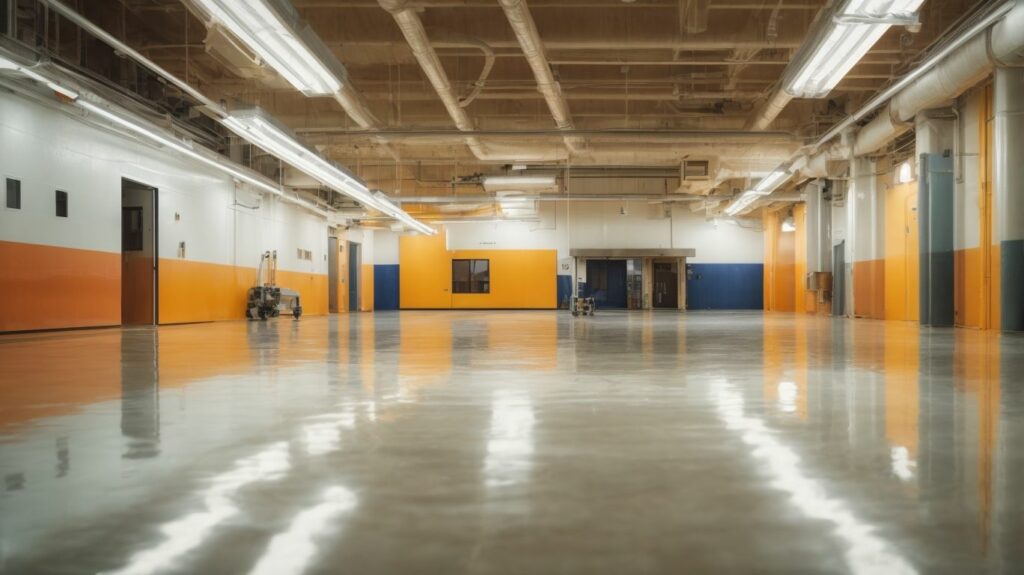
The benefits of resin flooring are numerous and contribute to its popularity. Its exceptional durability and longevity ensure that it can withstand heavy foot traffic, impacts, and abrasions without losing its aesthetic appeal. Maintenance is hassle-free, with simple cleaning procedures that keep the floor looking pristine. Resin flooring is highly resistant to chemicals, making it suitable for industrial settings where spillages may occur. Its smooth and seamless finish adds a touch of elegance to any space.
Before embarking on the installation process, several factors need to be considered. Proper surface preparation, including cleaning and leveling, is essential to achieve a smooth and even base. The choice of resin type should be based on the specific requirements of the space, considering factors such as the environment, desired appearance, and level of durability needed. Budget and time constraints should be taken into account to ensure a successful and timely installation.
By following a step-by-step guide, you can achieve a flawless resin flooring installation. Surface preparation involves cleaning, repairing, and ensuring proper adhesion. Priming the surface creates a bond between the substrate and the resin. Mixing and applying the resin properly is crucial for a smooth and even finish. For added visual appeal, decorative elements can be incorporated into the resin. A top coat application provides additional protection and durability. Finally, curing and drying the floor ensures that it reaches its optimum strength and integrity.
To maintain the longevity and appearance of resin flooring, regular cleaning using suitable methods is important. Preventative measures should be taken to avoid damage, such as using protective mats or floor coatings in high-wear areas.
For further resources and information, refer to industry-specific guides and consult with flooring professionals to ensure the successful installation and long-term care of resin flooring.
Resin flooring is a type of seamless flooring that is created by combining different materials, such as epoxy or polyurethane, with a hardener. It is known for its durability, chemical resistance, and easy maintenance. Familiarise yourself with the different types of resin flooring, such as epoxy, polyurethane, or methyl methacrylate, to choose the right option for your specific needs. Learn about the preparation and installation process, including surface preparation, mixing ratios, and application techniques, to ensure a successful resin flooring installation.
Resin flooring is a flooring system composed of multiple layers of resin materials or polymers. It provides a durable and long-lasting surface that is resistant to chemicals, impact, and wear. Resin flooring is commonly used in commercial and industrial settings due to its ability to withstand heavy foot traffic and equipment. It also offers a visually appealing finish, with various designs and decorative elements that can be incorporated. Before installing resin flooring, factors such as surface preparation, the right type of resin, application environment, and budget constraints should be considered. Proper maintenance and cleaning methods are crucial to ensure the longevity of resin flooring.
The following section discusses the different types of resin flooring available, each offering unique characteristics and benefits.
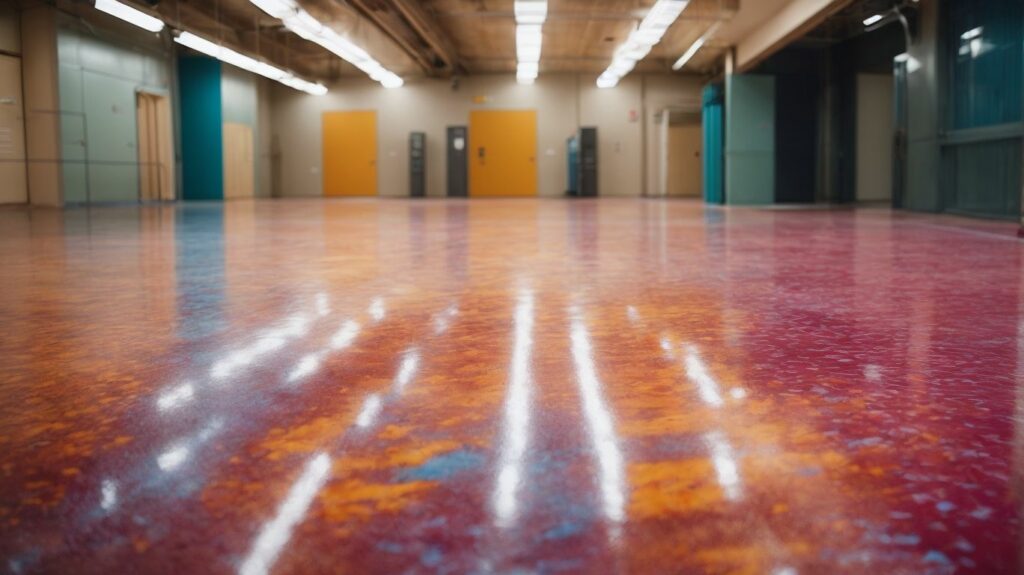
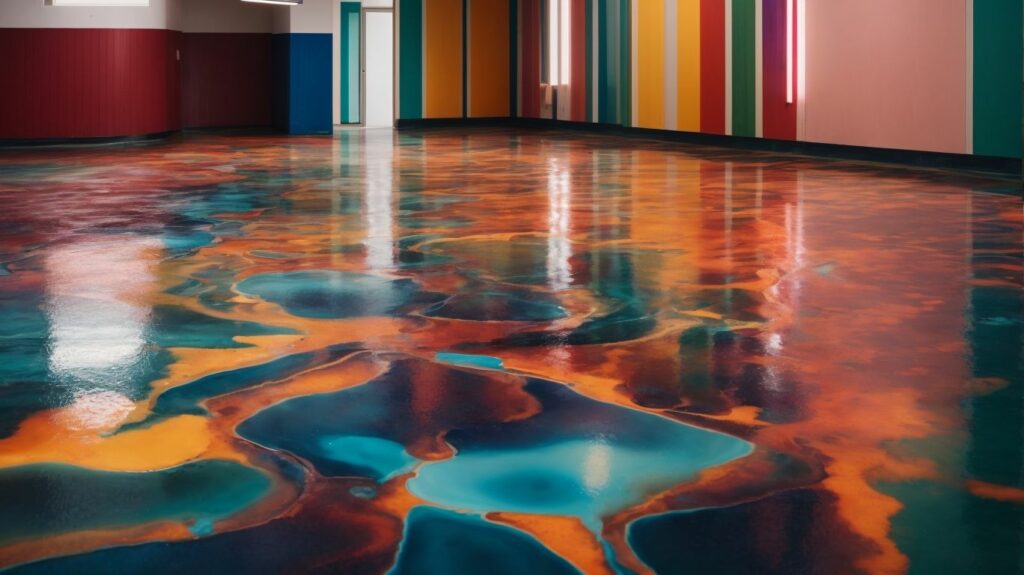
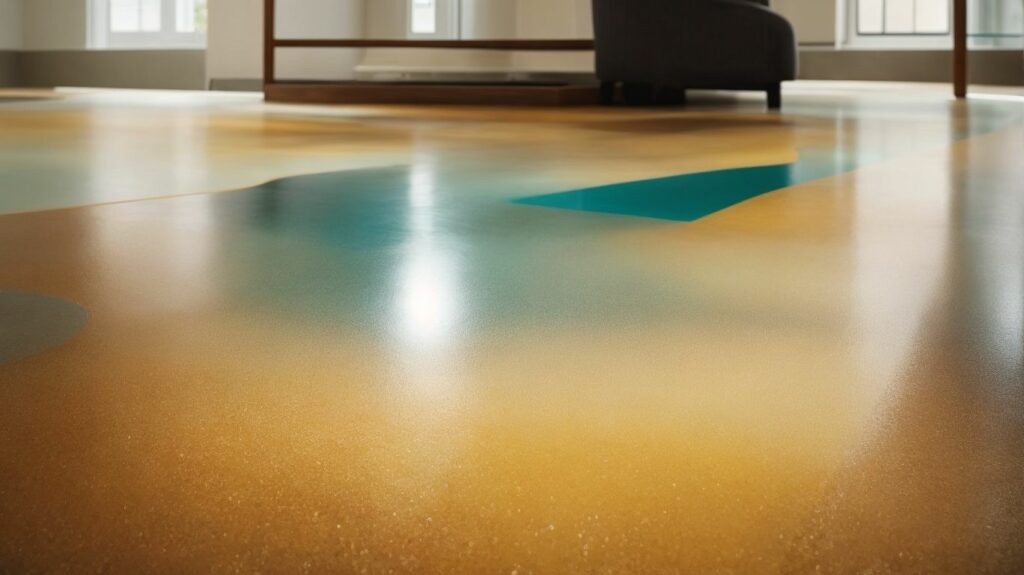
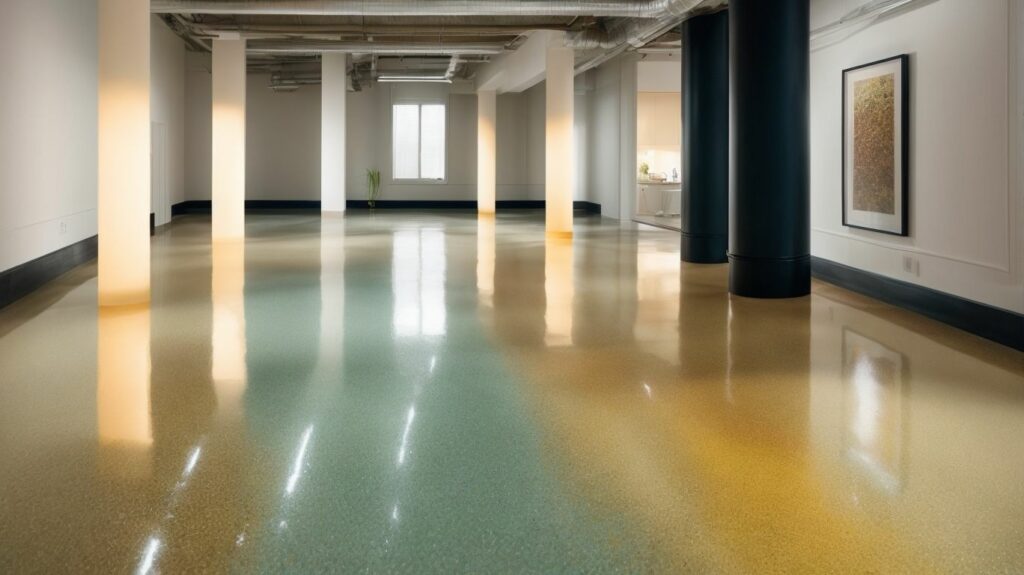
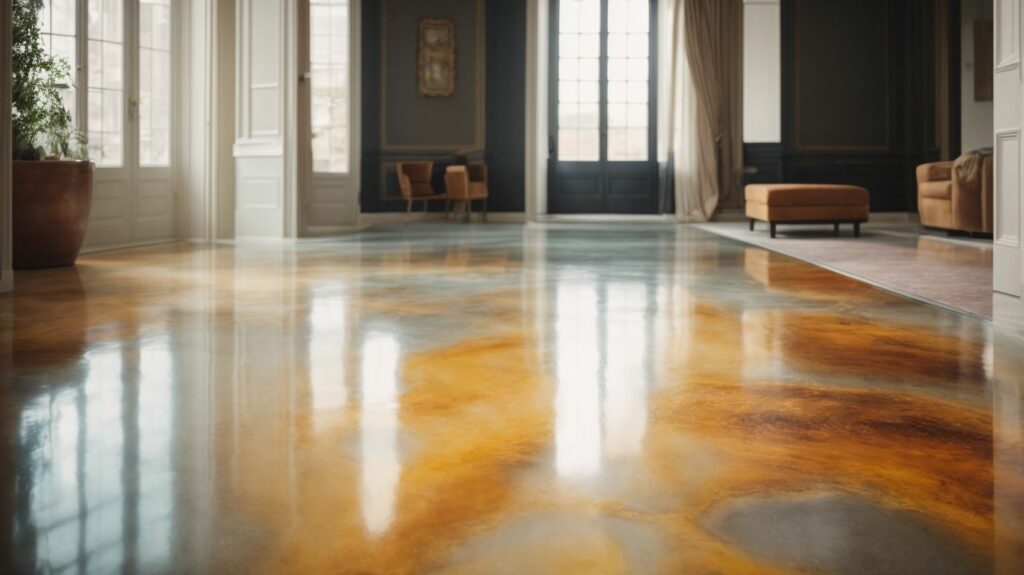
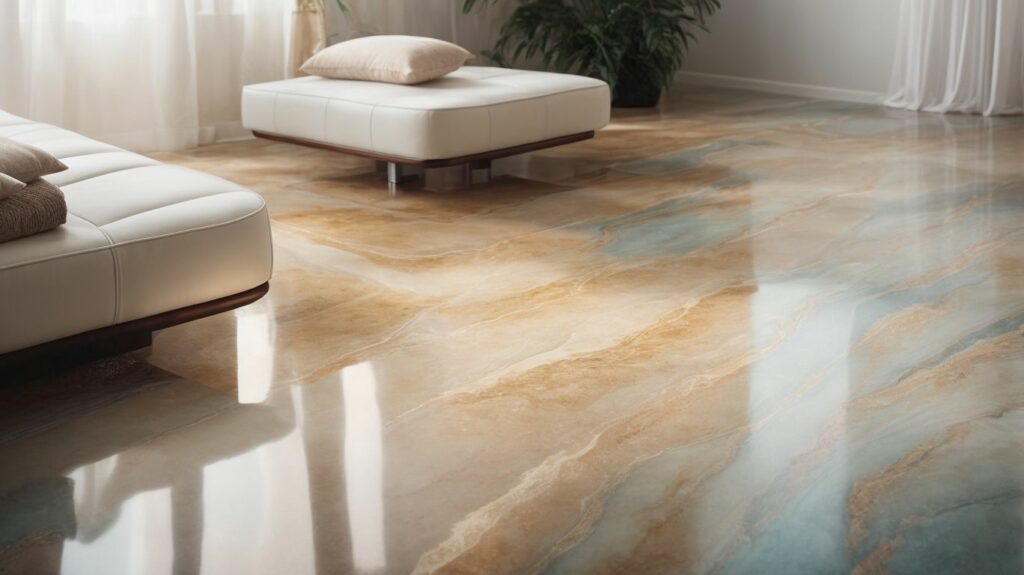
Discover the numerous advantages of resin flooring that can significantly enhance your space. Resin flooring is known for its exceptional durability, long-lasting properties, and resistance to chemicals, making it an appealing choice. Additionally, it requires minimal effort to maintain. Furthermore, the visual appeal of resin flooring is unmatched, as it can transform plain floors into stunning works of art. Prepare to delve into the realm of resin flooring and discover its incredible benefits for your home or business.
Durability and longevity are important factors to consider when choosing resin flooring. It is crucial to select high-quality resin products that are designed for durability and can withstand heavy foot traffic and other wear and tear. Additionally, proper installation by experienced professionals is essential to maximize the longevity of the resin flooring.
Regular maintenance is also key in keeping the flooring in optimal condition. Following a regular cleaning and maintenance routine will help extend the lifespan of the flooring. Implementing preventive measures such as using mats or rugs in high-traffic areas can also minimize wear and tear.
Furthermore, it is important to consider the specific environment where the resin flooring will be installed. Factors such as temperature and humidity levels can impact the durability of the flooring. Taking these environmental factors into account will help ensure the longevity of the resin flooring.
In fact, resin flooring is known for its exceptional durability and can last up to 20 years or more with proper care and maintenance. So, by considering durability and longevity, you can make an informed decision when choosing resin flooring for your space.
Easy maintenance is one of the main advantages of resin flooring. Resin floors can maintain their beauty and durability for a long time with proper care and cleaning. Here are some tips for easy maintenance of resin flooring:
By following these simple maintenance practices, you can ensure that your resin floor remains in optimal condition for years to come.
| Type of Resin Flooring | Chemical Resistance |
| Epoxy Flooring | Excellent resistance to oils, solvents, and chemicals |
| Polyurethane Flooring | High resistance to acids, alkalis, and other chemicals |
| Methyl Methacrylate (MMA) Flooring | Excellent resistance to harsh chemicals, including acids and solvents |
Considering the specific chemical environment in your facility will help determine the most suitable resin flooring to ensure long-lasting durability and protection against corrosion or damage.
To enhance the visual appeal of resin flooring, there are several factors to consider:
Before installing resin flooring, it is important to consider several factors. These factors include surface preparation, resin type selection, application environment, budget limitations, and time constraints. Each decision made in these areas can greatly affect the outcome of the project. In this section, we will discuss these considerations in detail to help you make informed choices. Let’s begin your journey to mastering the art of laying resin flooring!
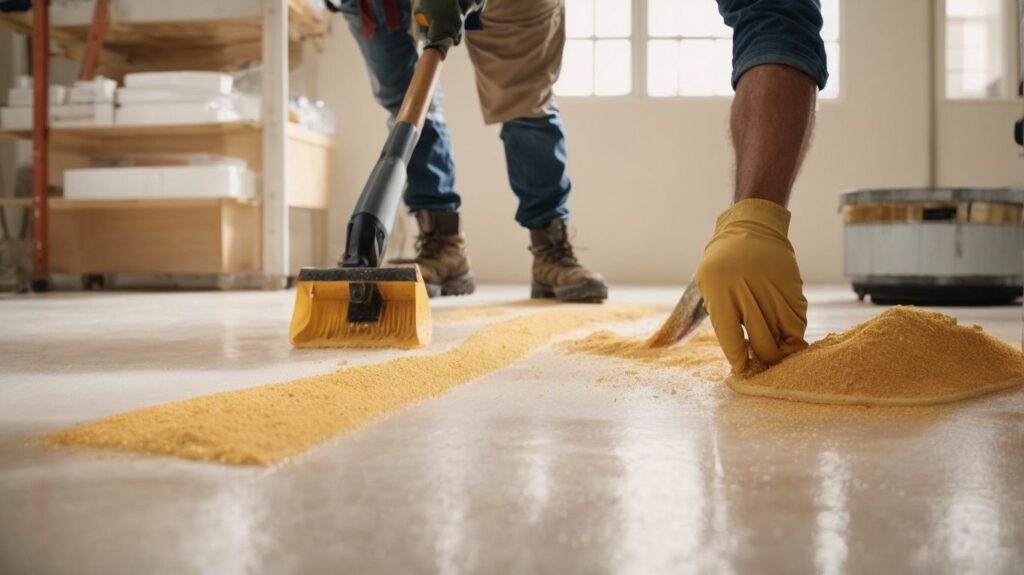
To ensure a successful installation of resin flooring, it is crucial to properly prepare the surface. Follow these steps to effectively prepare the surface:
Fact: Adequate surface preparation is vital for the longevity and performance of the resin flooring system.
Choosing the correct type of resin is essential to achieve the desired outcomes in resin flooring. When making your decision, you should consider the following factors:
Pro-tip: Seek advice from a professional resin flooring contractor who can evaluate your specific requirements and recommend the most suitable resin type for your project.
In the context of resin flooring, it is important to consider the application environment. Several factors should be taken into account:
1. Temperature: It is crucial to ensure that the temperature of the application environment falls within the recommended range for the resin flooring product. Extreme temperatures can have a negative impact on the curing process and overall performance of the flooring.
2. Humidity: High humidity levels can affect the drying time of the resin and may lead to issues such as bubbling or improper adhesion. It is necessary to control humidity levels during the installation process.
3. Substrate Condition: The condition of the substrate where the resin flooring will be installed is of utmost importance. It should be clean, dry, and free from any contaminants that could interfere with the adhesion of the resin.
4. Traffic and Usage: Consider the level of traffic and usage that the flooring will be subjected to. Different types of resin flooring offer varying resistance to abrasion, impact, and chemical exposure. It is essential to choose a product that is suitable for the specific application environment.
Considering budget and time constraints is crucial when installing resin flooring. Here is a breakdown of the factors to consider:
| Factors | Description |
| Surface Preparation | Properly preparing the surface can impact the cost and time required for installation. |
| Choosing the Right Type of Resin | Selecting a resin that fits within your budget and meets the desired project timeline is essential. |
| Application Environment | Consider the working conditions and climate, as they may affect the installation process and time needed for curing. |
| Budget and Time Constraints | Ensure that the chosen resin flooring option aligns with your available budget and time frame. |
Get ready to give your floors a stunning resin finish! This guide provides a step-by-step walkthrough of the installation process for resin flooring. From surface preparation to resin mixing and application, incorporating decorative elements, applying the top coat, and finally curing and drying – all aspects are covered. Say goodbye to dull floors and welcome a sleek and long-lasting resin masterpiece!
To ensure a successful installation of resin flooring, it is crucial to properly prepare the surface. Follow these steps for effective surface preparation:
By following these steps, you can create a clean and level surface ready for the application of resin flooring. Remember, proper surface preparation is essential for a long-lasting and visually appealing result.
A company was renovating their office space and decided to install resin flooring. They neglected to properly prepare the surface, resulting in an uneven and bumpy floor. This not only affected the aesthetics but also caused safety hazards. They had to redo the entire installation, emphasizing the importance of step 1: surface preparation. Don’t make the same mistake – always ensure proper surface preparation for a successful resin flooring installation.
Before applying resin flooring, the second step is to prime the surface properly to ensure proper adhesion and a smooth finish. Here is a step-by-step guide to priming the surface:
By priming the surface properly, you create a strong foundation for the resin flooring, ensuring its long-lasting durability and performance.
Mixing and applying the resin is a crucial step in installing resin flooring. Here is a step-by-step guide to help you through this process:
Remember to wear protective gear like gloves and goggles during the mixing and application process. Following these steps will help you achieve a professional and durable resin flooring.
If you’re unsure about any step or need additional guidance, it’s recommended to consult a professional or refer to comprehensive installation guides.
Adding decorative elements to resin flooring can enhance its visual appeal and create a unique and personalized space. Here is a step-by-step guide on how to add decorative elements to resin flooring:
Fact: Adding decorative elements to resin flooring not only enhances its aesthetics but also provides a durable and easy-to-maintain surface for various applications.
The top coat application is an essential step in the installation of resin flooring. It plays a significant role in enhancing the durability and longevity of the flooring. Below are the steps involved in the top coat application:
After the application of resin flooring, the next important step is curing and drying. This step plays a crucial role in ensuring the durability and longevity of the flooring. To achieve the desired result, follow these steps for proper curing and drying:
Allow sufficient time: It is important to give the resin enough time to cure and dry completely. The duration may vary depending on the type of resin used, but typically it takes around 24-48 hours.
Control temperature and humidity: Maintain the recommended temperature and humidity levels in the area where the flooring is curing. This will ensure proper curing without compromising the integrity of the resin.
Avoid foot traffic: During the curing and drying process, it is advisable to avoid walking on the floor or placing heavy objects on it. This will prevent any potential damage or imprints on the surface.
Provide adequate ventilation: Good airflow is essential for the drying process. Make use of fans or open windows to promote air circulation.
Protect from moisture: If possible, avoid any contact with water or moisture until the flooring is fully cured and dried. This will prevent any potential damage or discoloration.
By following these steps, you can ensure that your resin flooring cures and dries properly, resulting in a strong and visually appealing finish.
Resin flooring requires regular maintenance and care to ensure its longevity and pristine appearance. In this section, we will delve into the various cleaning methods that will help keep your floor spotless and discuss effective strategies for preventing damage. Prepare yourself to uncover the secrets of maintaining flawless resin flooring for years to come!
To maintain the longevity and appearance of your resin flooring, it is crucial to prevent any damage. Here are some steps you can take to protect your resin flooring:
By following these preventive measures, you can ensure that your resin flooring remains in excellent condition and can withstand daily wear and tear.
Additional resources can be helpful in mastering the art of laying resin flooring. Below are some valuable sources that can enhance your knowledge and skills:
To terminate contracts with YouTube, you need to review the terms of use provided by YouTube. The terms of use will outline the specific steps and procedures for terminating contracts. It is important to carefully read and follow the instructions provided to ensure a smooth contract termination process.
Testing new features on YouTube typically involves a phased approach. First, YouTube identifies a group of users to participate in the testing phase. These selected users can access and try out the new features. Through their feedback and usage data, YouTube gathers insights to evaluate the performance and user experience of the new features before implementing them for all users.
YouTube’s terms of use cover various aspects such as user responsibilities, content copyright, privacy policies, security measures, and prohibited activities. It is important to familiarize yourself with these terms to ensure compliance and to understand your rights and obligations when using the YouTube platform.
YouTube is an online video-sharing platform that allows users to upload, view, and share videos. Users can create their own channels, subscribe to other channels, and interact with the YouTube community through comments, likes, and shares. YouTube also provides monetization options for content creators and serves ads to generate revenue.
Terms of use on YouTube serve as a legally binding agreement between users and the platform. They establish the rules for using YouTube’s services and define the rights and responsibilities of both users and YouTube. Adhering to the terms of use is crucial to maintain a fair and safe environment for all users.
In 2023, the copyright for YouTube belongs to Google LLC. Google LLC is the parent company of YouTube and holds the rights to the platform and its associated intellectual property.


We Aim To Reply To All Enquiries With-in 24-Hours